Some plants can survive atomic blasts. Others can help cleanse polluted soil, trap pollinators overnight, defend themselves from hungry animals, or even support memory and wellness.
This blog is inspired by Episode 297 of Growing Joy with Plants, where Maria Failla talks to horticulturist and author David Domoney to go through the “superpowers” of garden plants. Here are 11 plants from the conversation and what makes each one special.
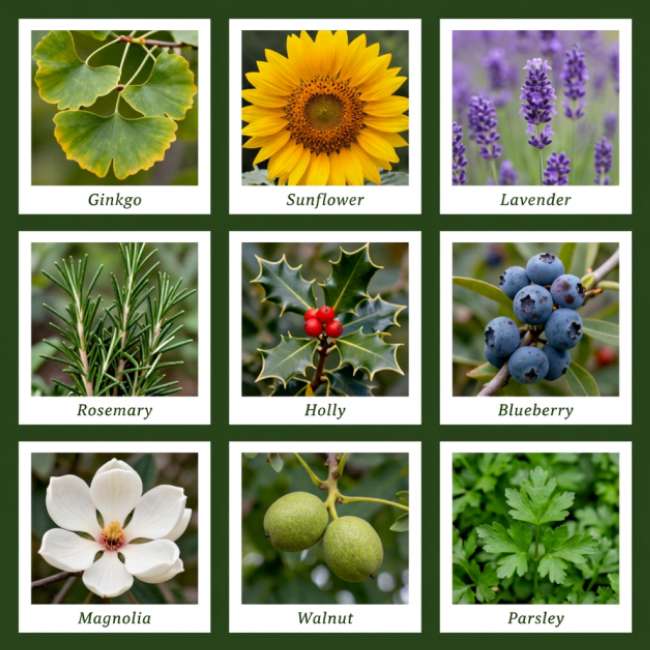
1. Ginkgo
Ginkgo is a very old tree species, and fossils show it has been around for roughly 200-207 million years, dating back to the Early Jurassic period.
In Hiroshima in 1945, some ginkgo trees were about 1.6 km from the atomic bomb. Their leaves burned off and the trunks were blackened, but about a year and a half later, they started to grow again. So people saw them as a sign of hope and recovery, and cities now plant ginkgos along streets because they handle air pollution well.
2. Sunflower
Sunflowers are “hyperaccumulators.” They take up metals and other bad things from the soil (like zinc, copper, lead, and even some radioactive material).
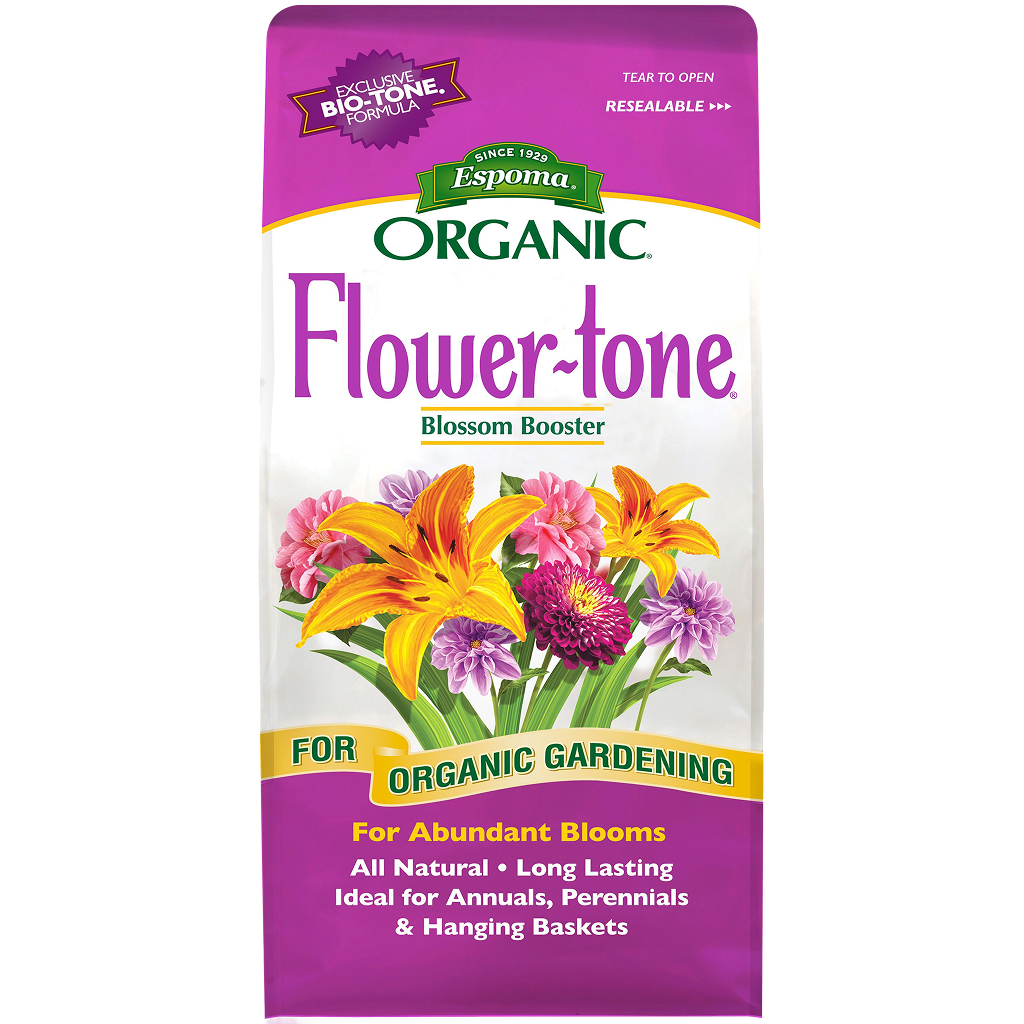
For a healthy crop of sunflowers, plant in full sun, use compost‑rich soil, and feed with an organic flower food such as Espoma Flower‑tone.
3. Magnolia
Magnolias were already on Earth before bees were common, so they evolved with beetles as their pollinators.
A beetle lands in the flower to feed on pollen. At night, the magnolia flower closes like a cup and traps the beetle inside. The beetle walks around, picks up lots of pollen, and in the morning, the flower opens again and lets it go. Then the beetle carries pollen to the next magnolia.
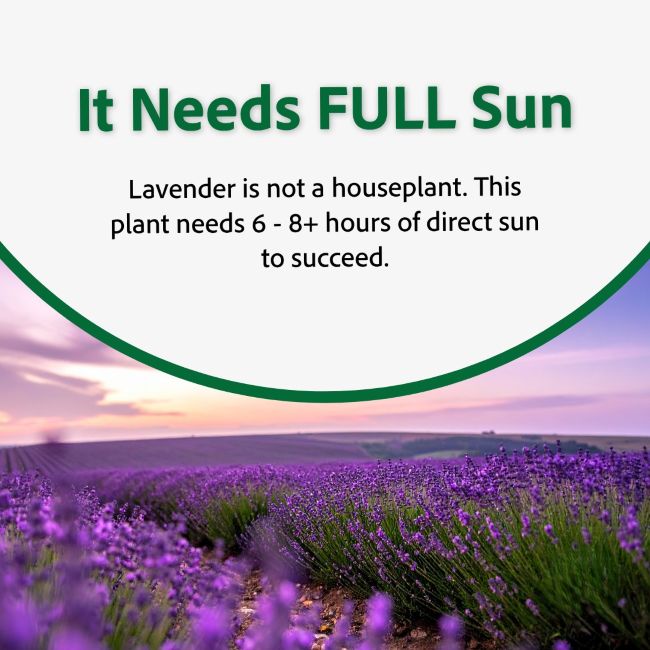
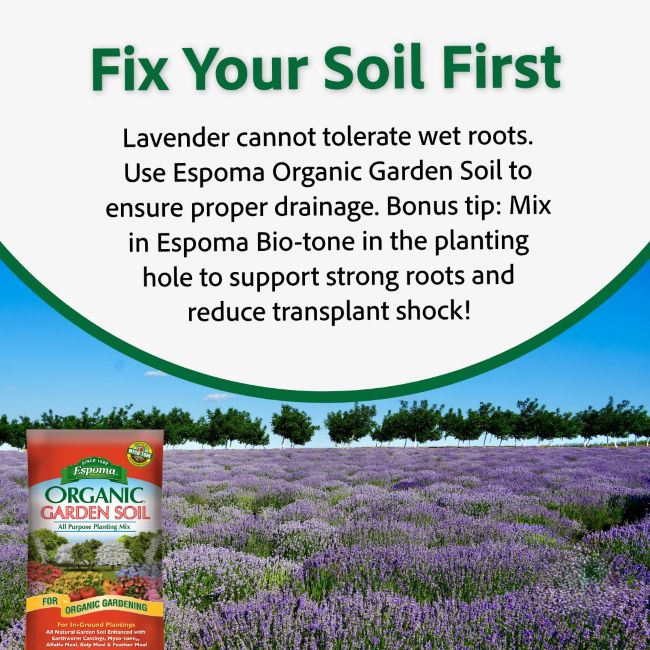
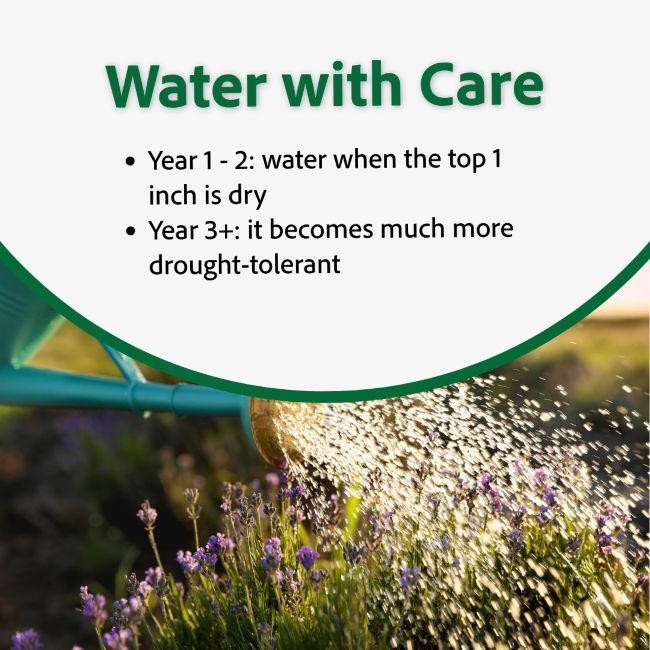
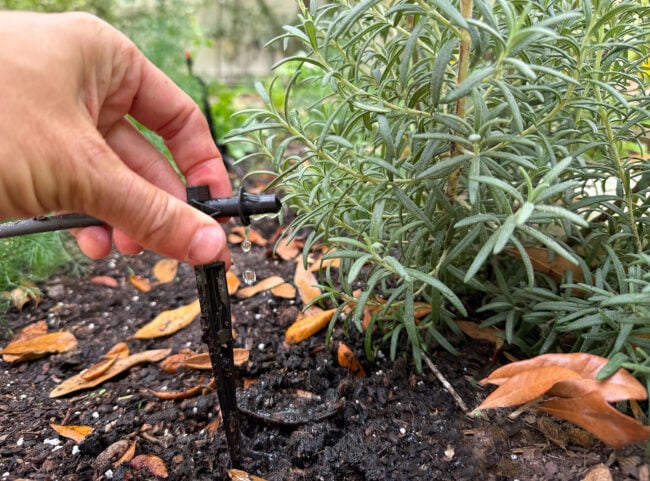
4. Lavender
Lavenders are either:
- Calming – Angustifolia types; used in candles and relaxing products.
- Stimulating – intermedia types; have sharper smell and are more stimulating (used often in soaps)
Those sharper types also have strong antibacterial and antifungal qualities.
5. Rosemary
Rosemary is linked with the immune system and with memory. Greek scholars and Romans used rosemary garlands as decor.
To root a rosemary spring: take a piece about the size of your finger, strip the lower leaves, and put it in water (or better, in soil) until it grows roots. You can transfer it to soil after the roots are 2 inches long and branching.
6. Parsley
Roman gladiators and soldiers chewed parsley before they went into battle. They believed it helped their strength and mental quickness.
Parsley is also high in chlorophyll, which makes it useful for fighting bacteria and cutting strong smells like garlic. So if you don’t have a toothbrush, chewing parsley can help freshen your breath!
7. Holly
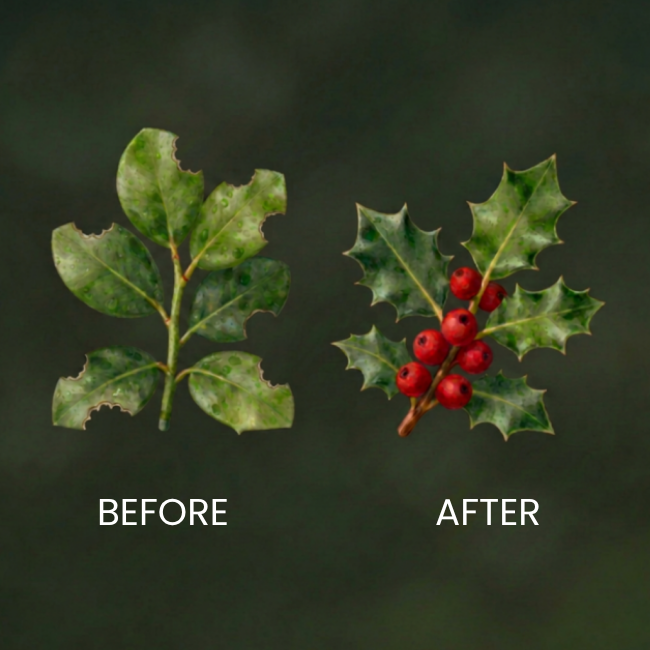
Holly leaves change their shape after being eaten. They are naturally smooth. But when animals eat the lower leaves, the new leaves grow back with sharp prickles. The plant “responds” to damage by changing its leaf shape in that area.
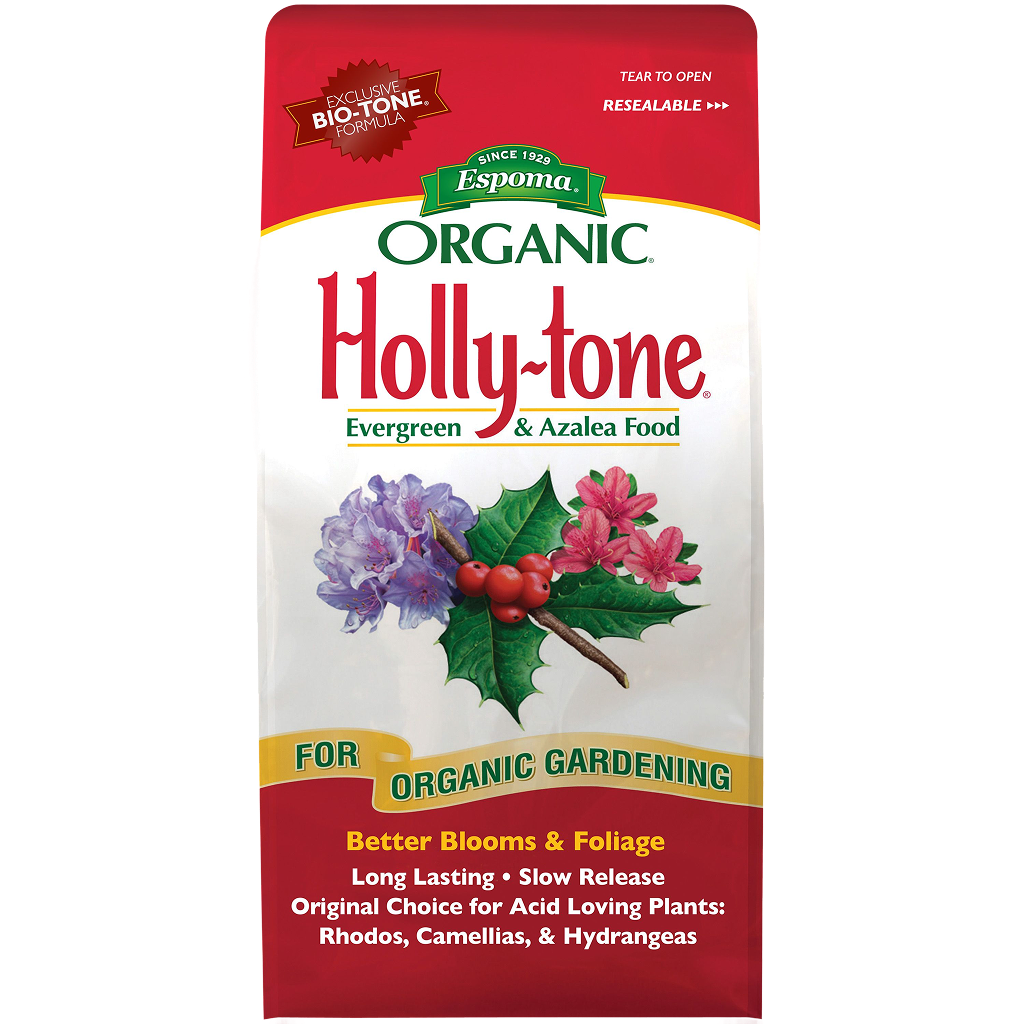
Holly likes acidic soil, so you can feed it with Espoma Holly‑tone and keep mulch around the base to manage water intake.
8. Bee Orchid
From its name, it’s an orchid that looks like a bee it wants to attract. It has also evolved a smell that copies the female bee’s scent. So the male bee lands, thinks it’s a real bee, and tries to mate with the flower. As he moves from flower to flower, he spreads the pollen.
9. Blueberries
Blueberry is a “giver plant” because it offers:
- Nice leaves
- Pretty bell‑shaped flowers
- Good fall color
- Fruit with strong health benefits like helping control how the body burns and stores visceral fat (so it’s good for weight loss).
10. Walnut
When you open a walnut, the nut looks like a tiny human brain. And it’s not a coincidence that it also contains things like linolenic acid and polyphenols, which are good for memory, movement, and protecting the brain.
So the nut that looks like a brain… also supports brain health.
11. Currants and Raspberries
David shared that he will sit in the garden with some cheese and crackers and pick fresh currants off the bush to add a sweet element to his snack. For a great dessert for a party, stick a small piece of chocolate inside a raspberry for the perfect mix of fruit and chocolate.
Garden Plants with Superpowers
A garden with “superpower” plants feels different once you know their stories. You stop seeing them as background and start noticing the small, specific ways they interact with you, with wildlife, and even with history.
Learn more about Growing Joy with Maria:


Featured Products:
The post Superplants: 11 Garden Plants with Hidden Powers
 | Growing Joy with Maria appeared first on Espoma Organic.
from Espoma Organic https://www.espoma.com/blog/superplants-11-garden-plants-with-hidden-powers%f0%9f%aa%b4%f0%9f%92%a5-growing-joy-with-maria/
from
https://summerblakeley.wordpress.com/2026/07/31/superplants-11-garden-plants-with-hidden-powers%f0%9f%aa%b4%f0%9f%92%a5-growing-joy-with-maria/

 || Wyse Guide

 with Wyse Guide