This project was sponsored by Sherwin-Williams®
I am over the moon to share with you this year’s Sherwin-Williams Save Me room makeover! If you’re new to the game, let me bring you up to speed! Every year I partner with the best paint company in all the land and overhaul a lucky winner’s space. Last year we tackled Amy’s Living Room, and this year we are at the Cliffords, turning a bedroom-that started out as an office- back into an office/playroom!
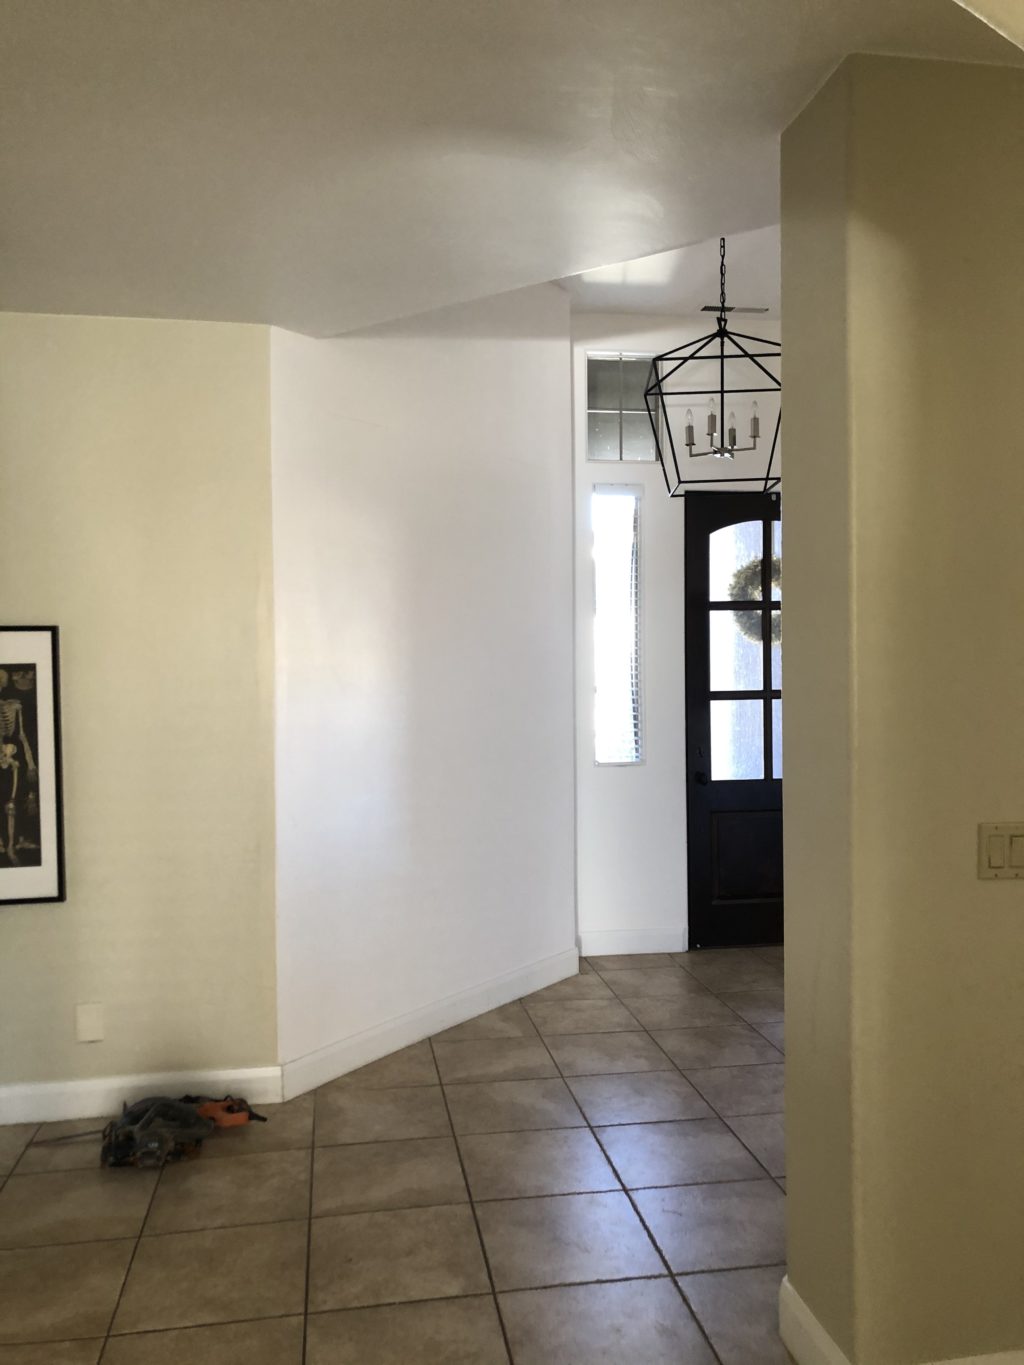
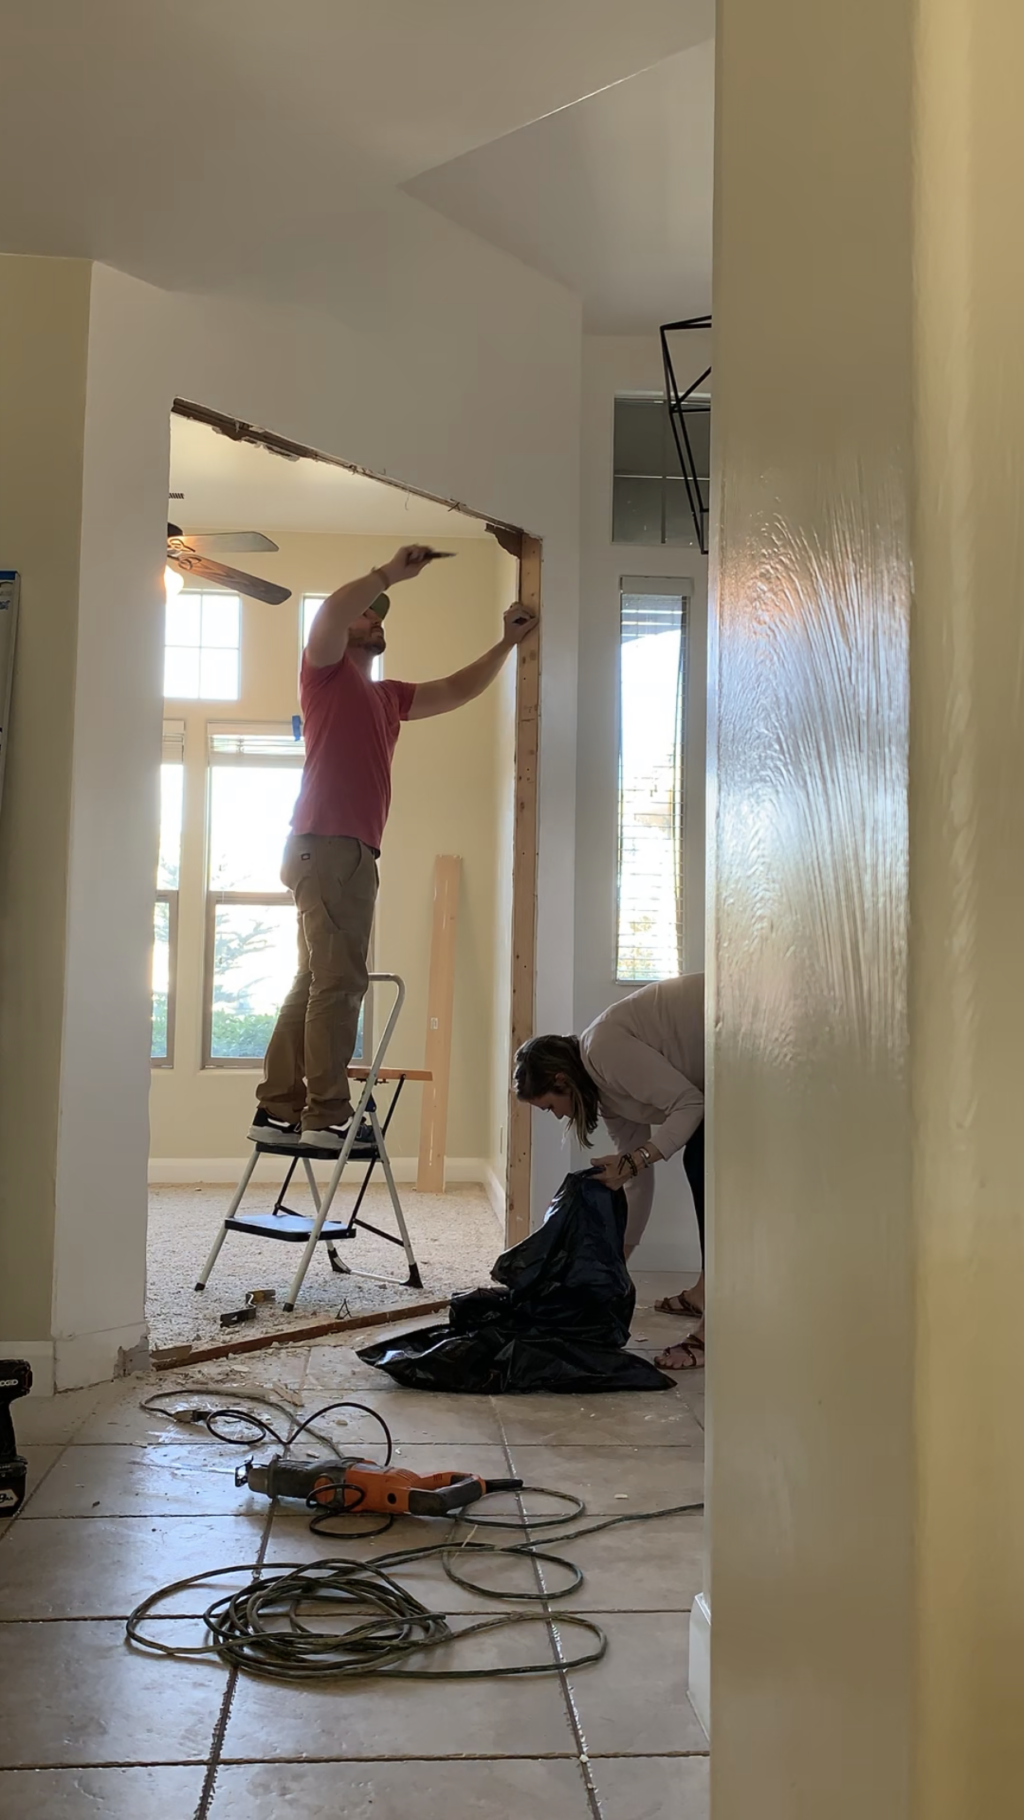
Let me tell you a little bit about this awesome family and what we did at their house. A couple of years ago their oldest son was diagnosed with a brain tumor, in response to his need, they had to close off the room just off their entryway and turn it into a bedroom. Closing off this room made the entryway dark and blocked the mountain view that they had. When Mo died in June, one of the most important things to his mom was that this room was opened back up to let the light back into the house. She wanted the room to be a place for her other boys to be able to hang out and play legos and do art projects. I think this is the scenario that a lot of young parents find themselves in, functional play space that invites creativity, but can also be presentable as an adult room. Ya feel me?
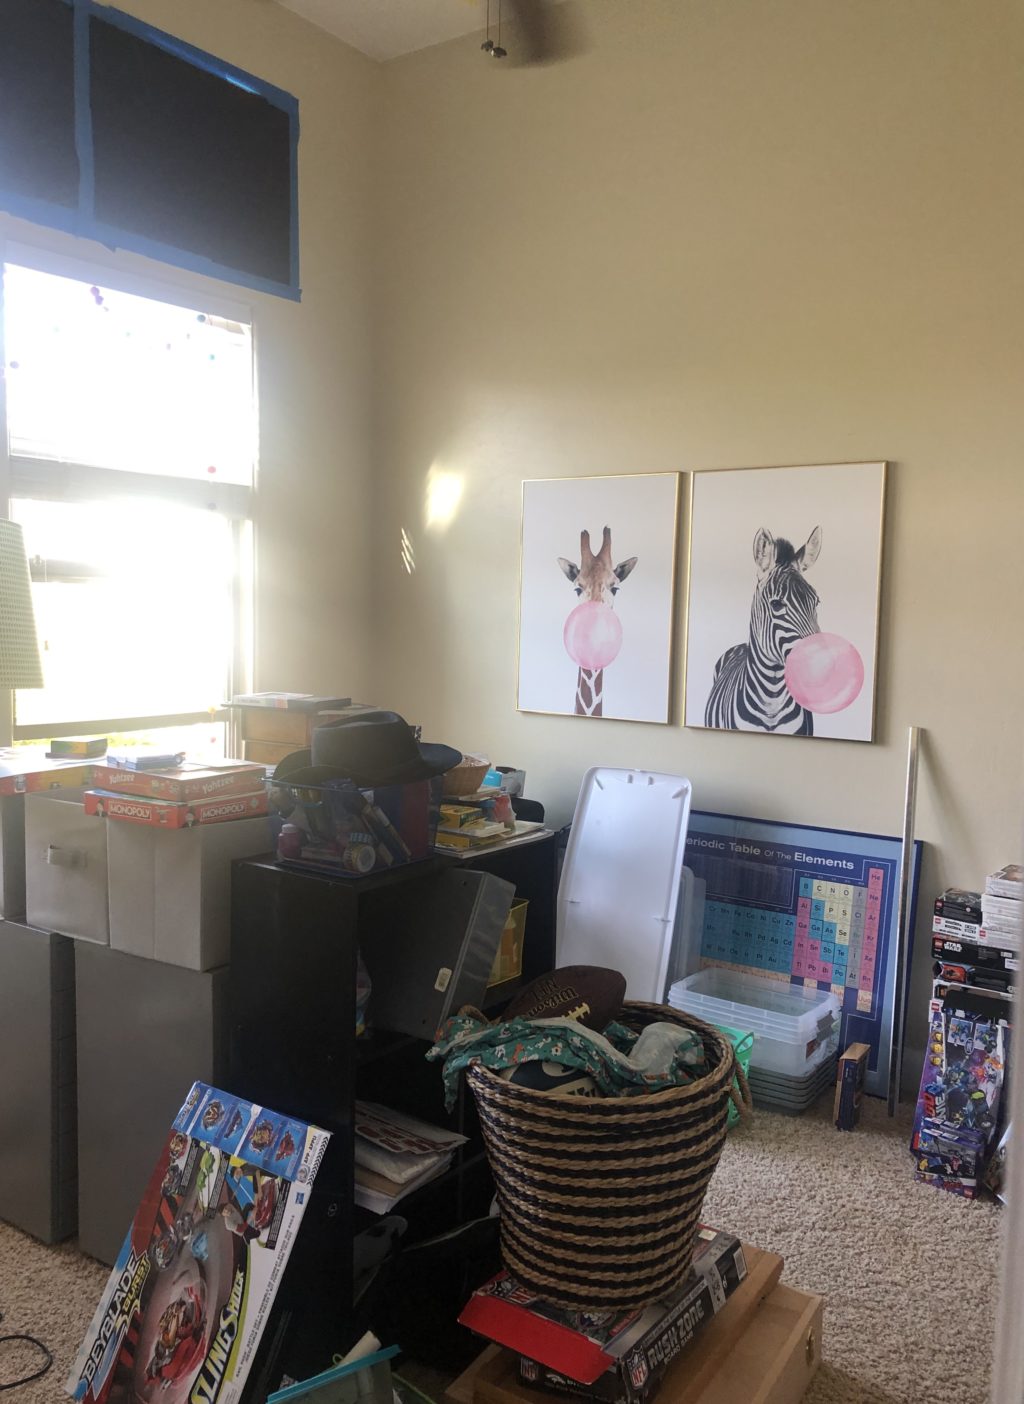
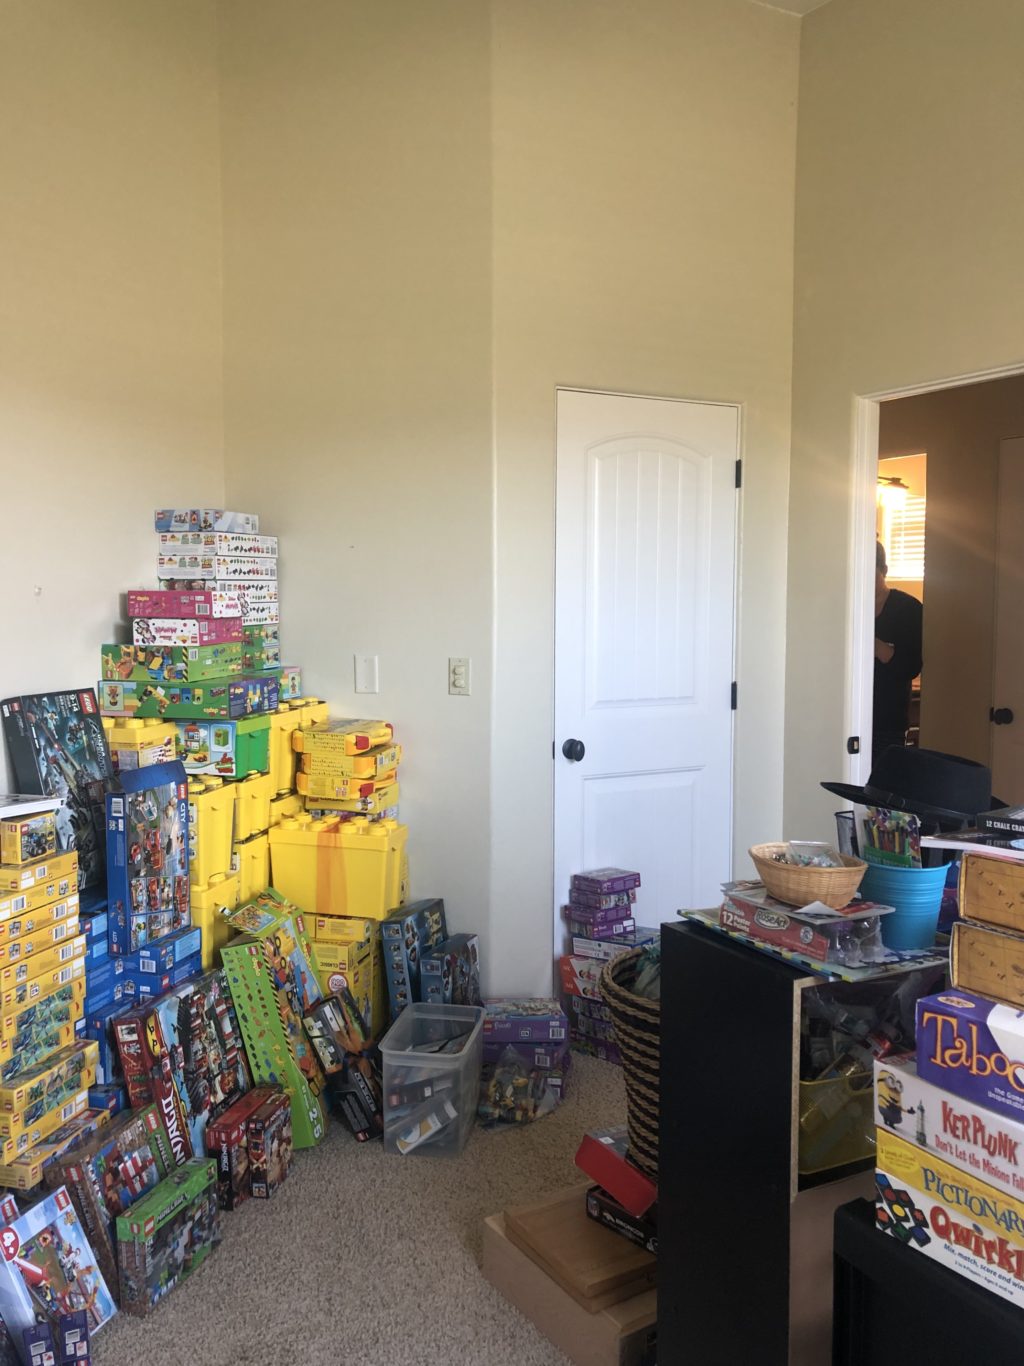
The first thing that we did was demo the wall. Man, what a difference it made! Once the space was opened back up, and the new doorway was closed off again it was ready for the overhaul of a lifetime!
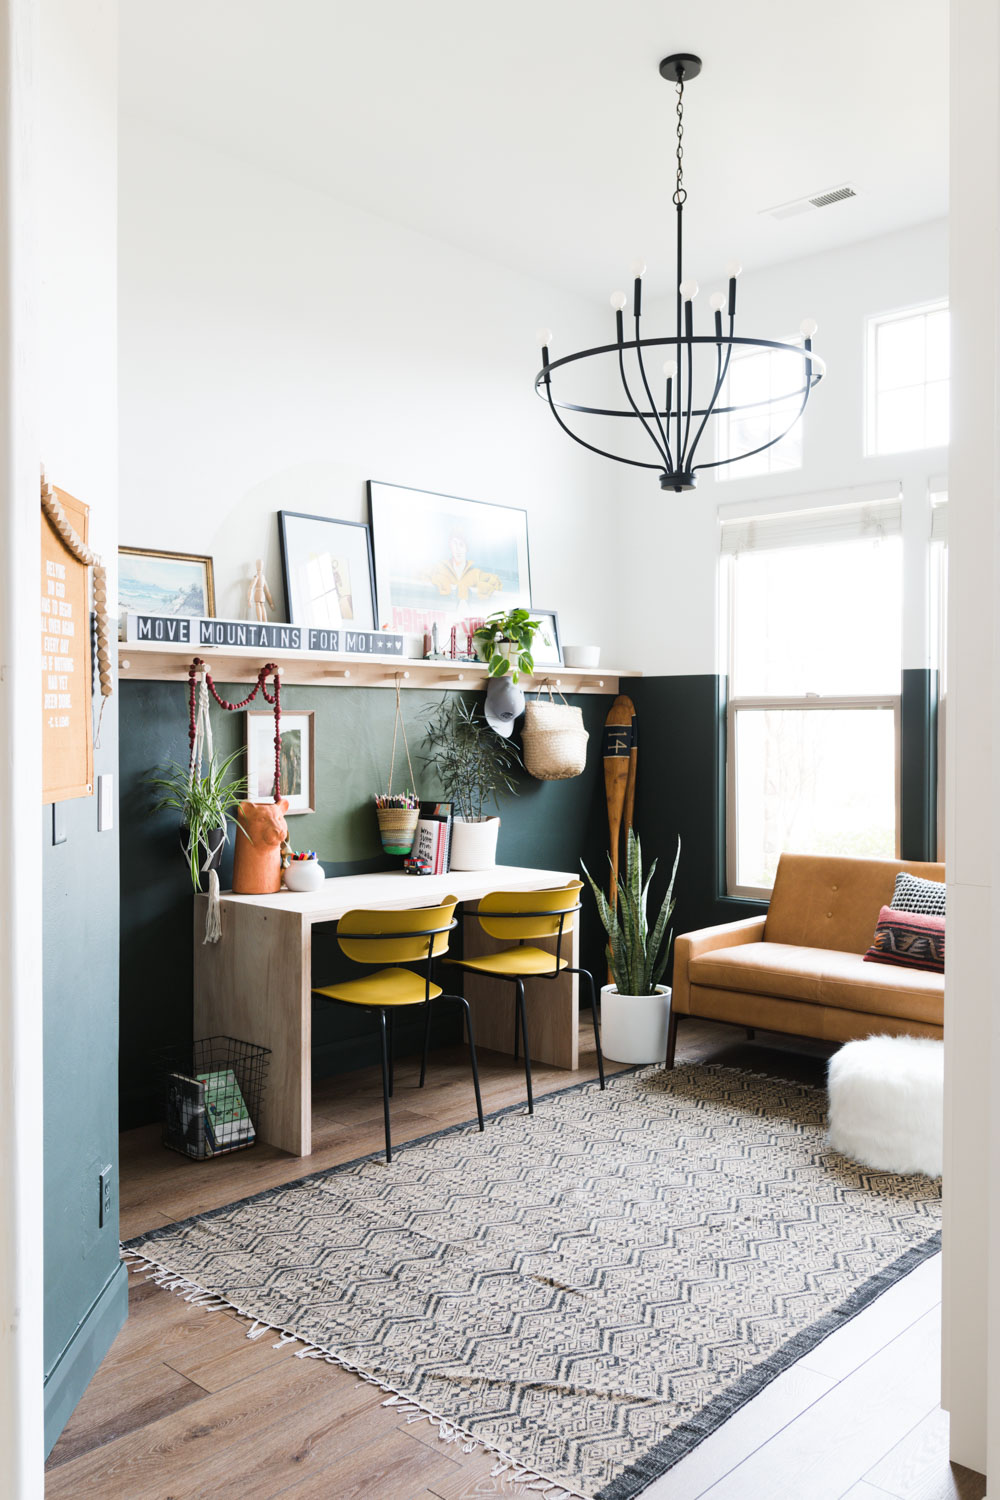
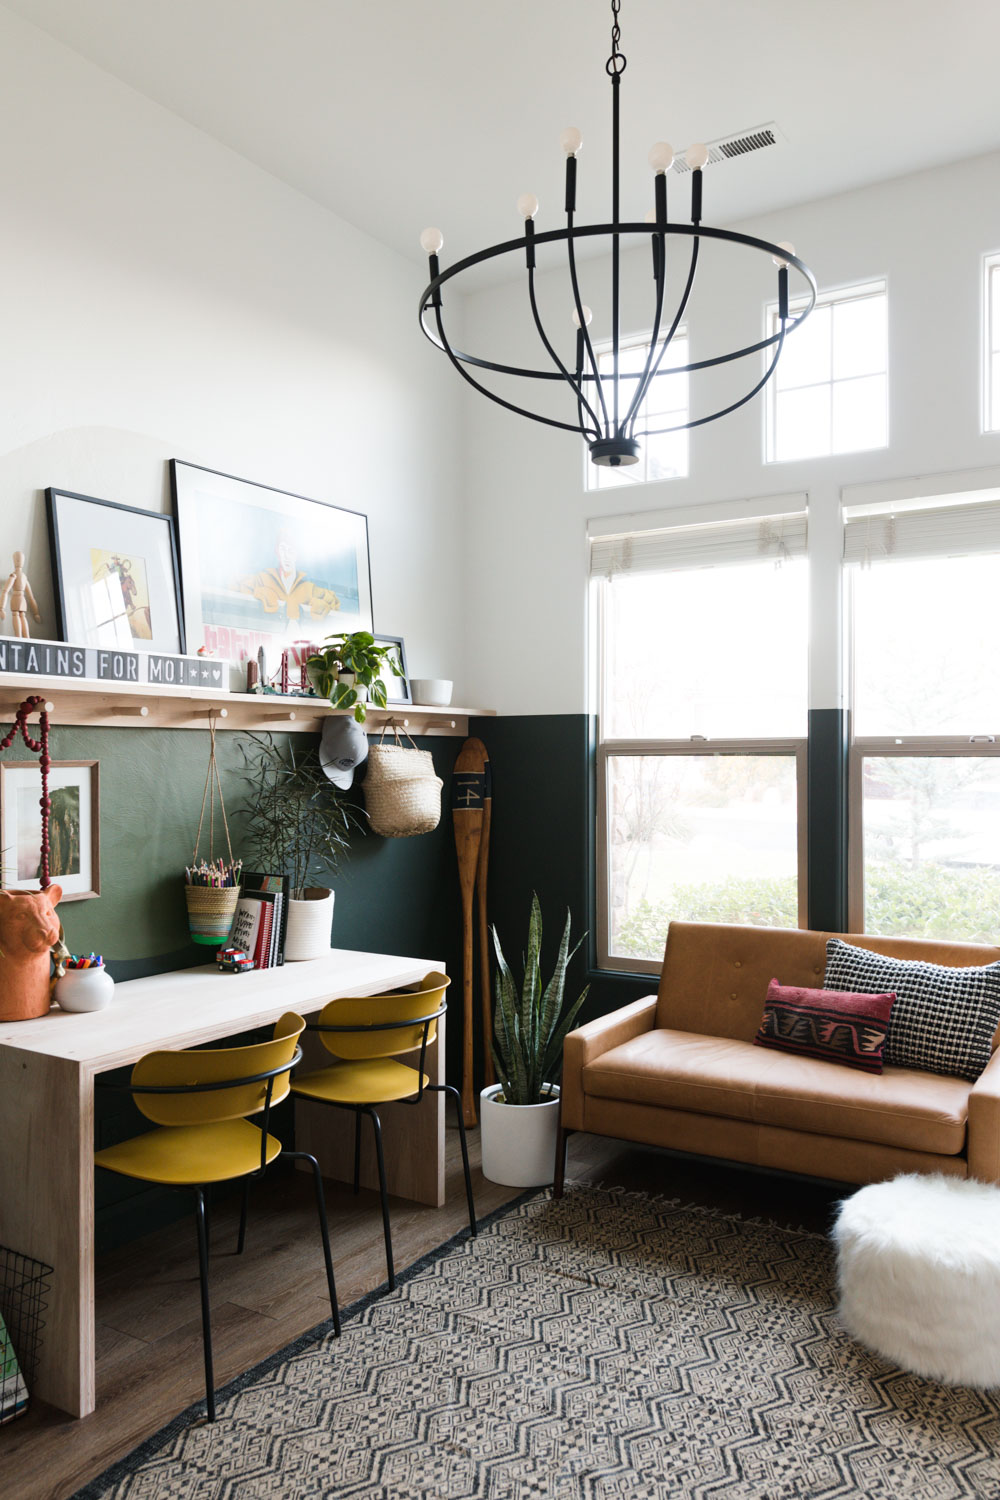
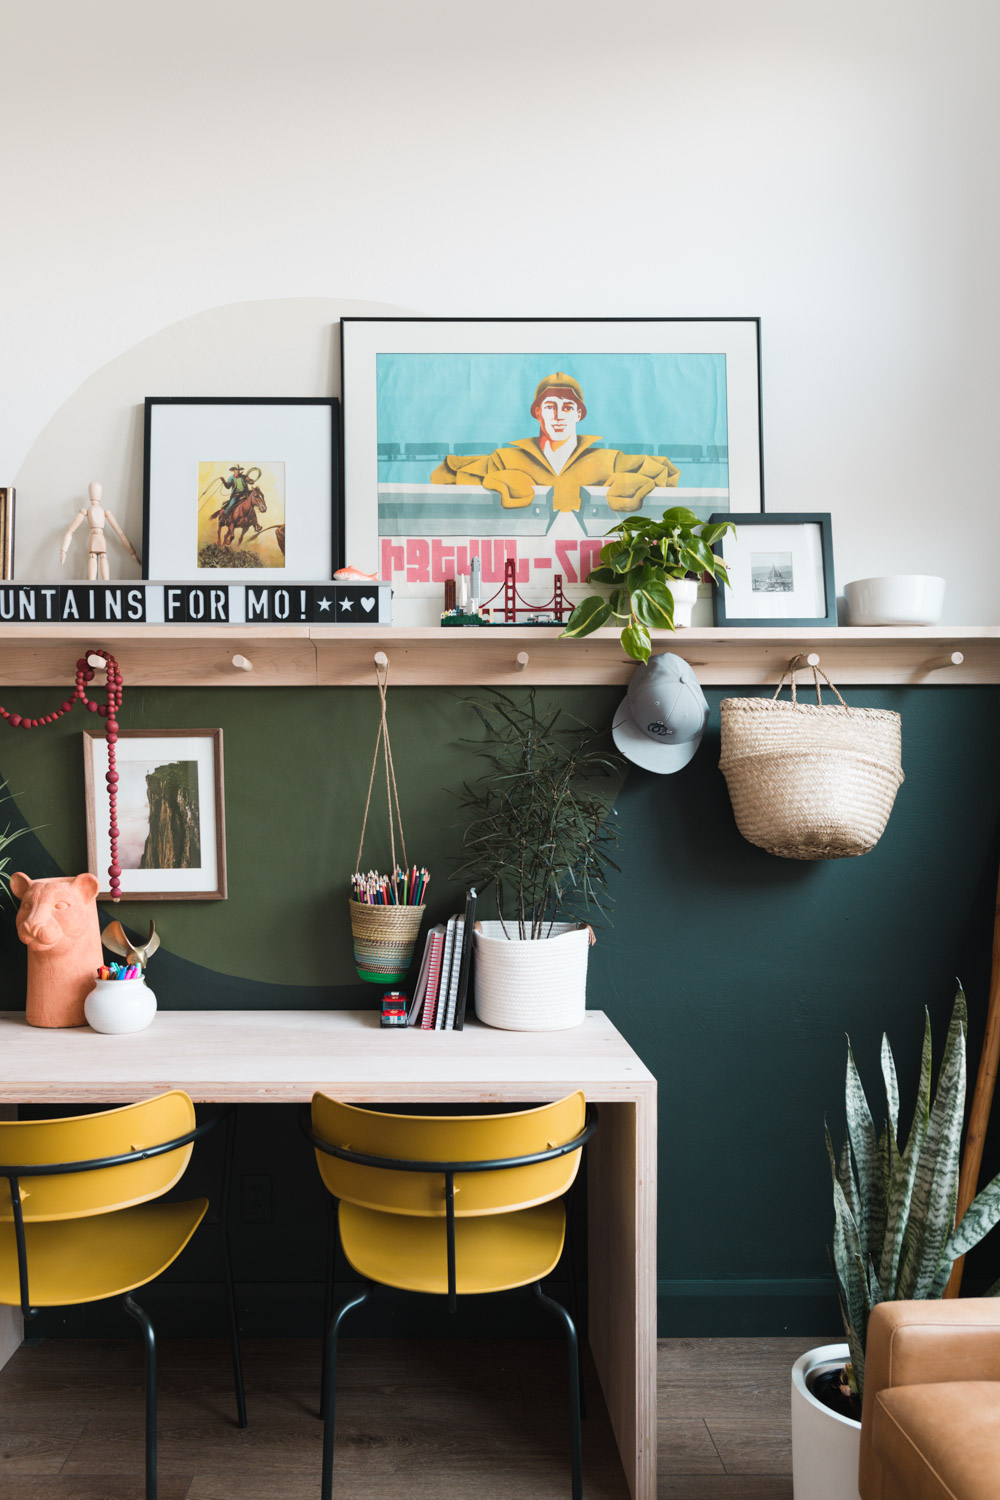
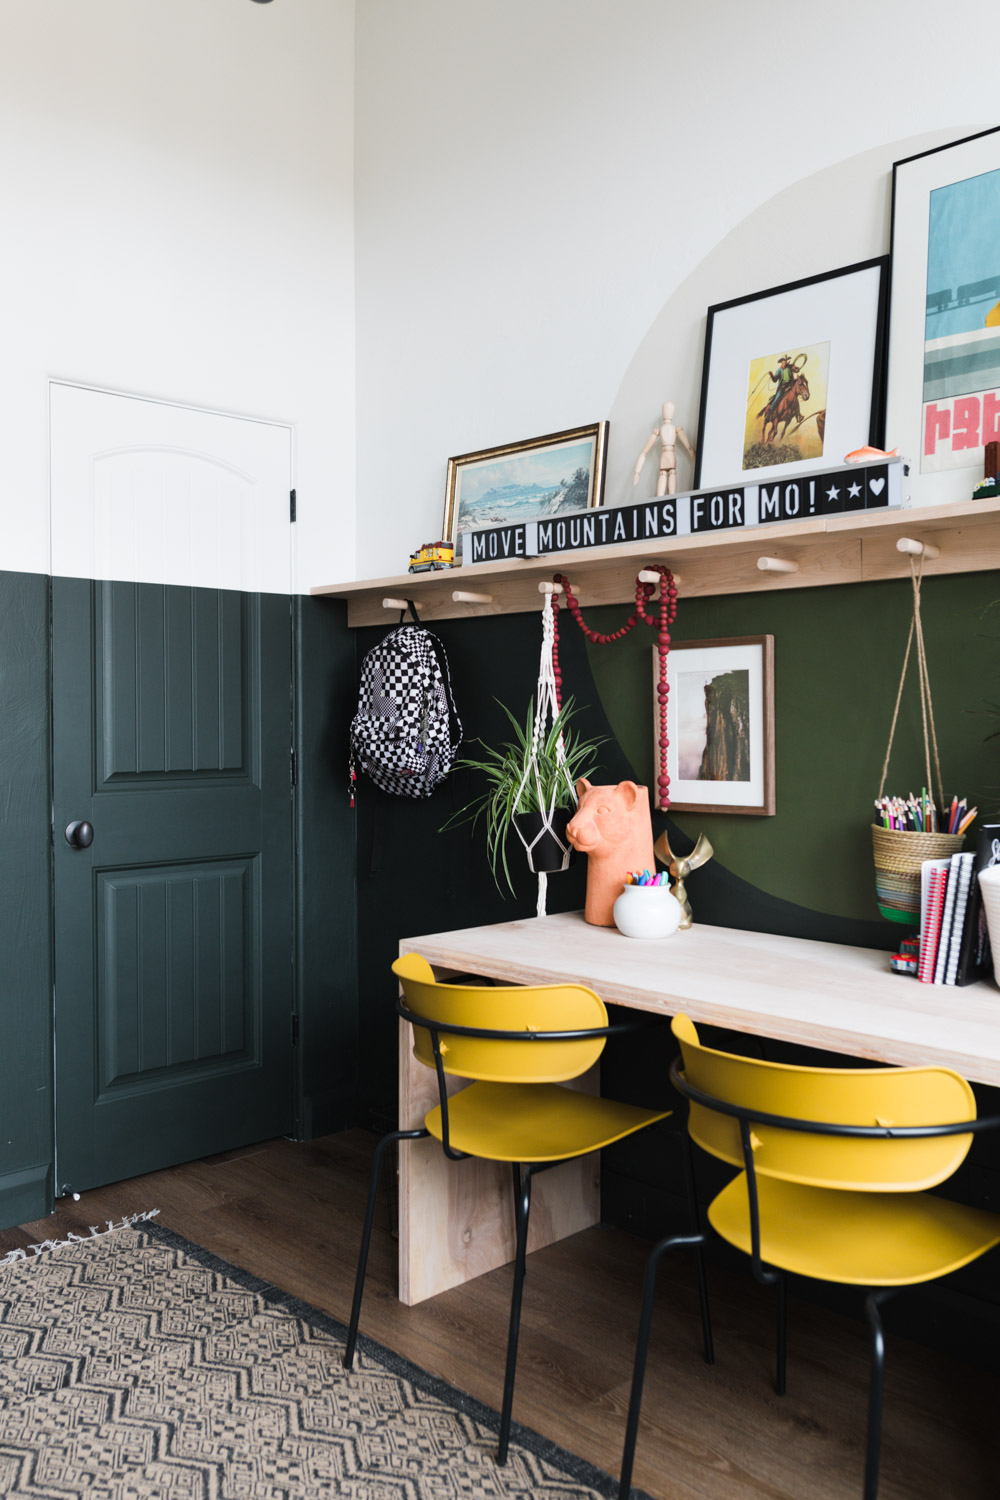
Doesn’t the dark green interior make all the difference in the world!? The space is colorful without being too loud and has plenty of natural elements to ground it. It’s the perfect mix of playful and approachable. And honestly, the combo of the green walls, yellow chairs from Article and raw wood is just so good!!
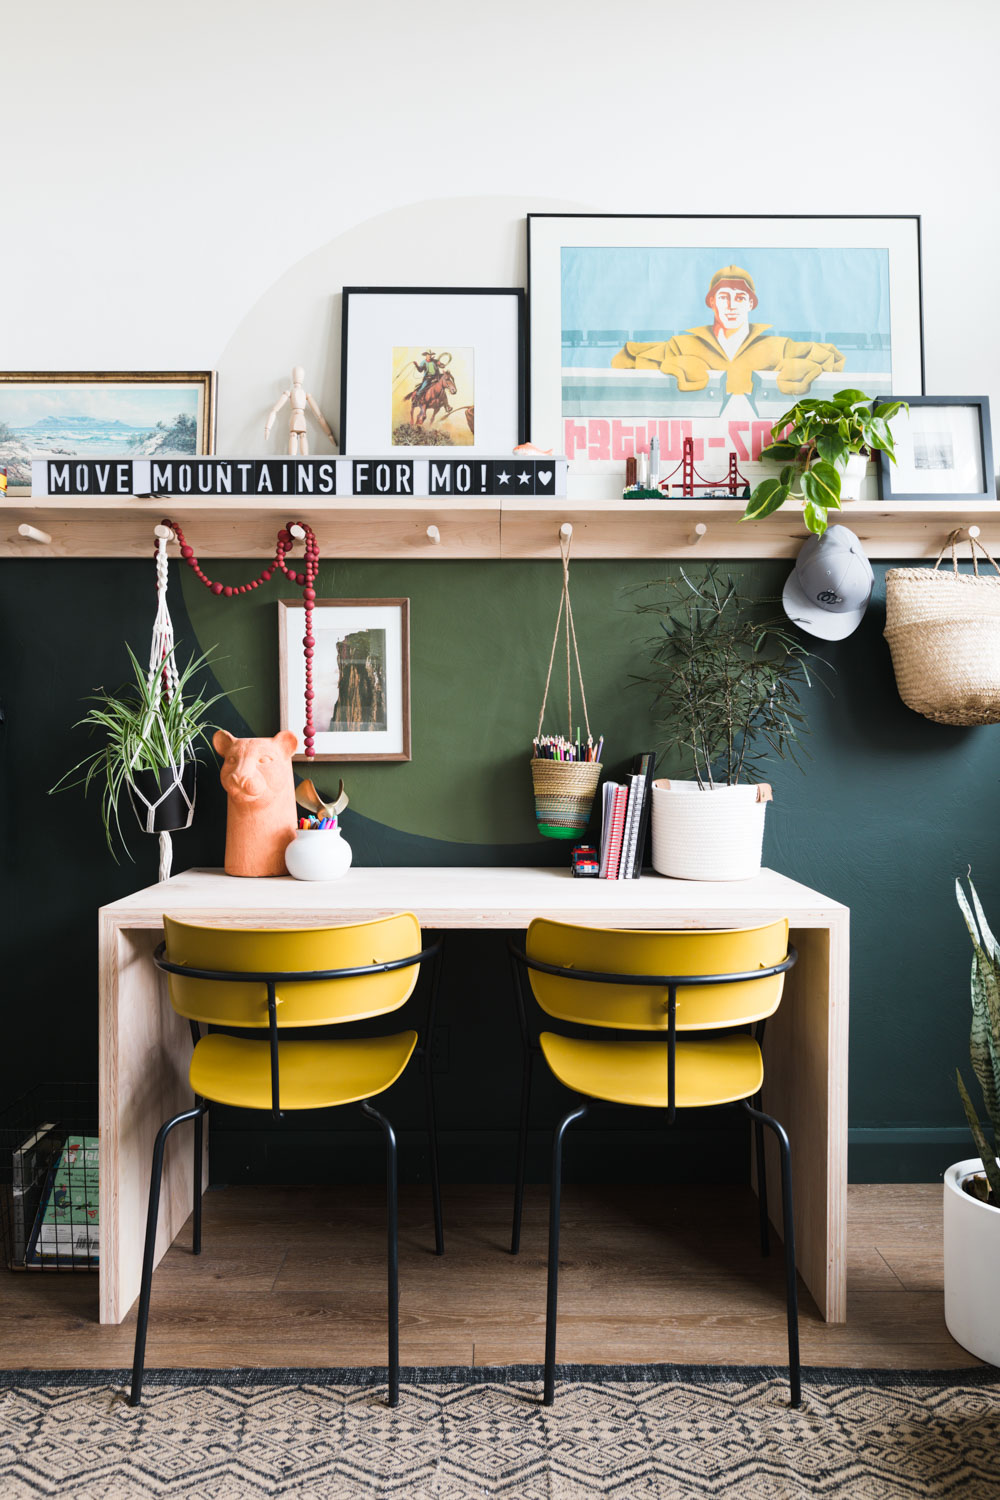
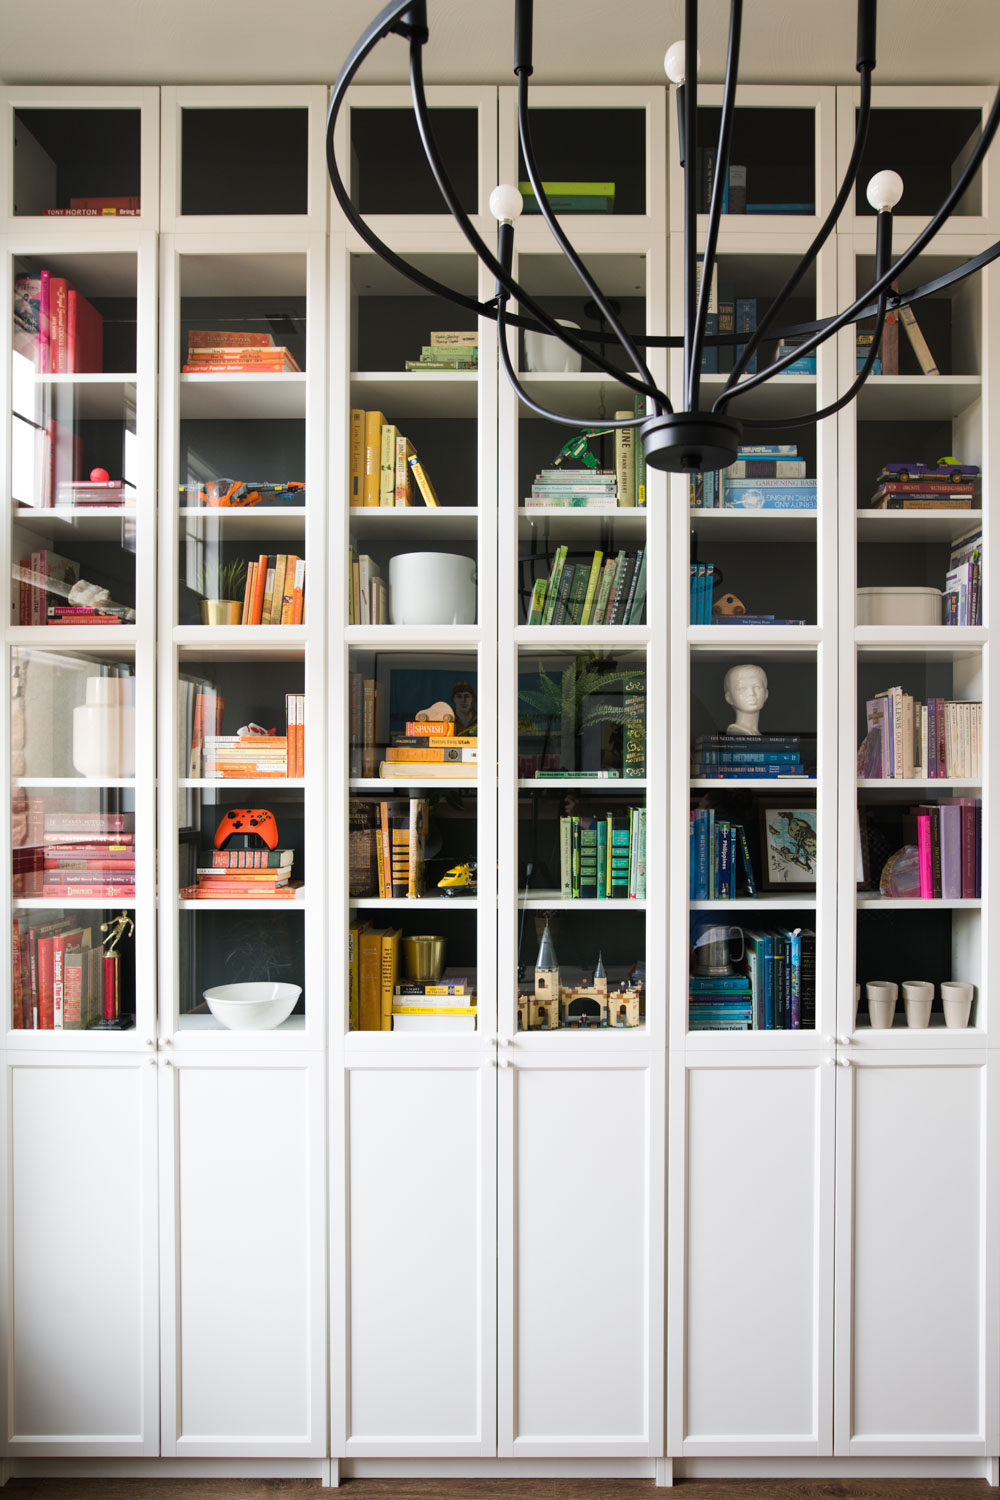
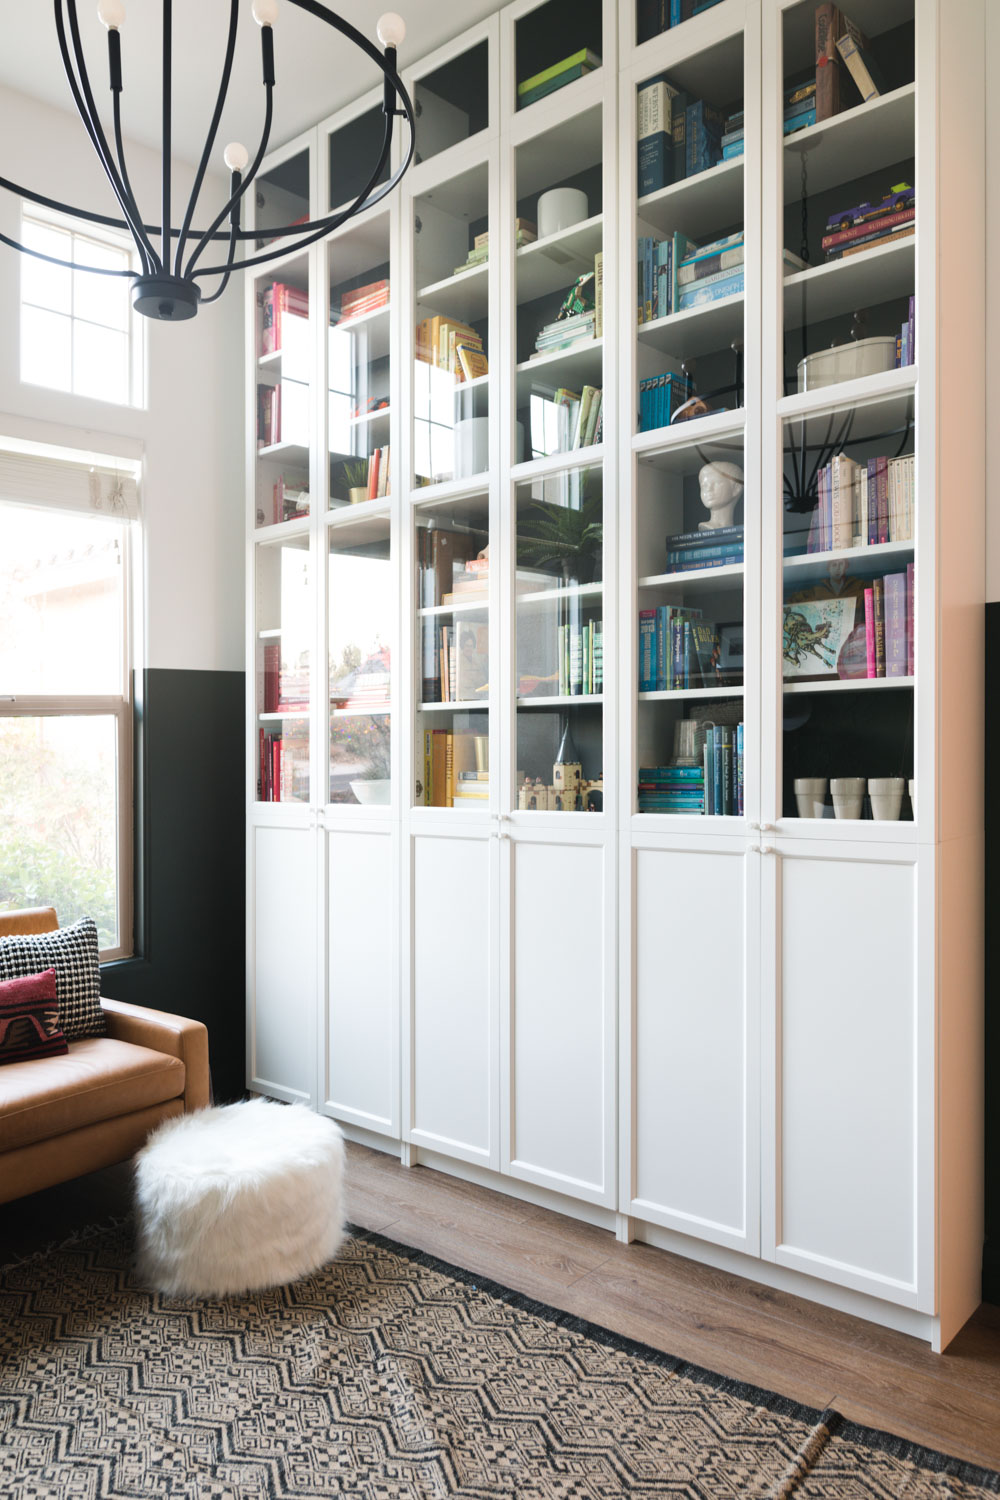
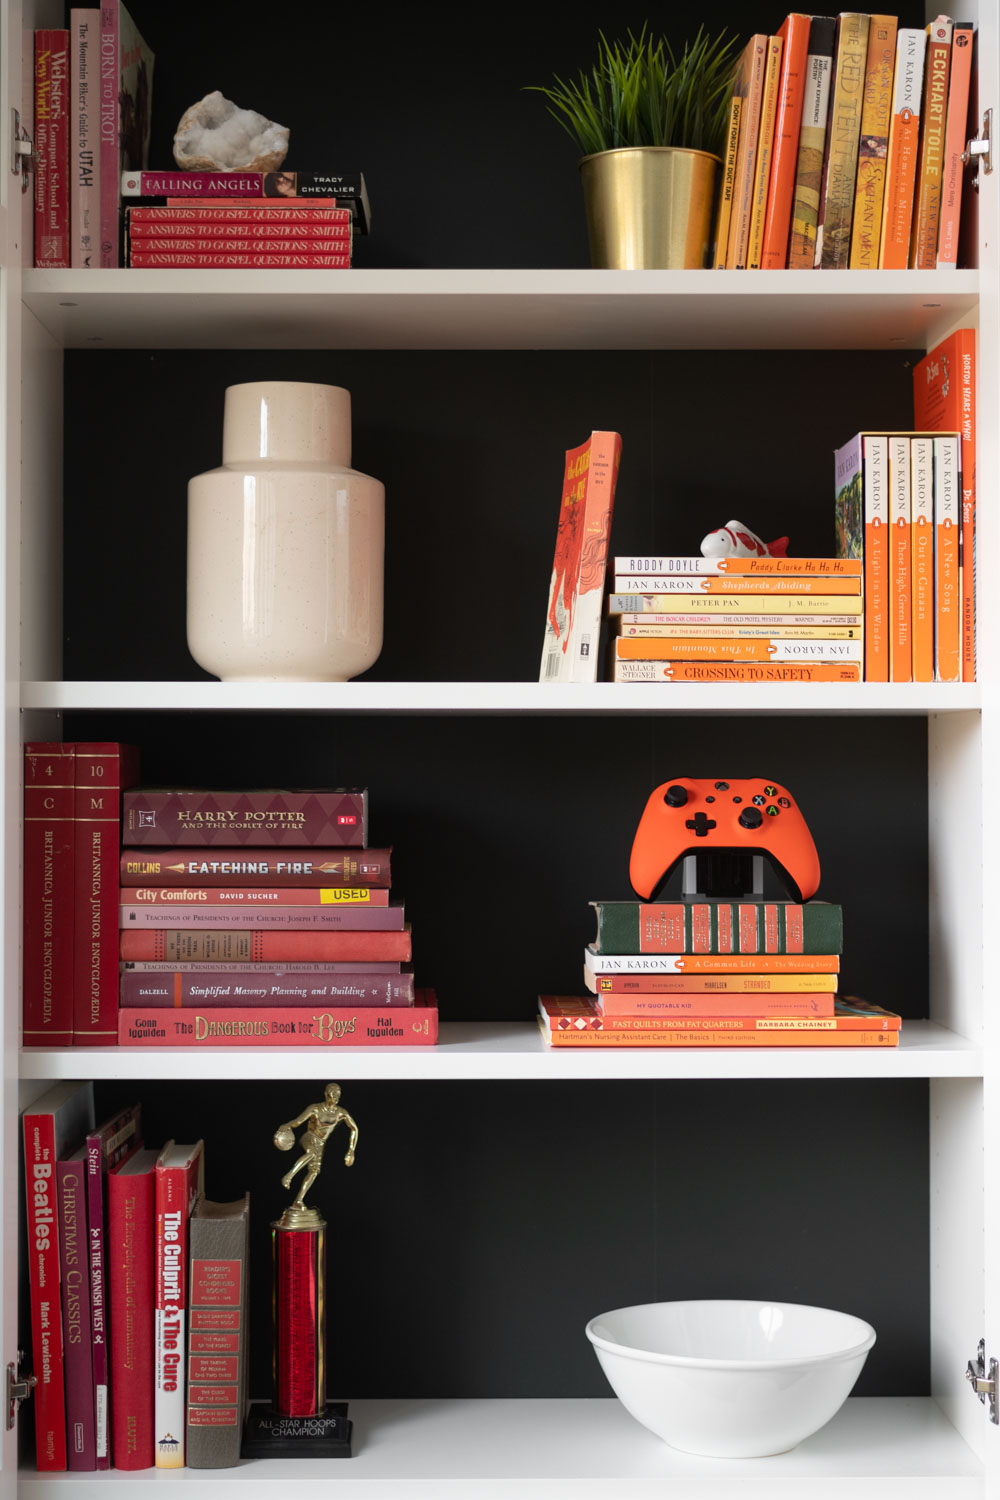
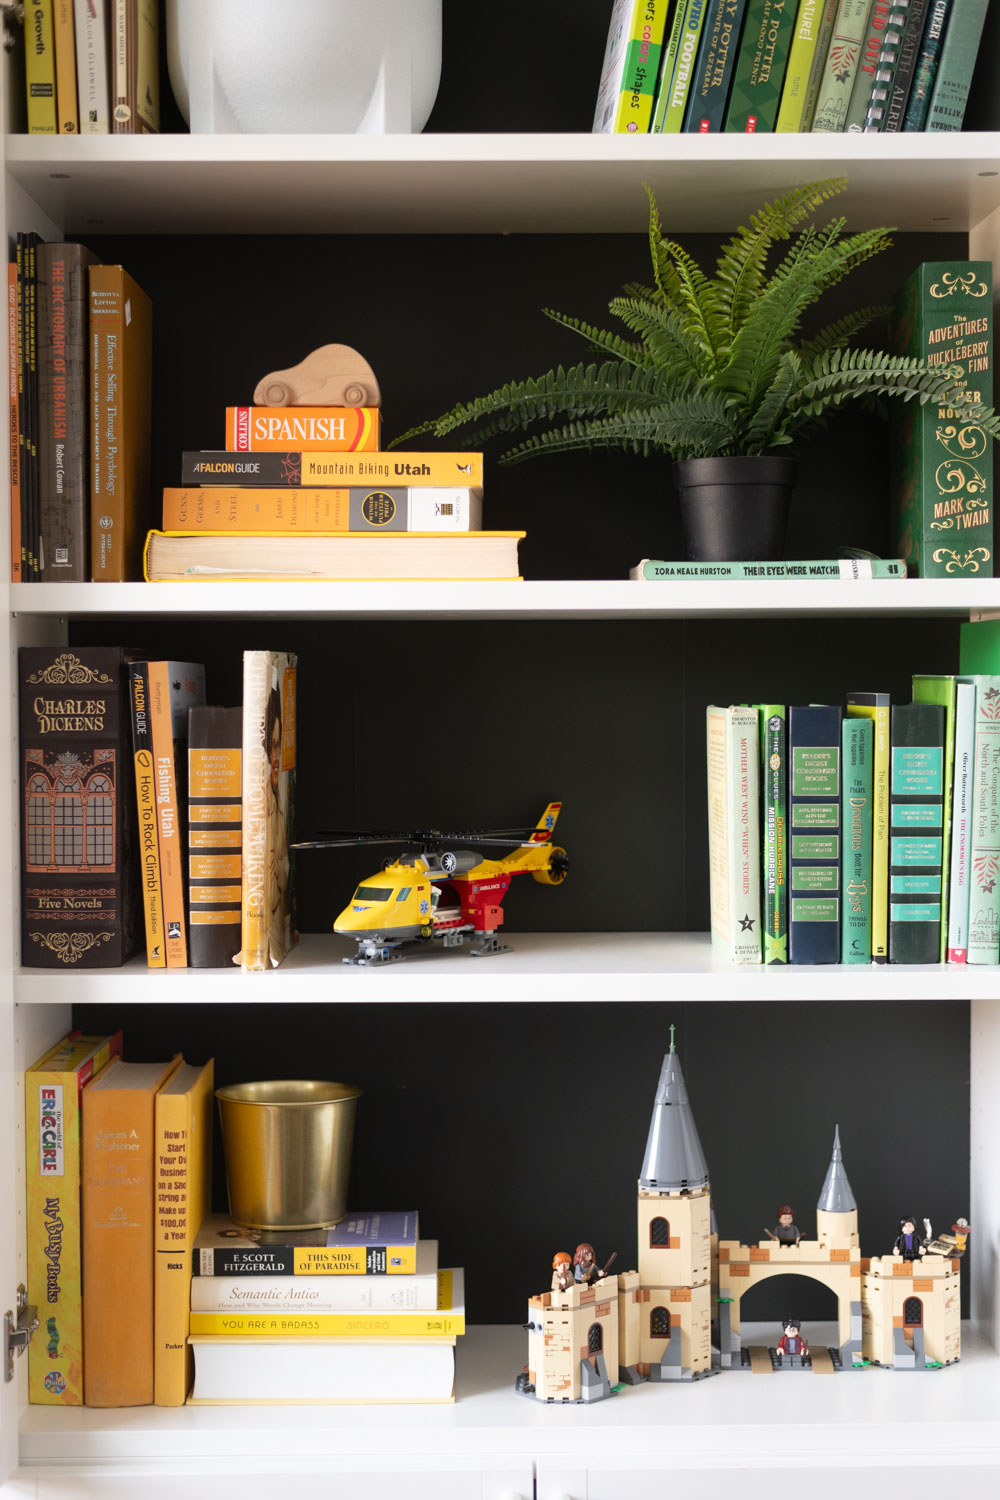
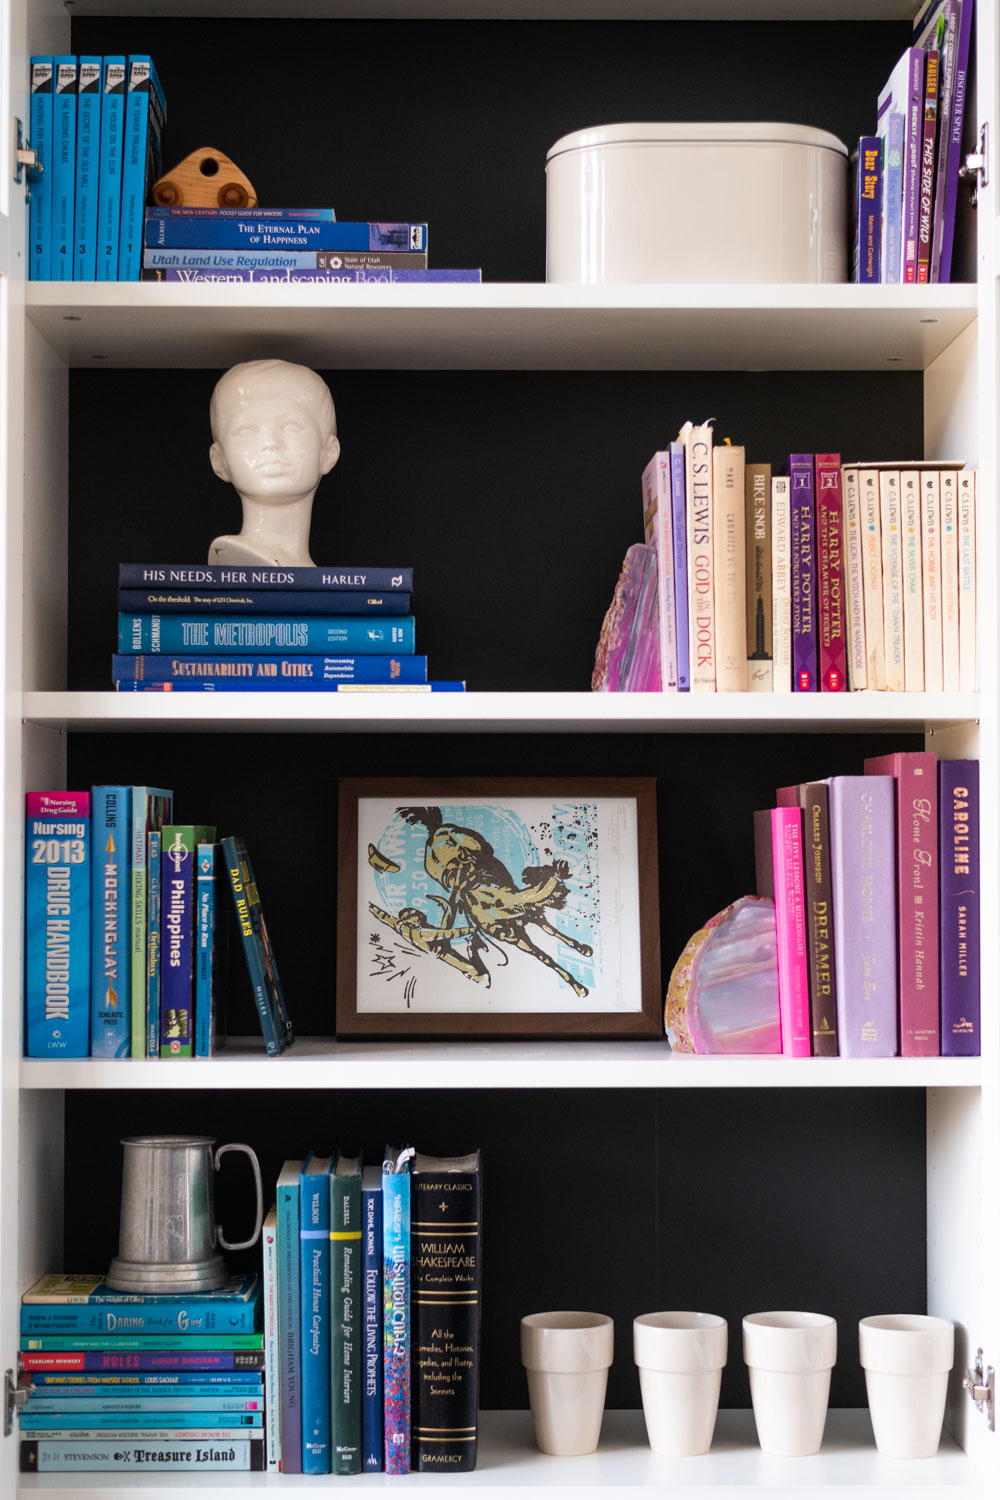
This room has massive ceilings and we took advantage of every square inch of it with our floor to ceiling IKEA bookcase hack. I am obsessed with the ROYGBIV books (Red, Orange, Yellow, Green, Blue, Indigo, Violet). To keep it extra playful we added some of the boys favorite lego builds into the mix!
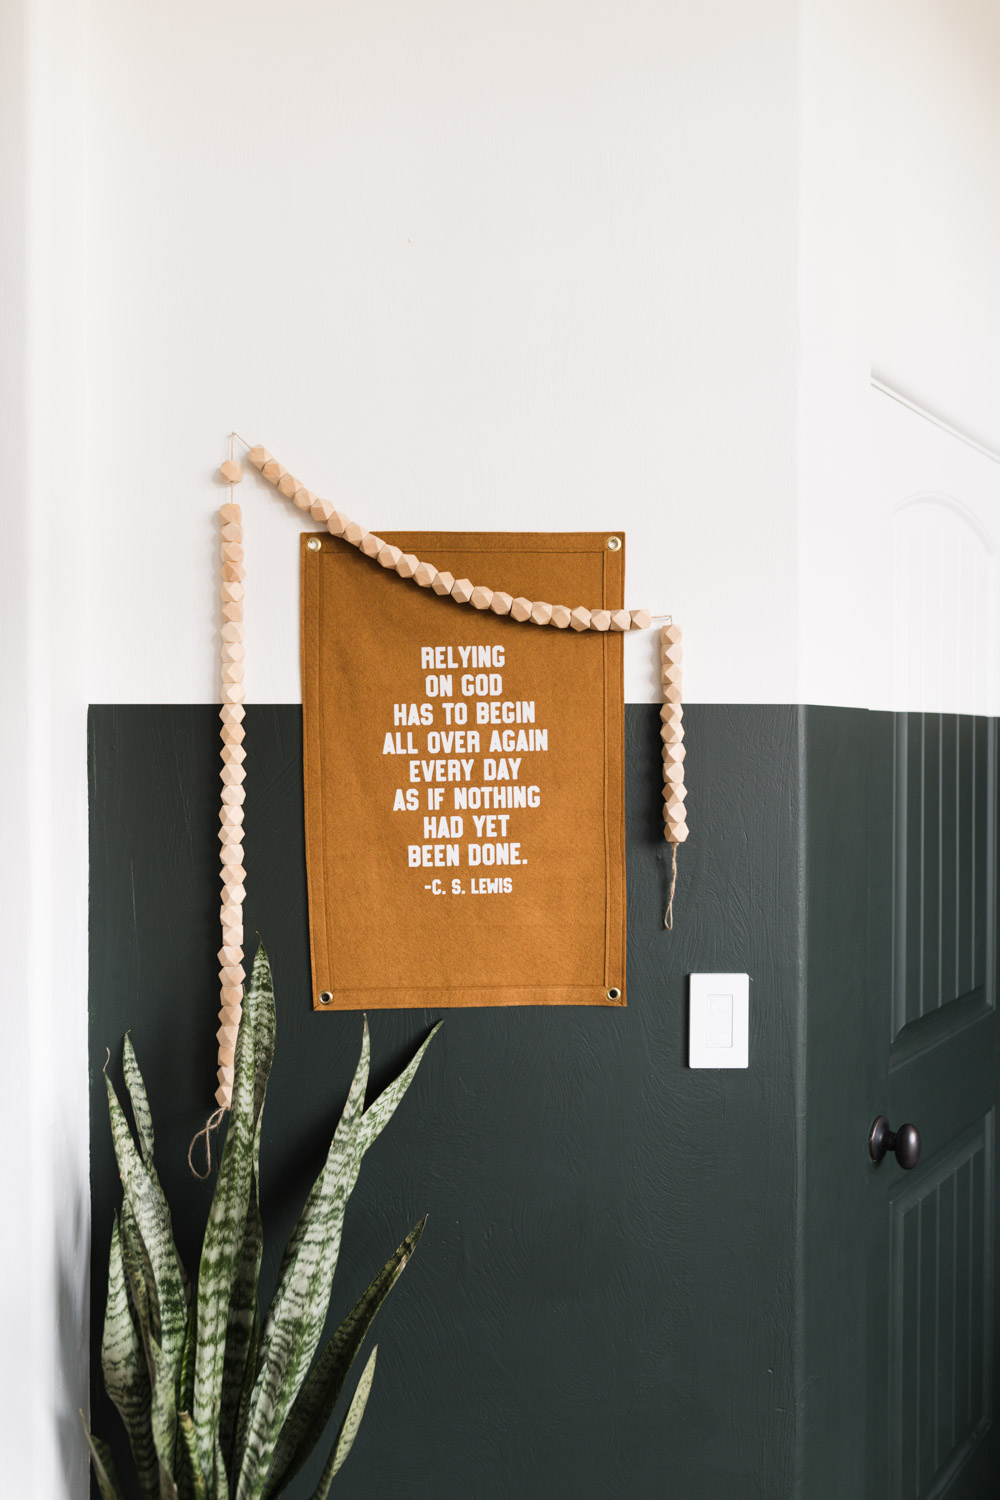
My favorite part of the space though is the paint treatment. Want to know how to replicate it??! Oh good! I used a combo of the GREATEST white in the world, my secret formula Mandi White and Jasper SW 6216.
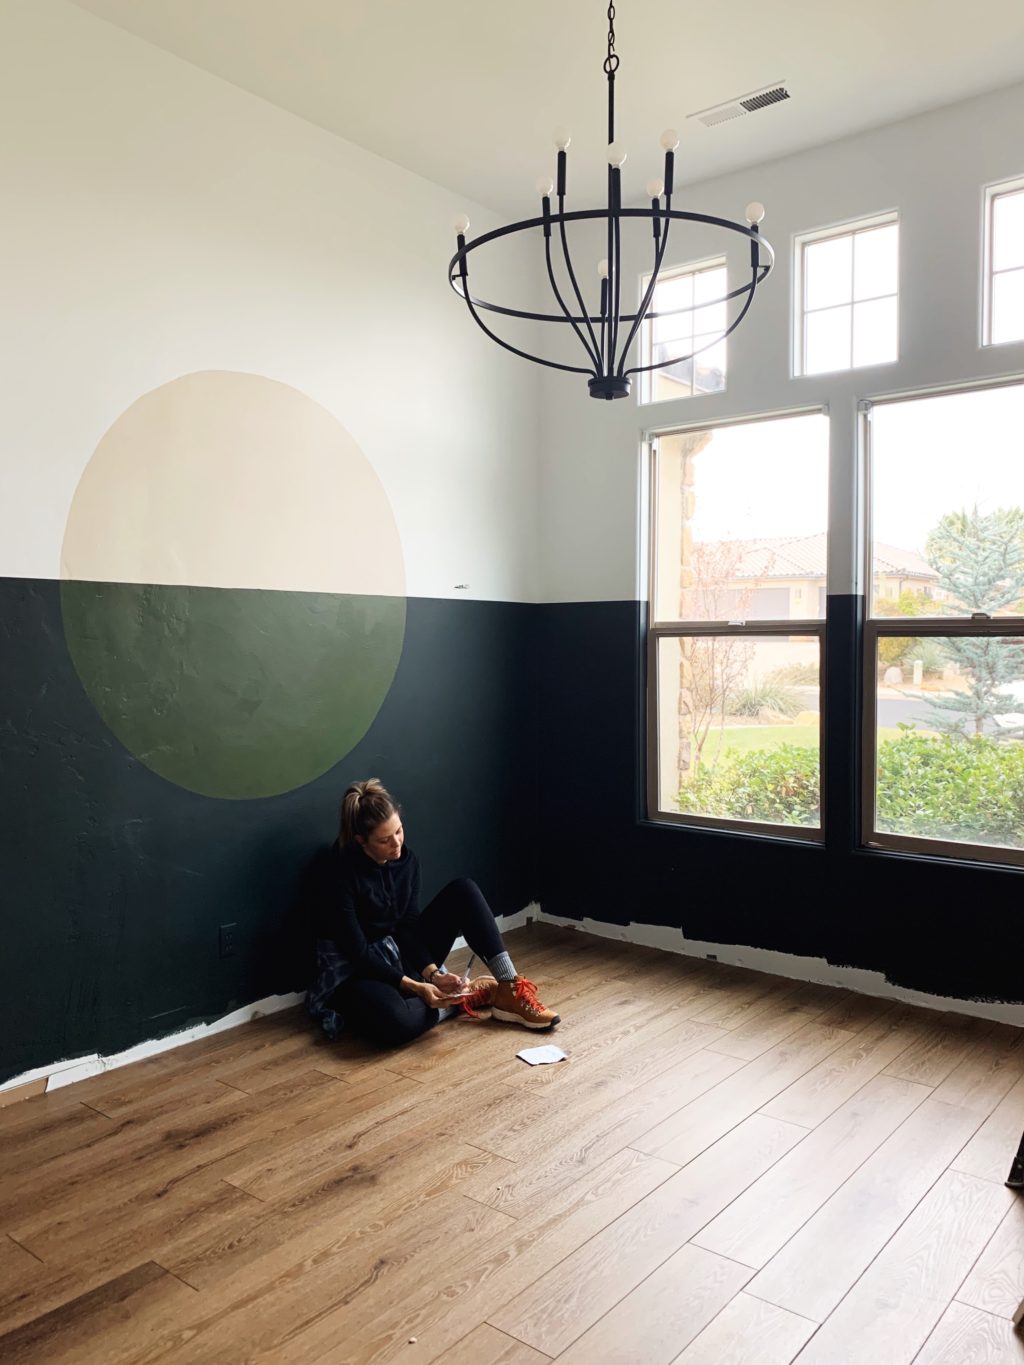
We started by painting the whole space in Emerald Interior Matte. I LOVE Sherwin-Williams Matte sheen, especially when you want to disguise wall texture as much as possible. (Which we did because the walls have their original heavy texture, texture from when the room was closed off, and now texture from when we opened it back up.) The lower the sheen in a paint finish, the less light it reflects, and the less texture shows. It’s actually kind of magical!
The next step is to set up a laser level to mark the entire room for the accent color. I wanted everything, closet door included, to have this color on it. A laser level is a must for a project like this, floors and ceilings are rarely level and so measuring up from the floor or down from the ceiling might not give you a level line around the room.
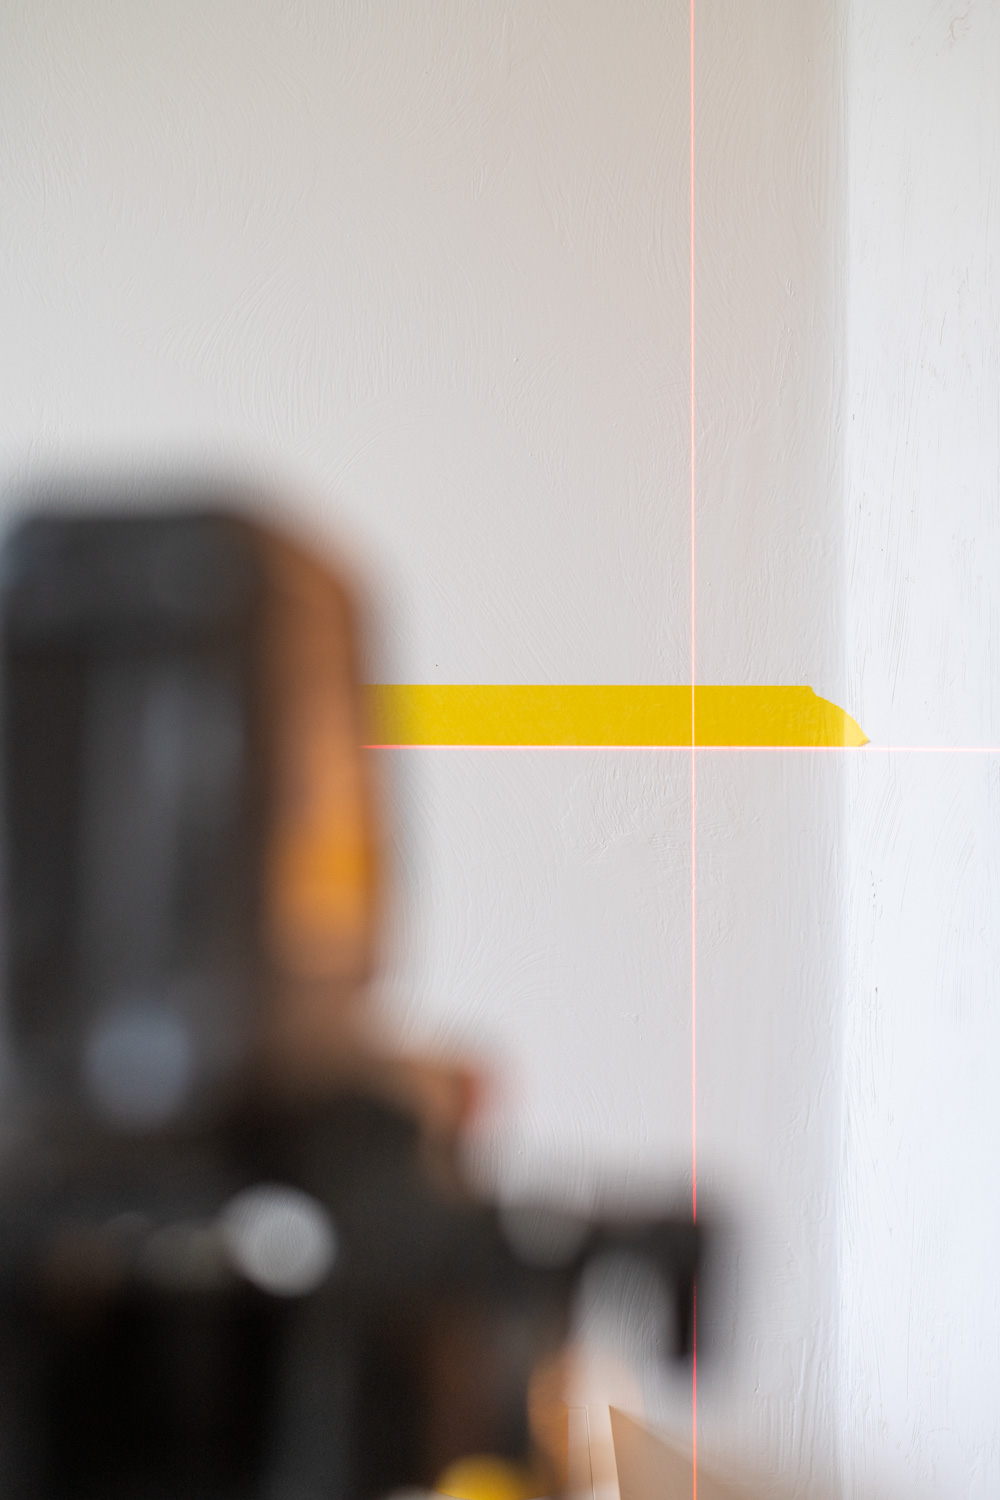
Following the laser level mark, I taped off the line with painters’ tape (if you are taping over a freshly painted area I highly recommend using Delicate tape so you don’t pull the new paint off the wall when you remove it!)
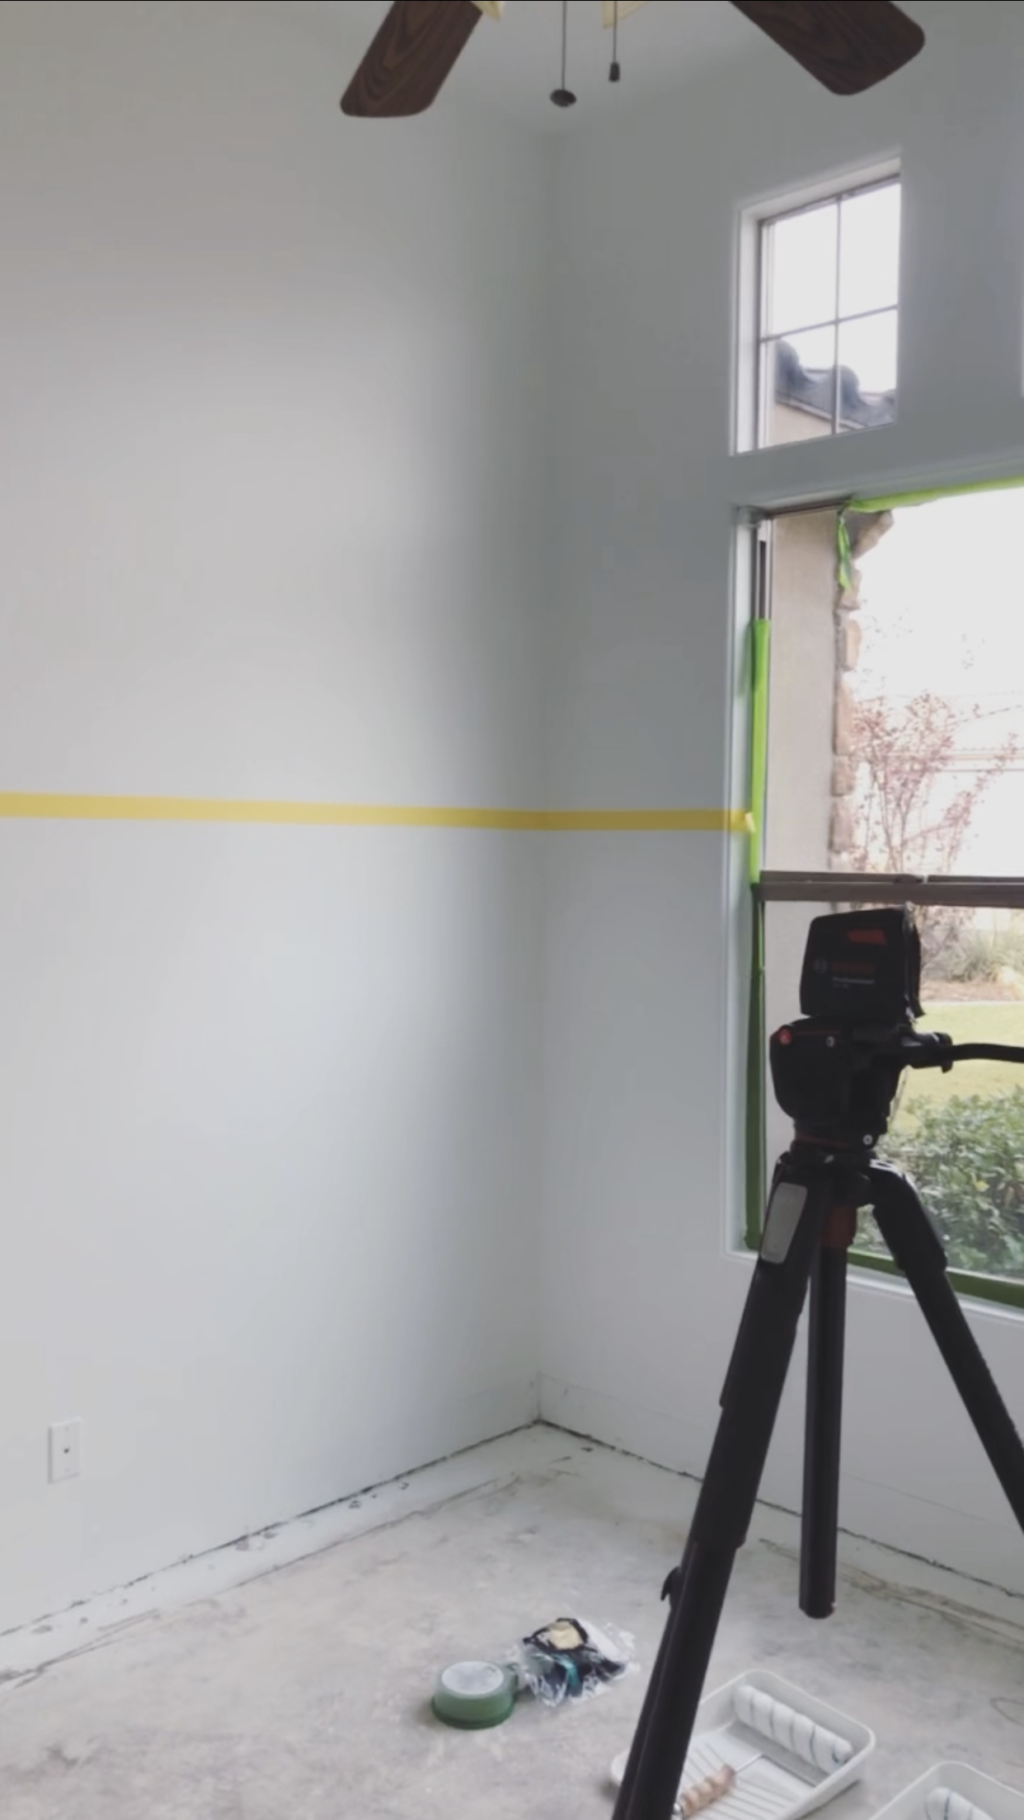
Getting a perfectly straight line is very easy, it just requires one small step that will make all the difference in the world. Regardless of the brand or type of tape you are using, if you are painting on a textured surface, you’ve got to follow this simple hack.
Once your tape is up, use a brush to paint the main wall color (in our case Mandi White) along the tape line. This will seal the edge and fill any negative space that the tape couldn’t reach inside the wall texture. Essentially, it’s bleeding the paint, you’re just doing it intentionally, so the bleed is camouflaged with the Mandi White wall color. Cool right?!
After this is dry, it’s time to paint the accent color! A tip when you are painting: make sure the paint is freshly shaken. The longer paint sits, the more it separates.
Remove your painters’ tape while the paint is still tacky if you can. Slowly peel it back holding it at a 45-degree angle and watch your perfect paint line reveal itself. Oh, and when you’re done, wipe the puddle of drool off of the floor so that you don’t slip.
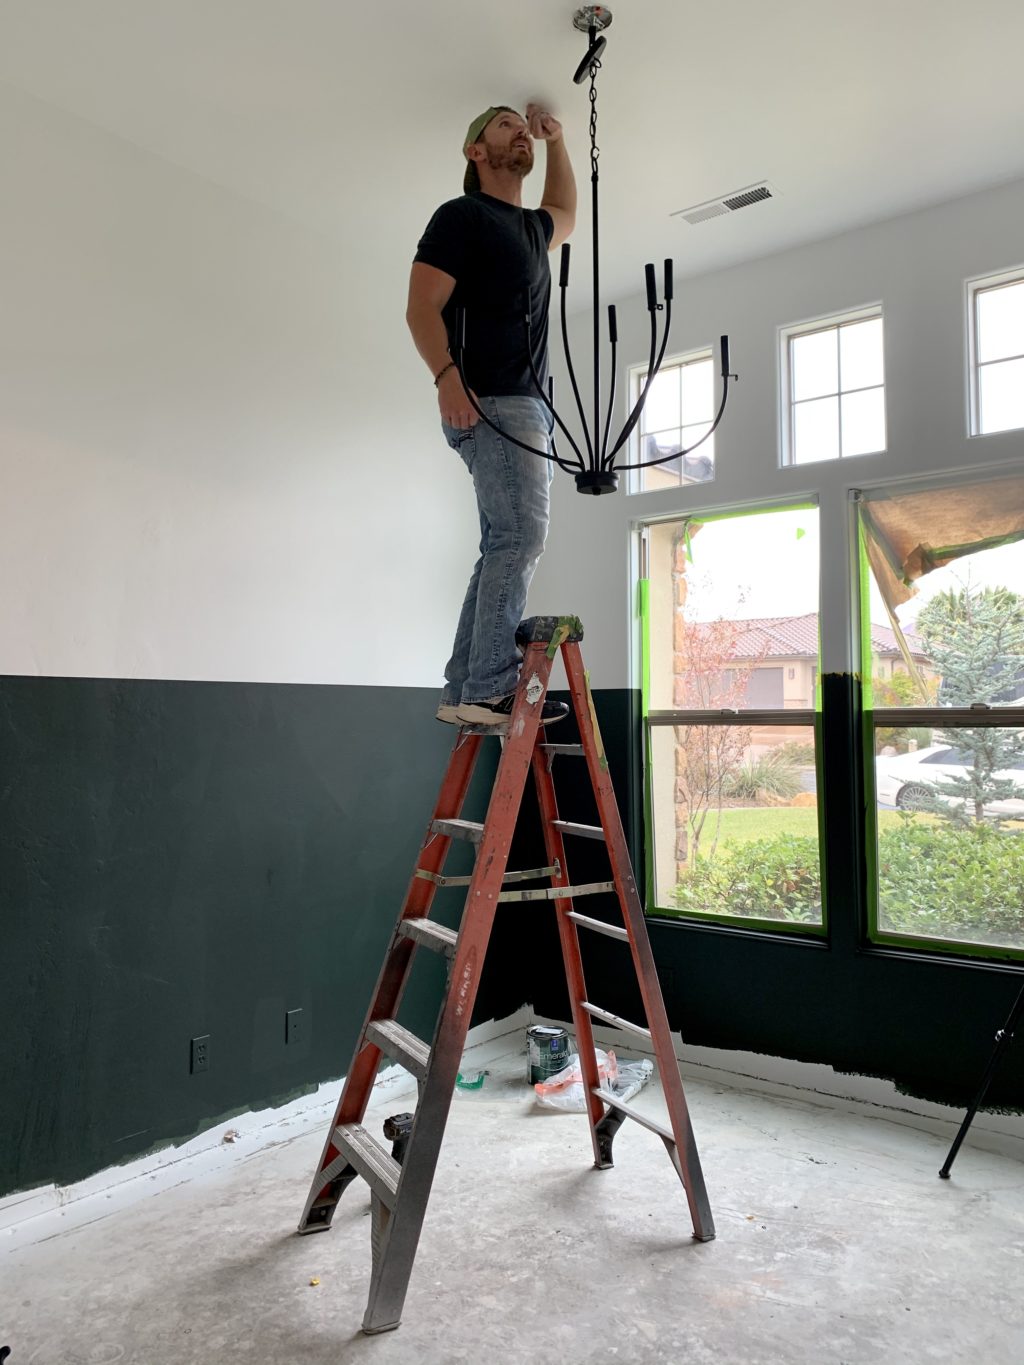
After I had gotten to this point, my gut told me that we needed to do something more exciting on the wall. I’ve been dying to do a giant single circle pattern forever and this was the perfect opportunity.
How to Paint A Giant Circle on a Wall
Start by finding the center of your circle.
For me this was the center of the wall, but you don’t have to do that, you can totally create a circle that is off centered or overlaps onto an adjoining wall!
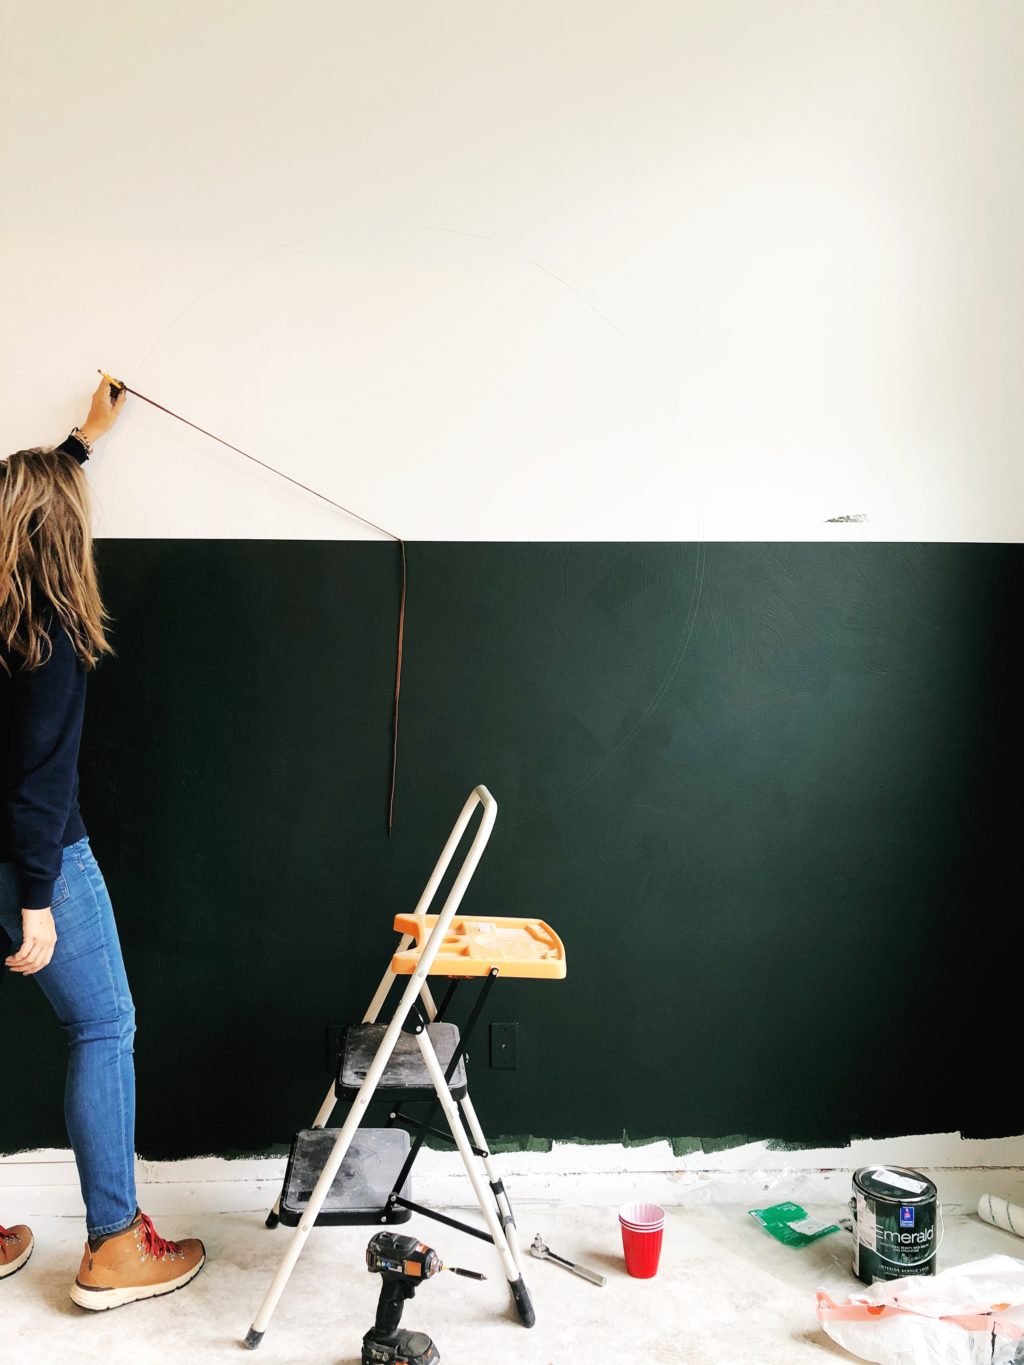
Draw the circle
This part is super easy, and as my 10-year-old would say, “so satisfying.” Tie a pencil to a string that has zero stretch (the zero stretch is very important for a perfect circle!). Tack it to the wall in the center of where your circle will be. Extend the string and hold the pencil at a 90-degree angle from the wall. Keeping the string tight draw your circle!
Painting the circle
Cutting in (aka painting with a brush) is the best way to paint your circle, or at least to paint along the edges of it. Go nice and slow and follow the pencil line!
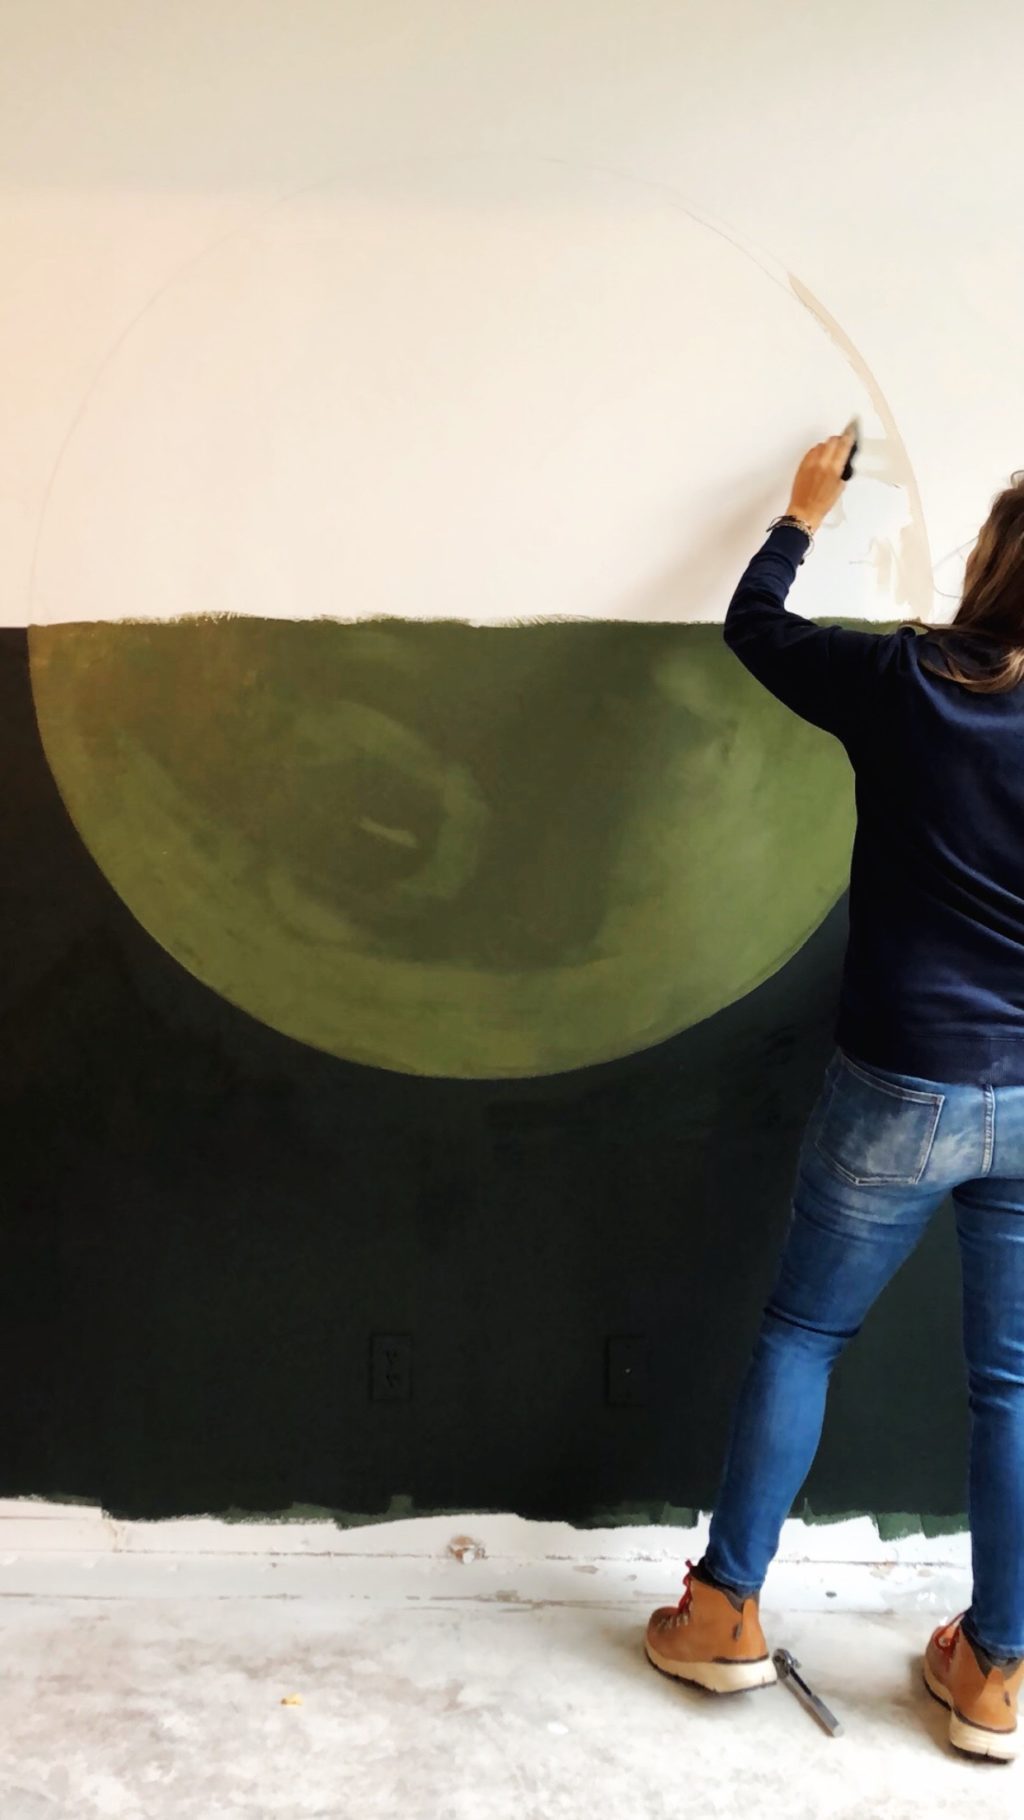
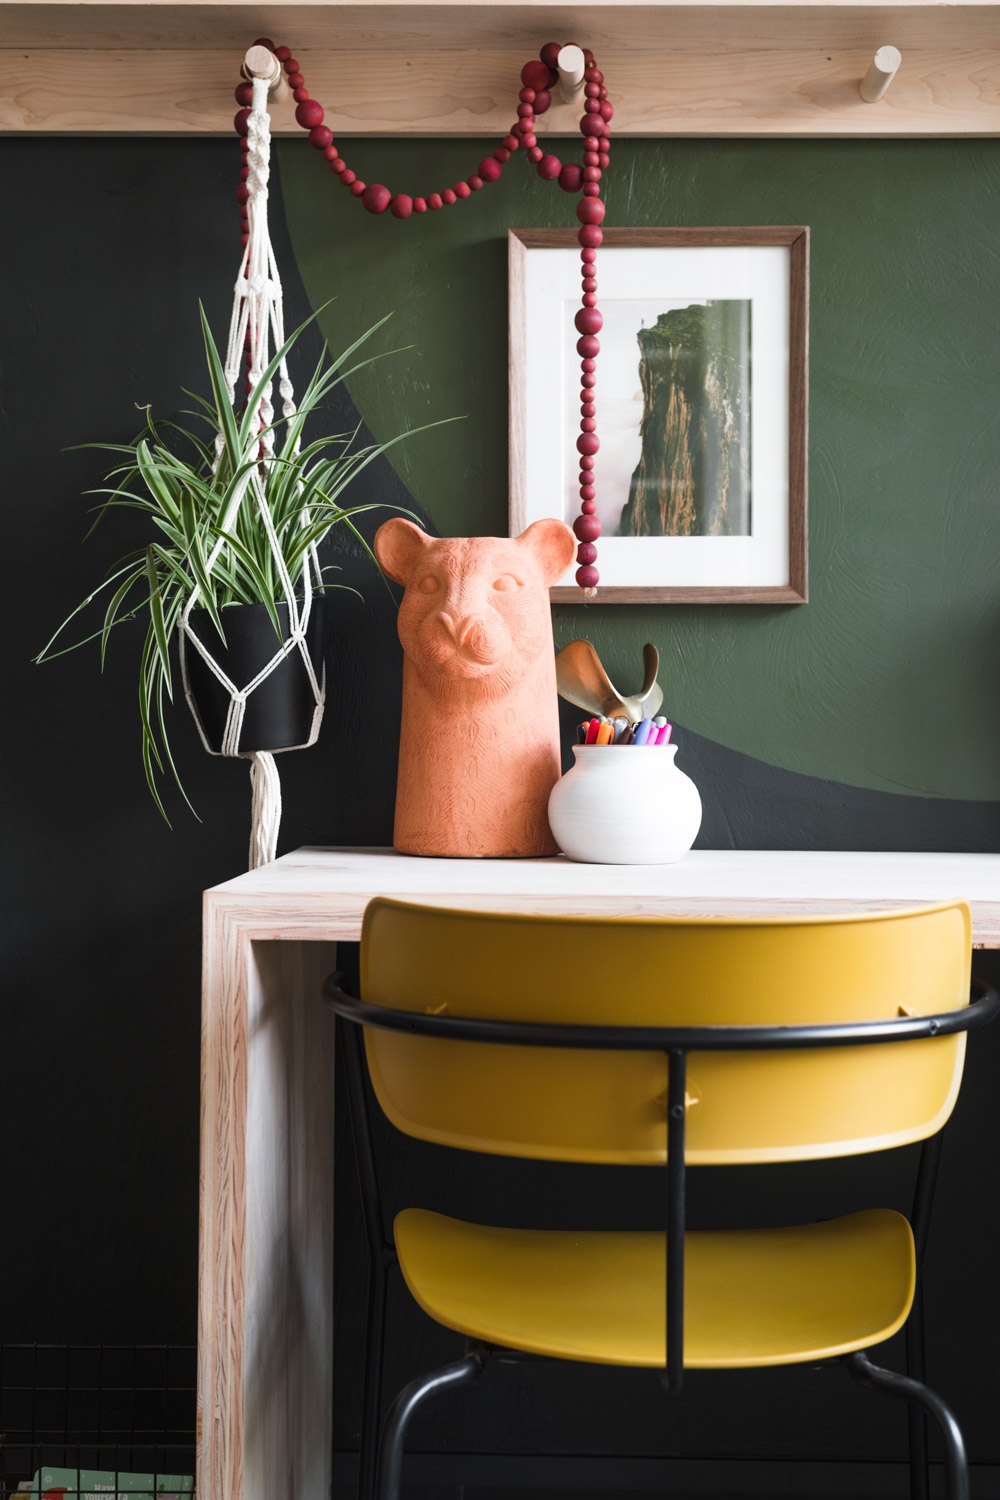
I love the simple color shift of the halves of our circle. The green that I used is Secret Garden SW 6181 and Grecian Ivory SW 7541. You could do this with any combo of colors, and it will be impactful regardless of what you choose!

I would love to give a huge virtual hug to Sherwin-Williams for giving me the chance to brighten this family’s home! Ok I’m going to sign off before I start to cry. Tutorial for the desk, shelves, and bookcases are comin’ atcha!
Check out the full source list here!
I’ve got a ton of fun accent wall projects just like this one in the archives! Check them out for loads of inspiration and easy overhauls!!
The post Kid-Friendly Office Overhaul Reveal #SWSaveMe2019 appeared first on Vintage Revivals.
from Vintage Revivals https://vintagerevivals.com/office-playroom-overhaul-reveal-swsaveme2019/
from
https://summerblakeley.wordpress.com/2019/12/03/kid-friendly-office-overhaul-reveal-swsaveme2019/
No comments:
Post a Comment