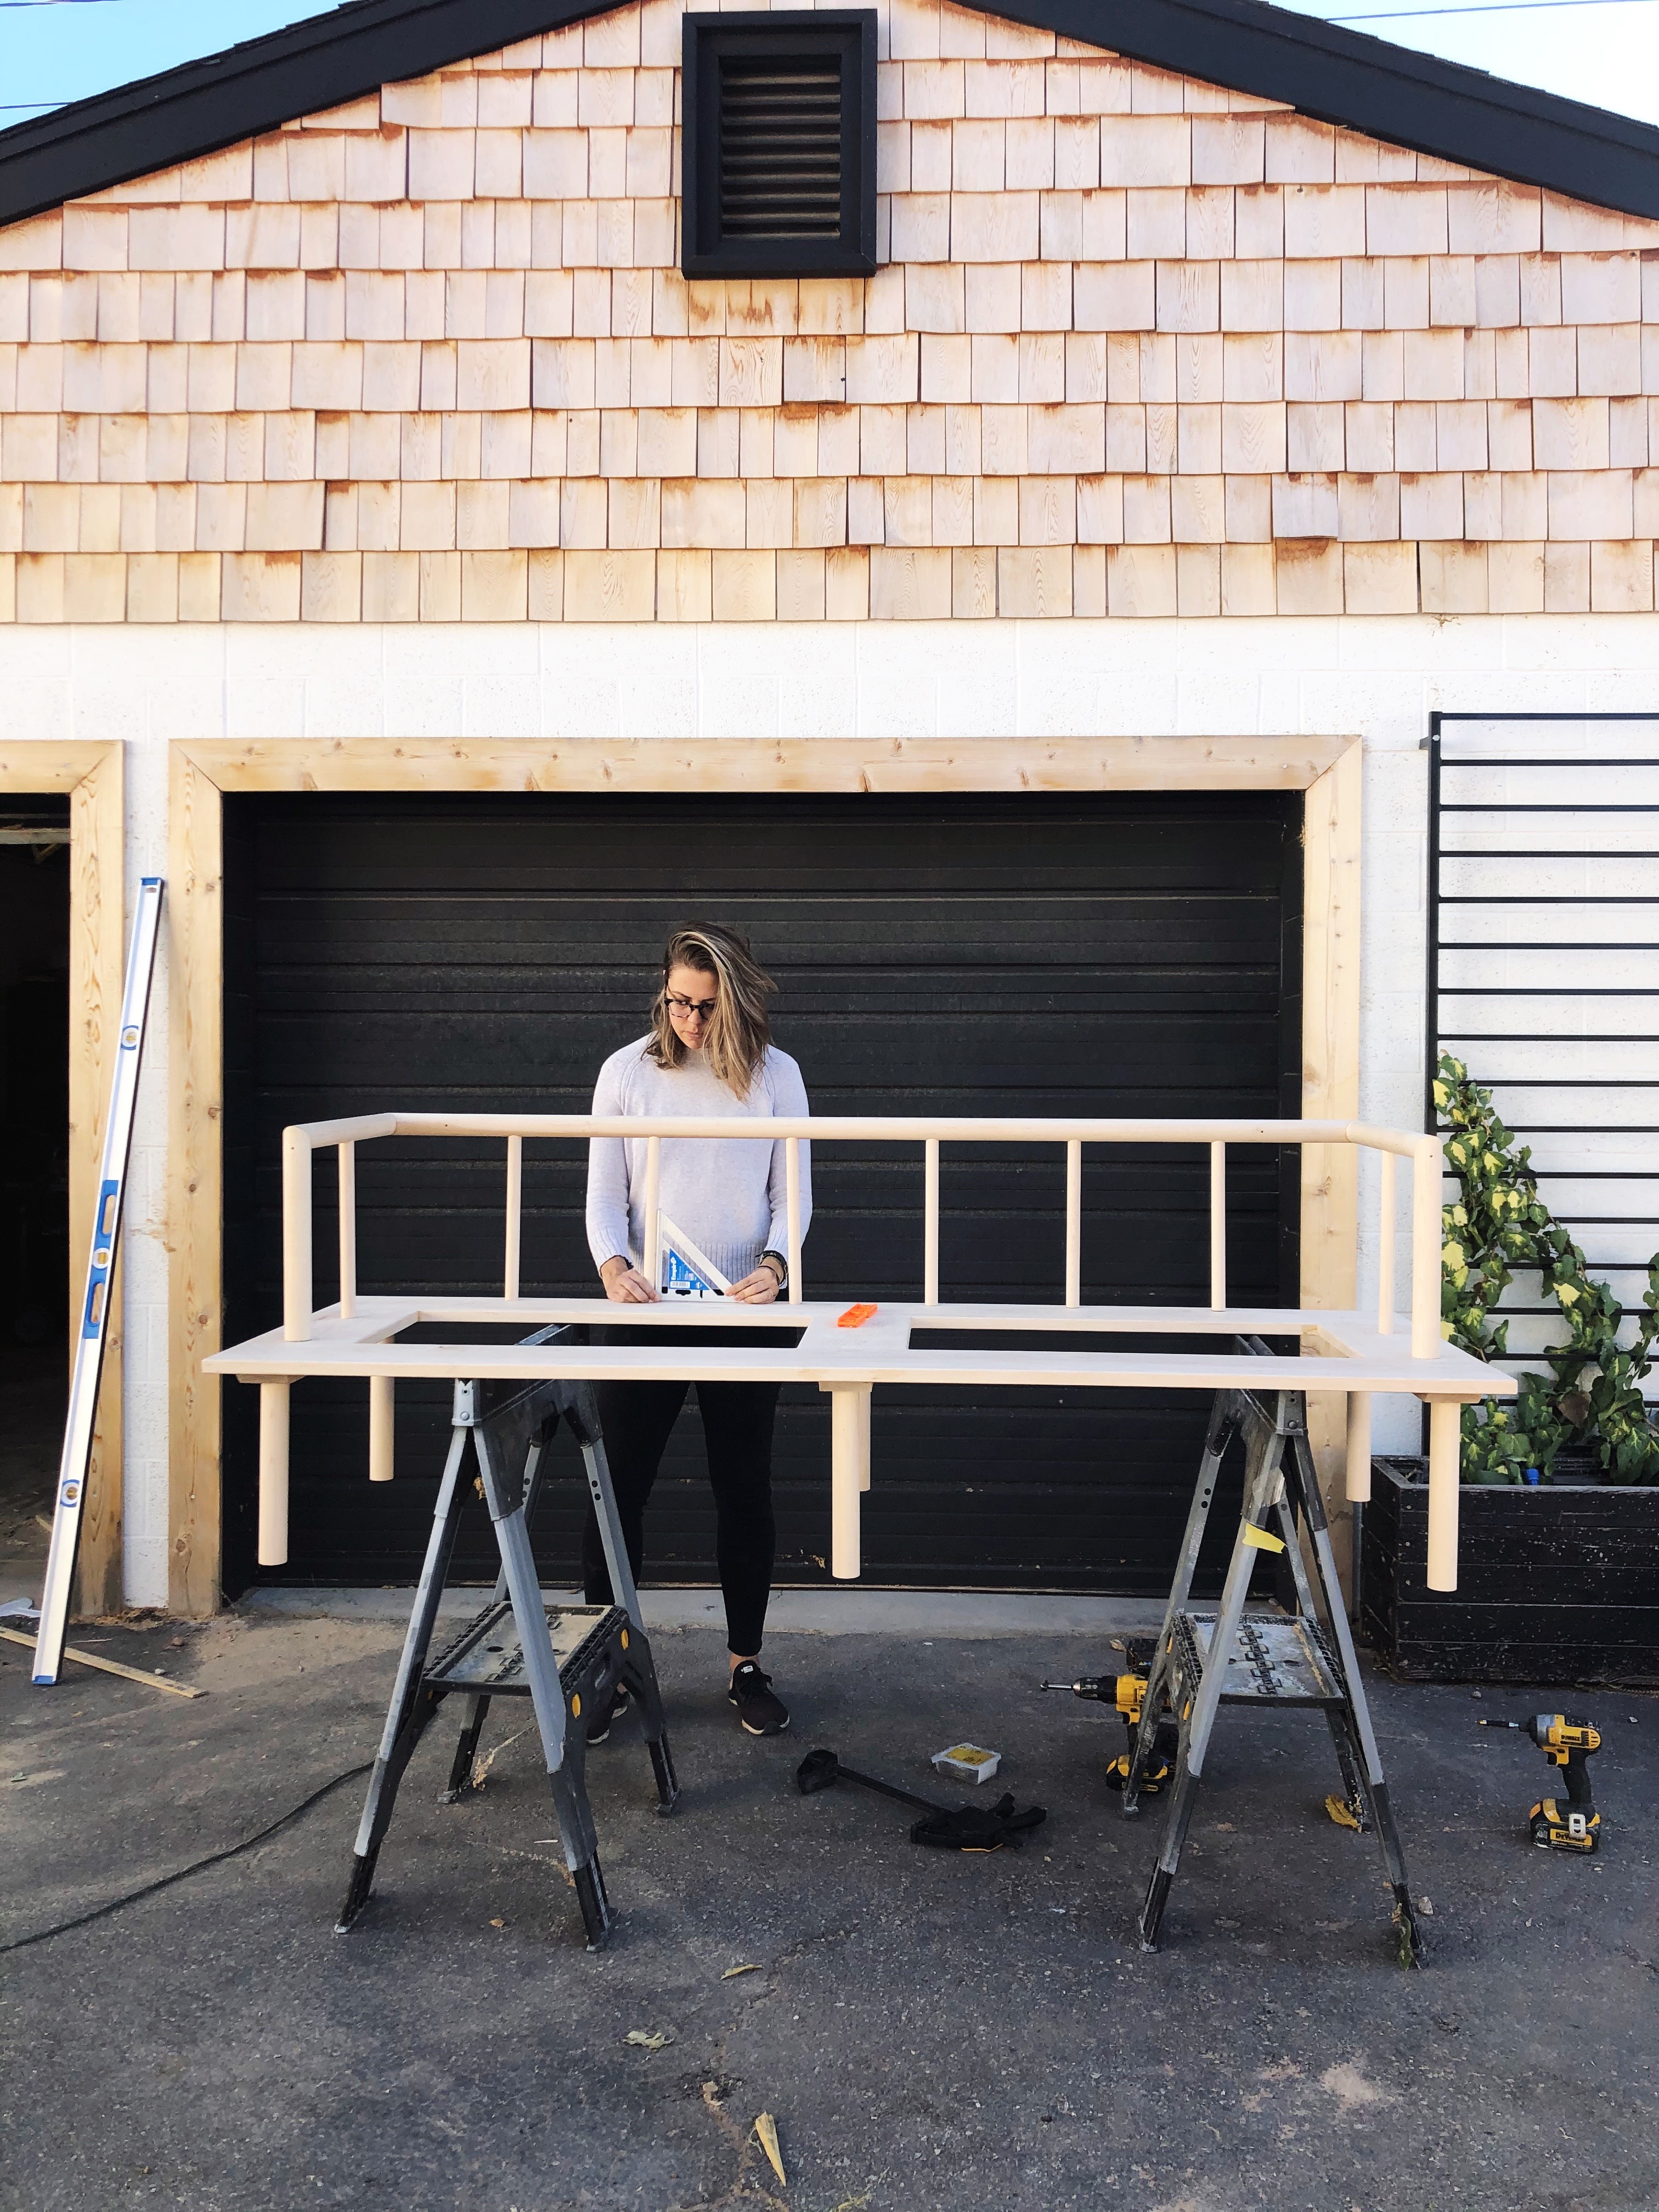
Upholstery is one of those projects that can get overwhelming really quickly. But more-so it can get $$$$ in a matter of a single google search. The thing with upholstery is that it’s not impossible, you just need some tips from a pro that will make it 100x easier and guess what today’s post is all about!? UPHOLSTERY!
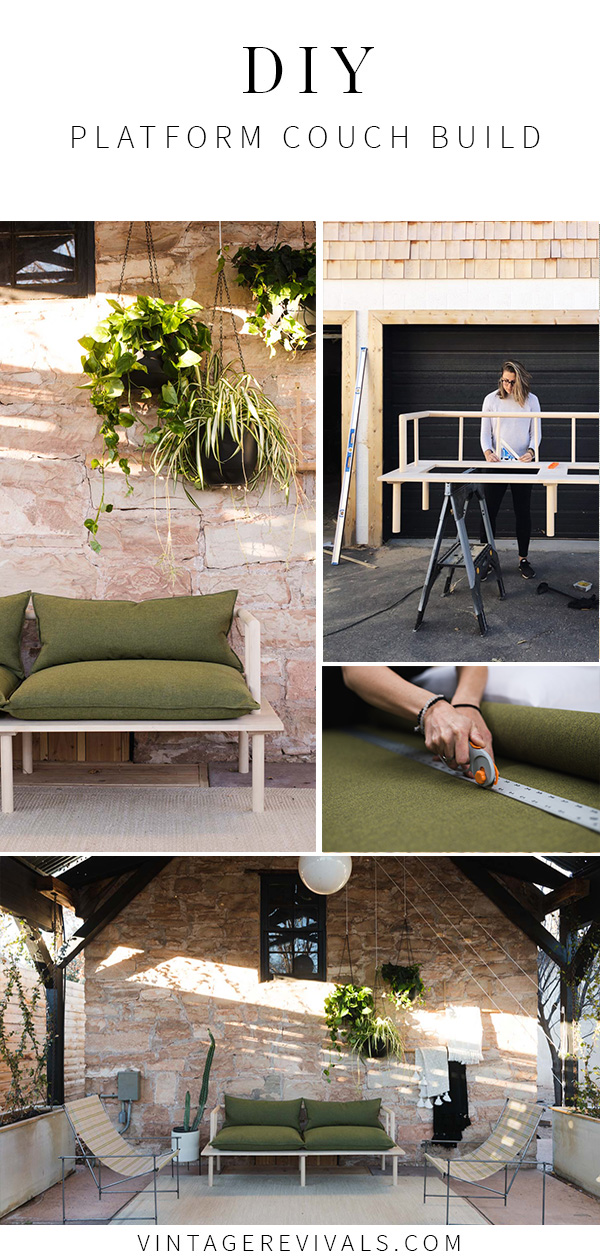
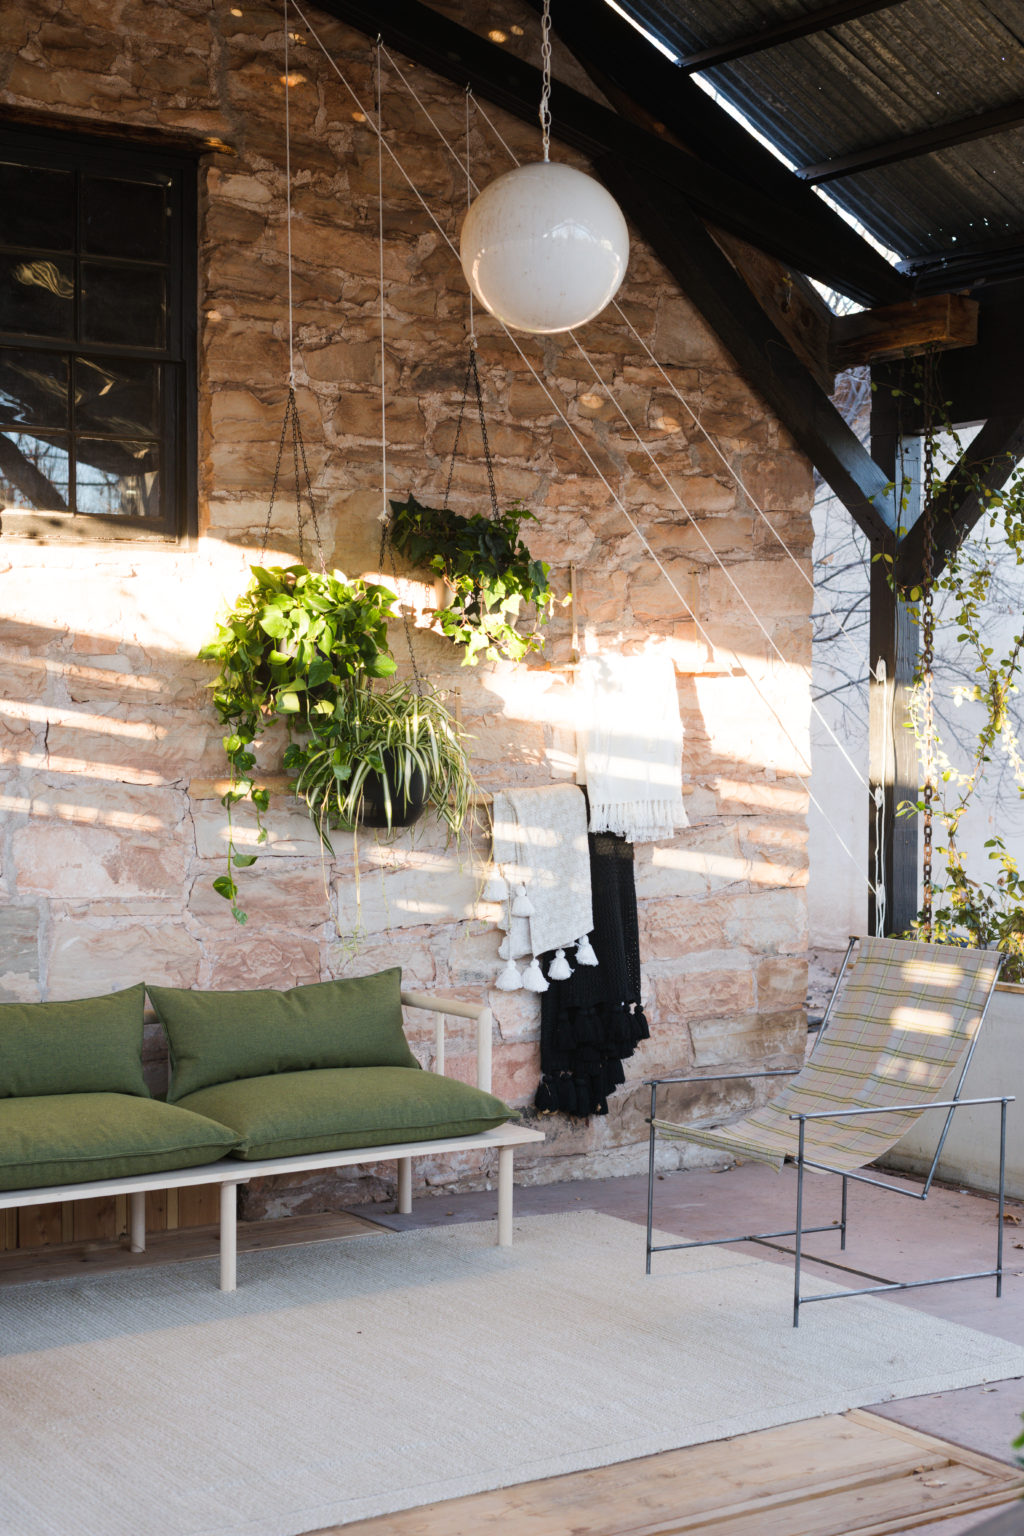
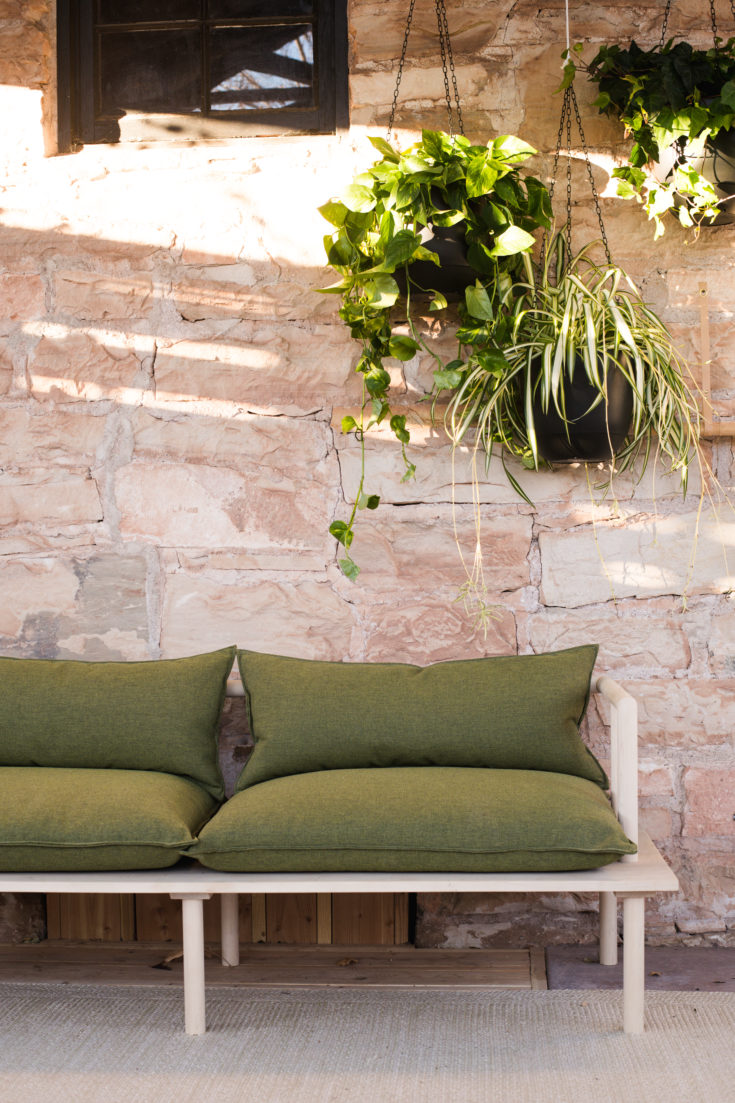
If you’ve been following along, we decided to build a couch. Not just a couch, like the most beautiful couch of all time. We partnered with Sunbrella to tackle this project because they are the gold standard in outdoor/indoor fabric and I have tips from the cutest upholsterer I know, my friend Linds from Mox and Molly.
This tutorial/post is going to be based on our cushions being under a covered patio or for indoor use. If you are using them in full outdoor open to the elements exposed conditions, your foam and interior stuffing is going to be different! I’ve got more info for you at the bottom of this post!
For this project you’ll need 6 yards (Sunbrella fabric has a width of 55″, keep this in mind if you are using a different brand of fabric, the width may vary!!)
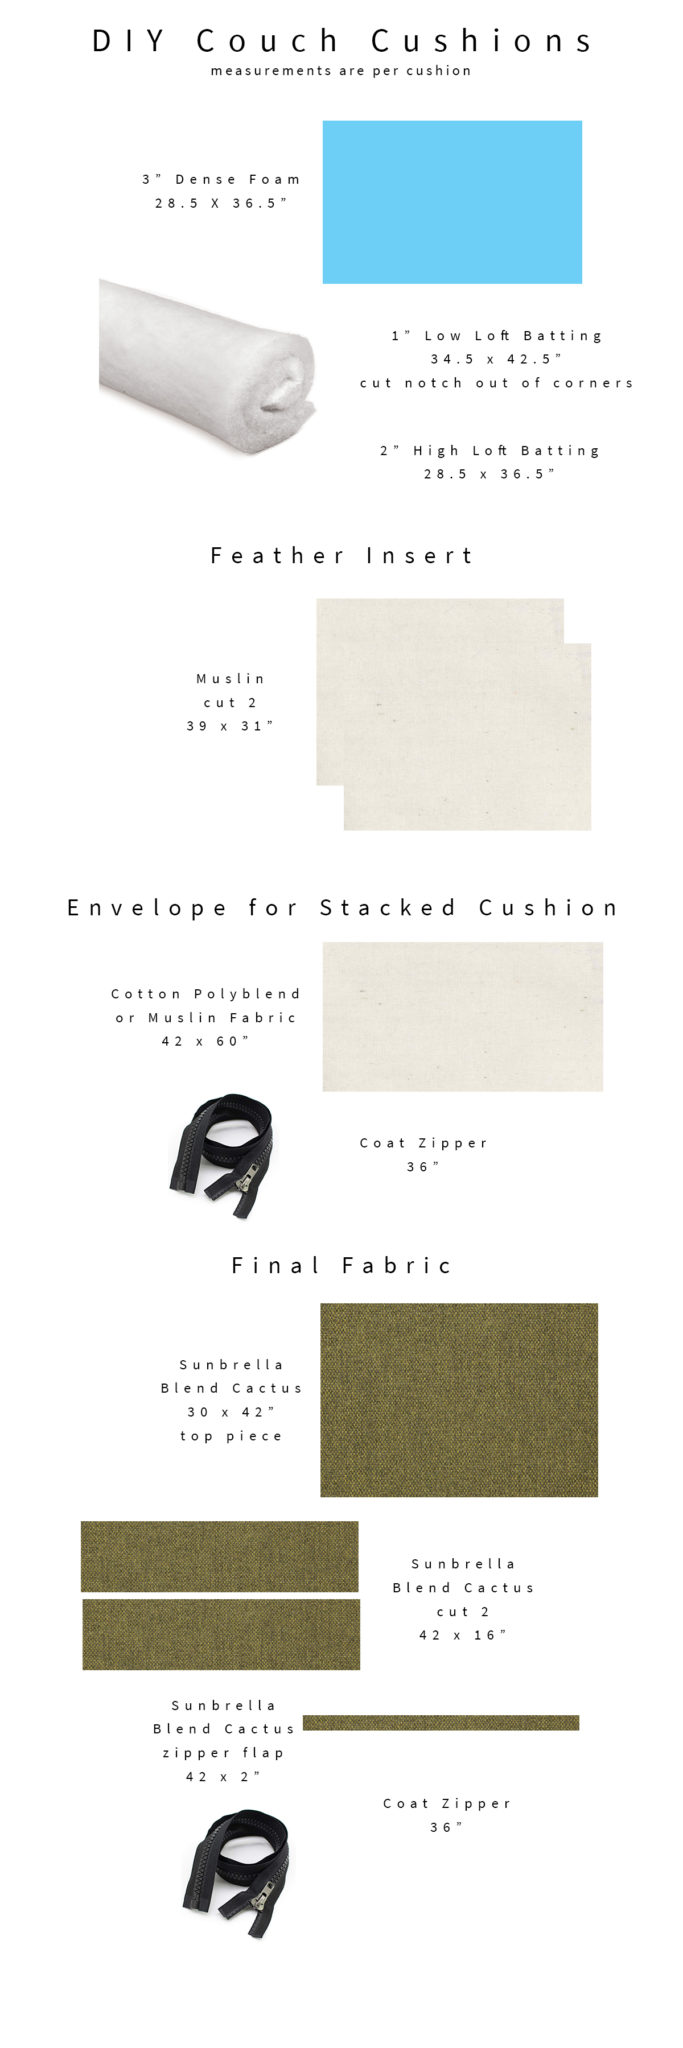
Here is your cushion making cut list!
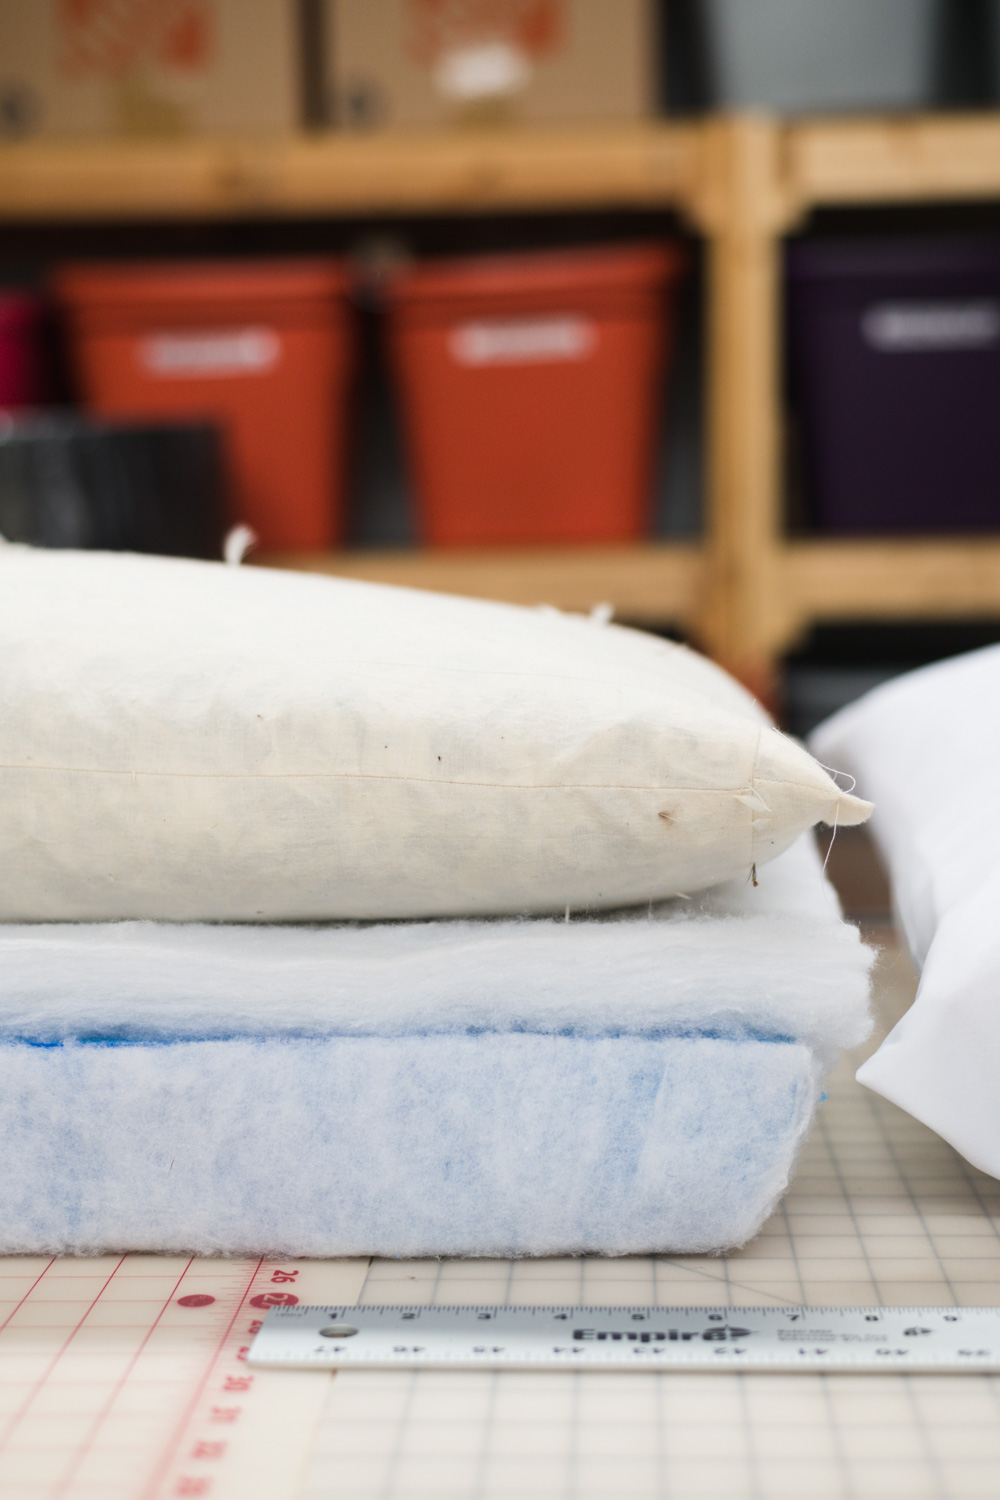
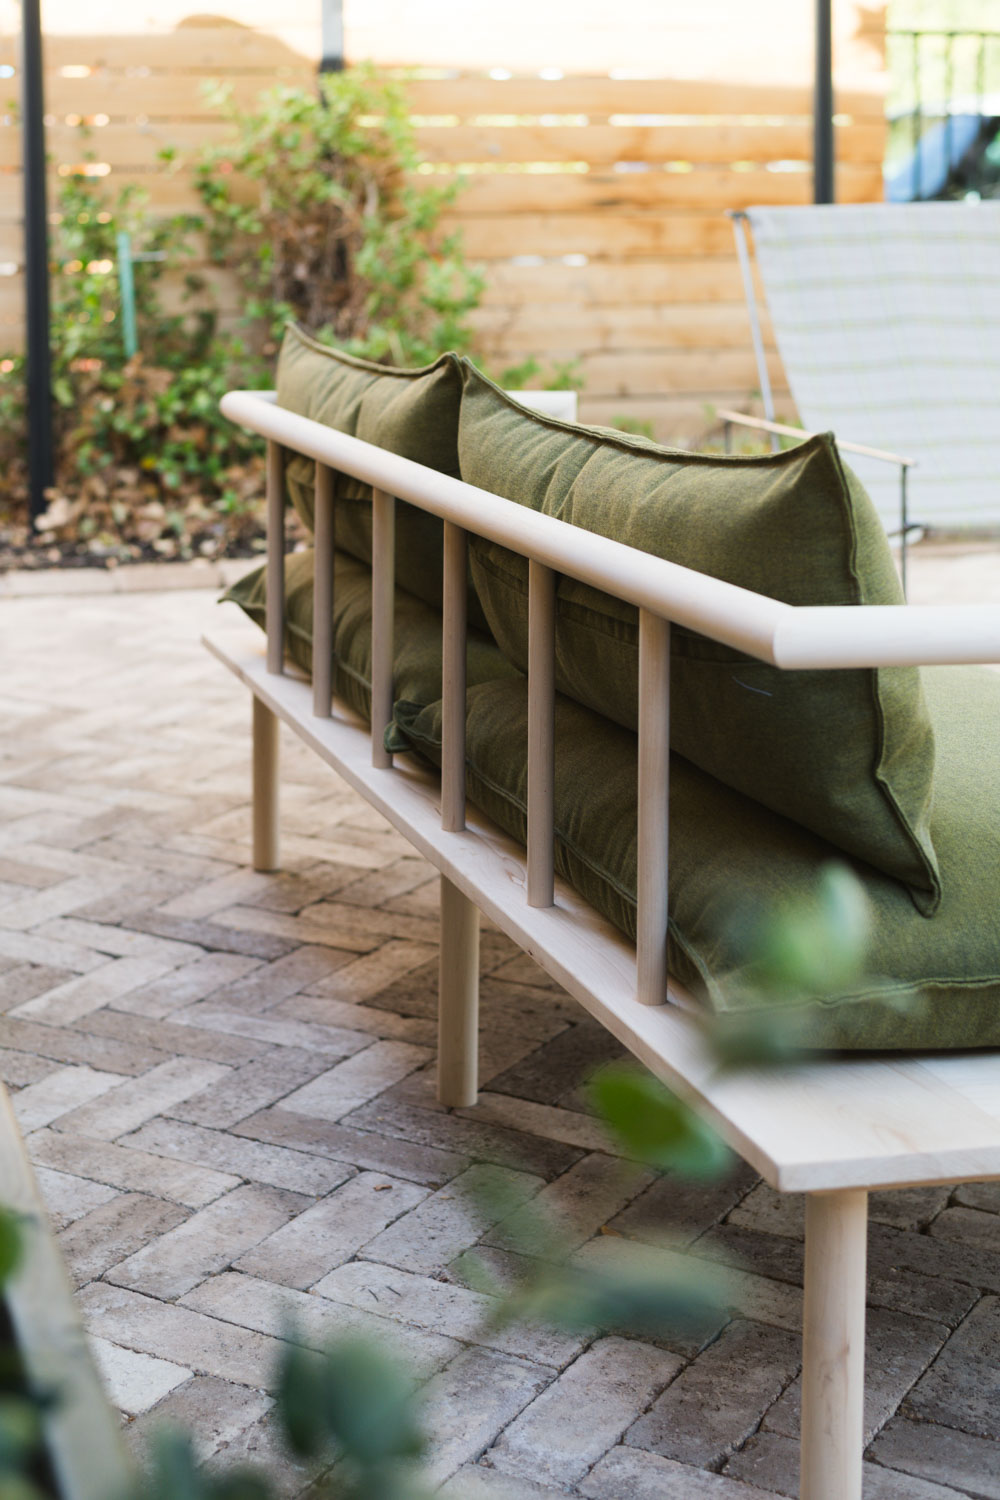
One of the most forehead slapping revelations that I think a lot of us that attempt upholstery have is when it comes to cushion shape. I wanted the cushions to have a pinched overstuffed pillow vibe. It’s easy to think that you can make that happen by the way the fabric wraps around the cushion, but the reality is that there are some really intentional foam decisions that have to be made when you are working on couch upholstery.
Keep in mind that these materials are ideal for indoor conditions or for under a covered patio.
First we needed materials. The thick blue foam is from (wait for it) HOME DEPOT. I know, you shouldn’t be surprised at this point but you are right?! They sell it in large pieces for about $20. You’ll just need one for the cushions for the couch build. The measurements in this post are specific for the couch build, but you are free to use them and modify the measurements to fit your project!
Foam Base
Start by cutting your foam to 28.5 x 36.5, then cut a bevel on the bottom. This will help the shape of the pillow become what I had in mind. If we didnt bevel the edge, it would have a boxier shape.
Wrap the foam in upholstery batting (you can find this at stores like JoAnn) this helps soften the edges of the foam and hide corners that might be visible without it. Use a spray adhesive to attach the foam and batting together.
Down Filled Top Cushion
The next step is to make the down filled top cushion. This plush guy adds height and roundness to the shape and makes it so comfy to sit on!
Lindsey’s Supply Hacks:
- Buy your dense foam at Home Depot
- If you need down, head to your local TJ Maxx and buy all the ugly clearance down pillows! You’ll save SO MUCH!!
- Only use spray adhesive outside. Especially if you are making down pillows next. Otherwise you’ll end up with feathers stuck to everything!!
- Use a box or garbage can that can hold your down insert. Cut a small hole in the pillow and gently and slowly push the feathers out. This will minimize the feathers spreading everywhere!
Stacked Cushion Envelope
Once you have your down topper and base foam ready to go, you have the option of putting them in a removable slip cover. This isnt necessary, but it will help keep things lined up nicely and can help add a waterproof layer if you are keeping the couch outside.
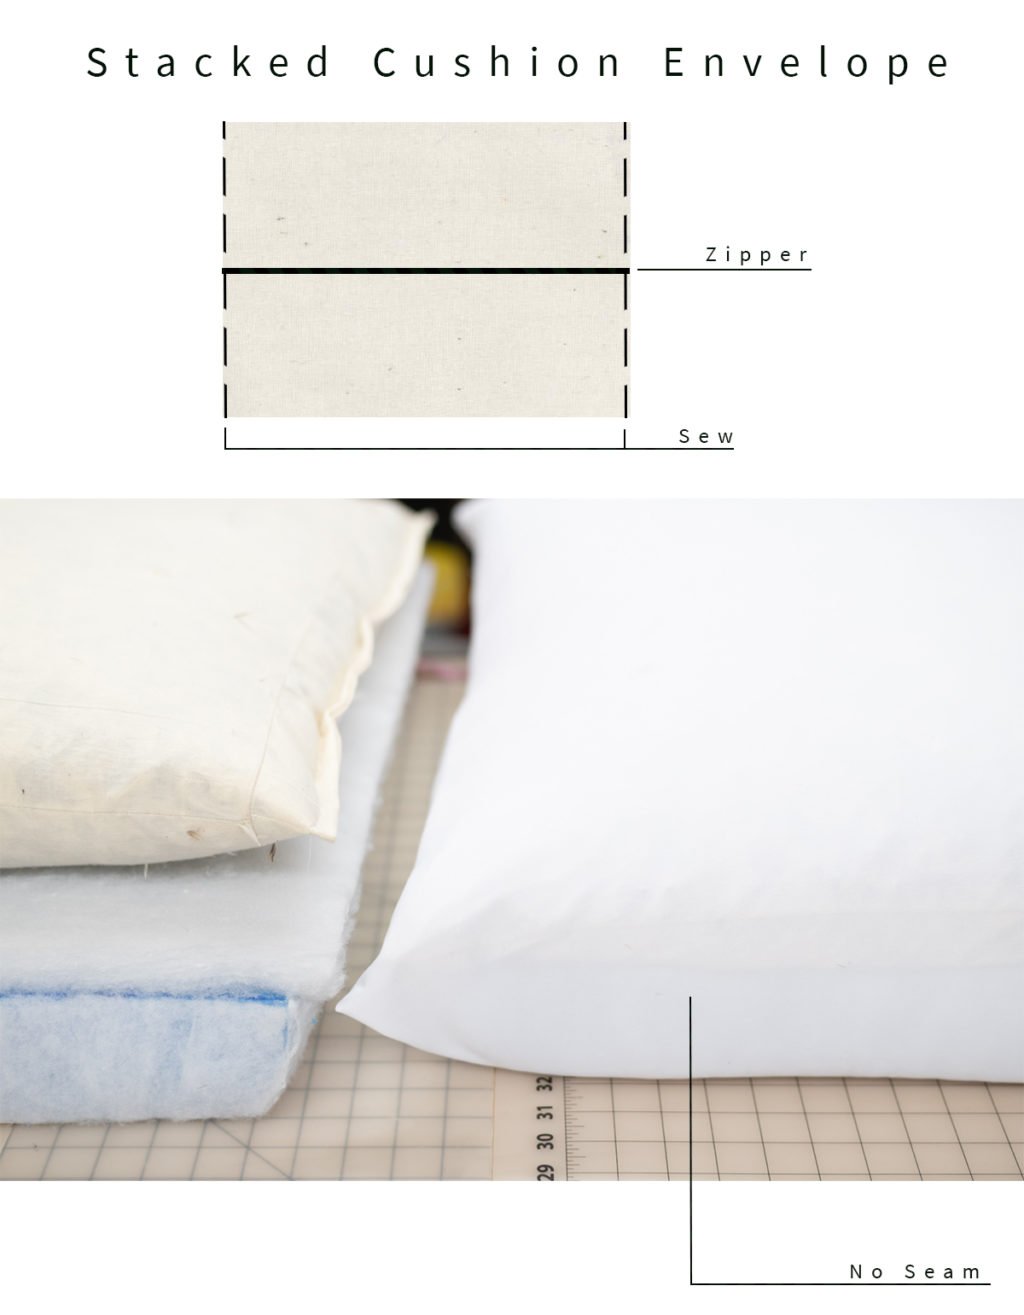
You’ll notice on our cut list that it is one long piece of fabric, this is to diminish any seams.
Sew your coat zipper to the both ends and zip it together, this will give you one large continuous loop of fabric. Fold the fabric in half with the zipper running down the center of your rectangle. Sew the loop closed on both ends. This will ensure that you dont have a seam running down the middle of your envelope! If you want to add a waterproof spray, this is the time to make that happen. You can find it at any home improvement store/ store with camping gear!
Final Fabric Cover
Now it’s time to finish off your cushion! I cannot express enough how magical Sunbrella Fabric is. If you need a refresher of why I love it with my whole heart, you can check out this post! In short, it’s magic and every soft surface needs to be covered in it.
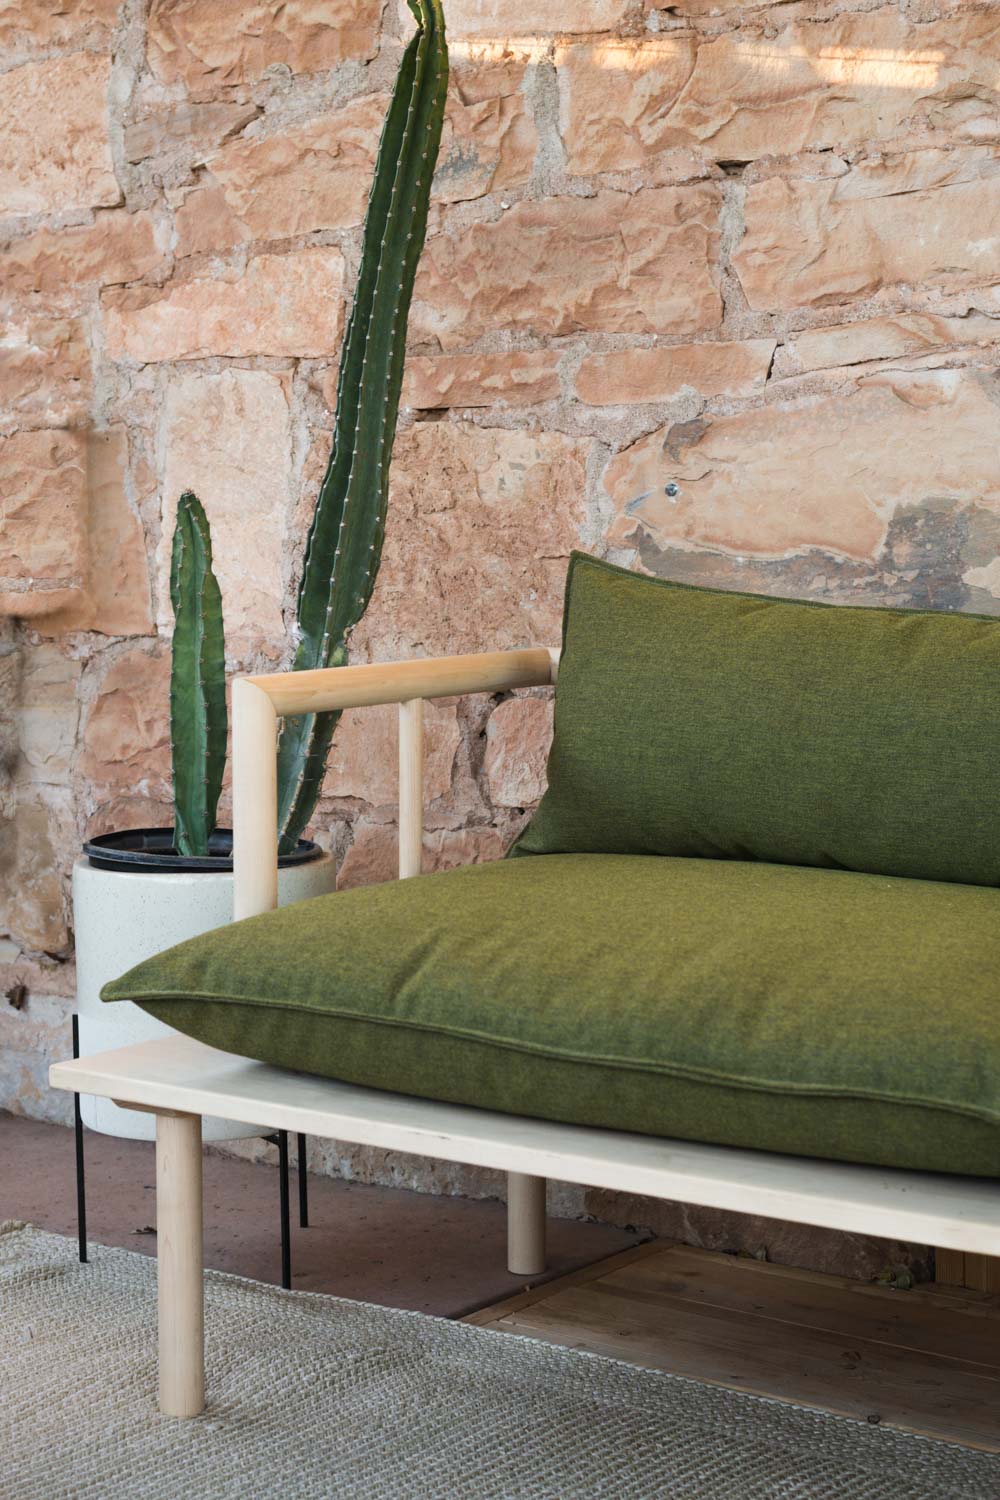
When you’ve made your cuts, attach the zipper to both sides of the back fabric and sew everything together! To get the little edge detail that we used, you’ll just do a quick straight stitch all along the edges. So simple and adds a ton of style!
Down Filled Back Cushions
The back cushions are easy peasy to make. All you need is down feathers, muslin, and your beautiful Sunbrella fabric.
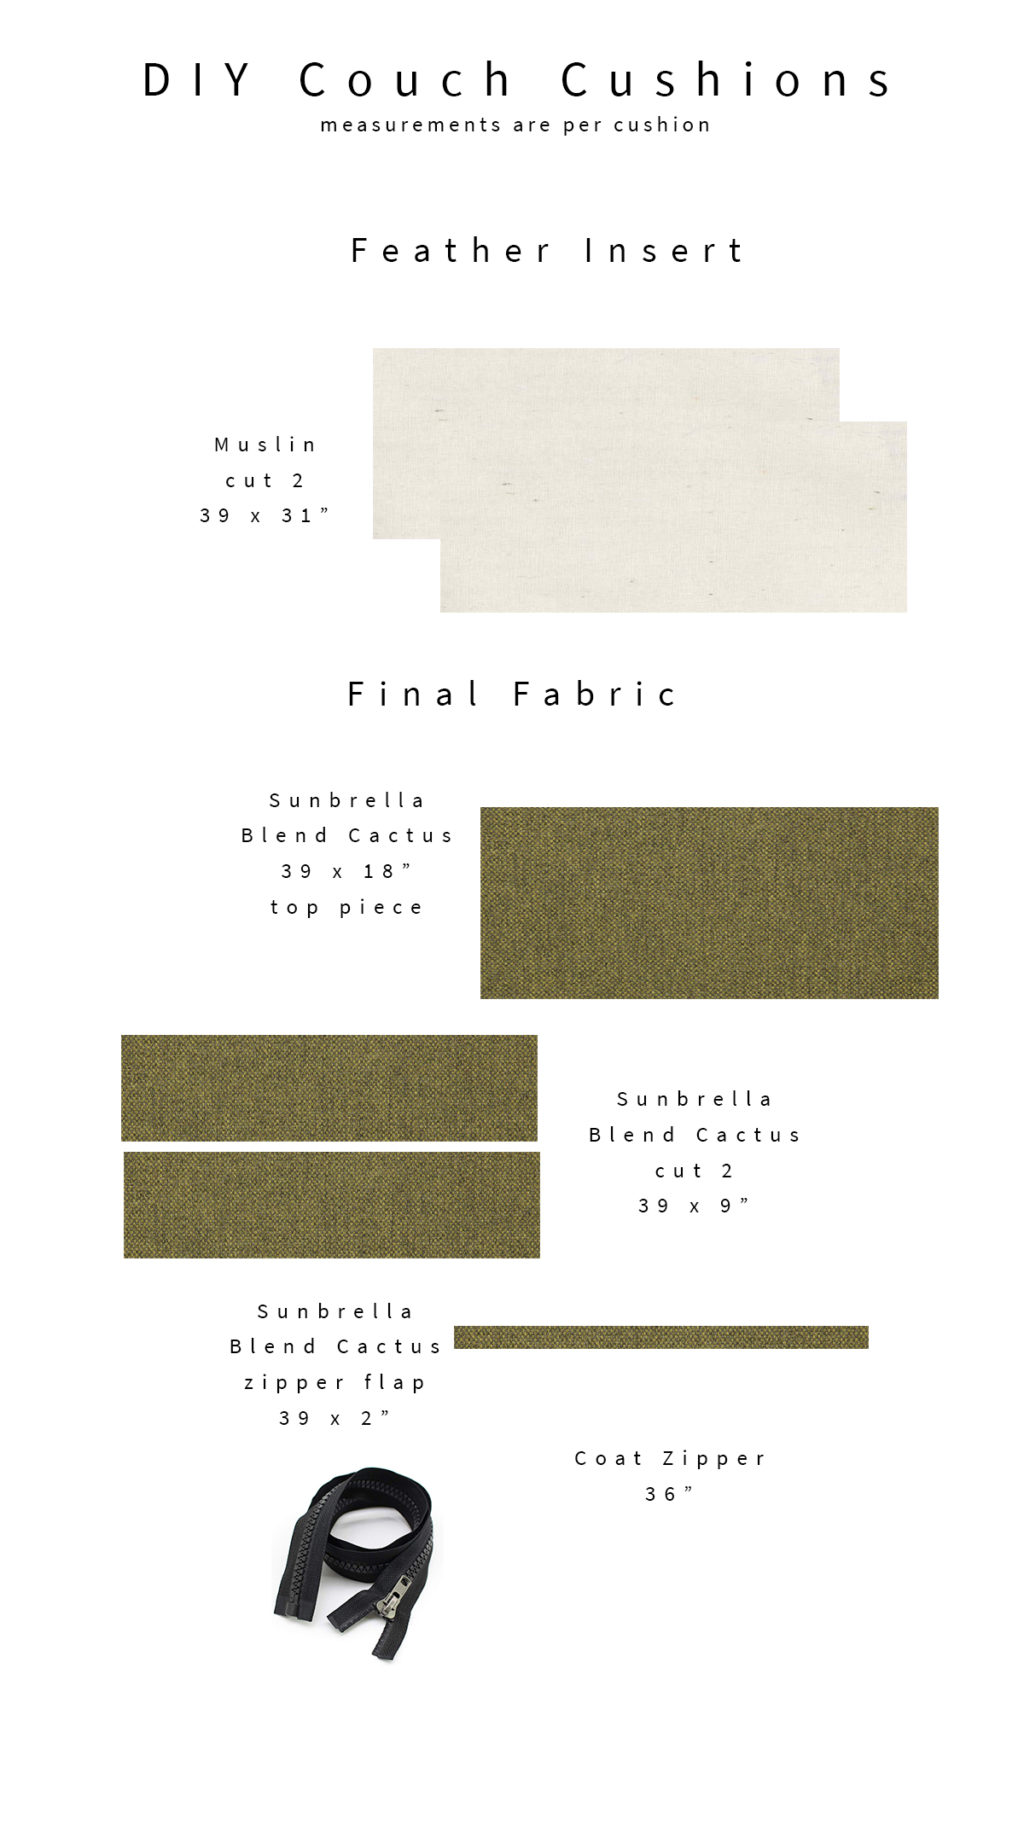
Cut the muslin into 2 pieces that are 39 x 18″. Just like you filled and closed the larger cushions, you’ll do the same with these.
Cut the Sunbrella fabric so that it measures (1) 39 x 18 and (2) 39 x 9″. Sew everything together and finish it off with the edge top stitch!
Outdoor Filling Info
If you are building your cushions to weather the well, weather, you’ll want to use materials that are specific to those intense conditions. There are a lot of different options, everything from traditional outdoor batting and foam to a product called “Flow Through” foam that allows water to easily drain out.
I highly recommend that you pull your cushions inside when there are wet weather conditions, it extends the life of the materials no matter what you use, or use a waterproof cover when you arent using them!
Check out the rest of the posts in this series!
Couch Build
Continue Reading
Continue Reading
Continue Reading
The post Couch Build Pt. 2 + Upholstery Hacks from a Pro! appeared first on Vintage Revivals.
from Vintage Revivals https://vintagerevivals.com/couch-build-pt-2-upholstery-hacks-from-a-pro/
from
https://summerblakeley.wordpress.com/2020/03/19/couch-build-pt-2-upholstery-hacks-from-a-pro/
No comments:
Post a Comment