This post is sponsored by GREAT STUFF TM
They say that owning a cabin means endless projects. They are correct. Every summer we tackle something at our family cabin (last year it was a 10 day kitchen renovation) this year, our biggest priority was sealing the interior off to critters.
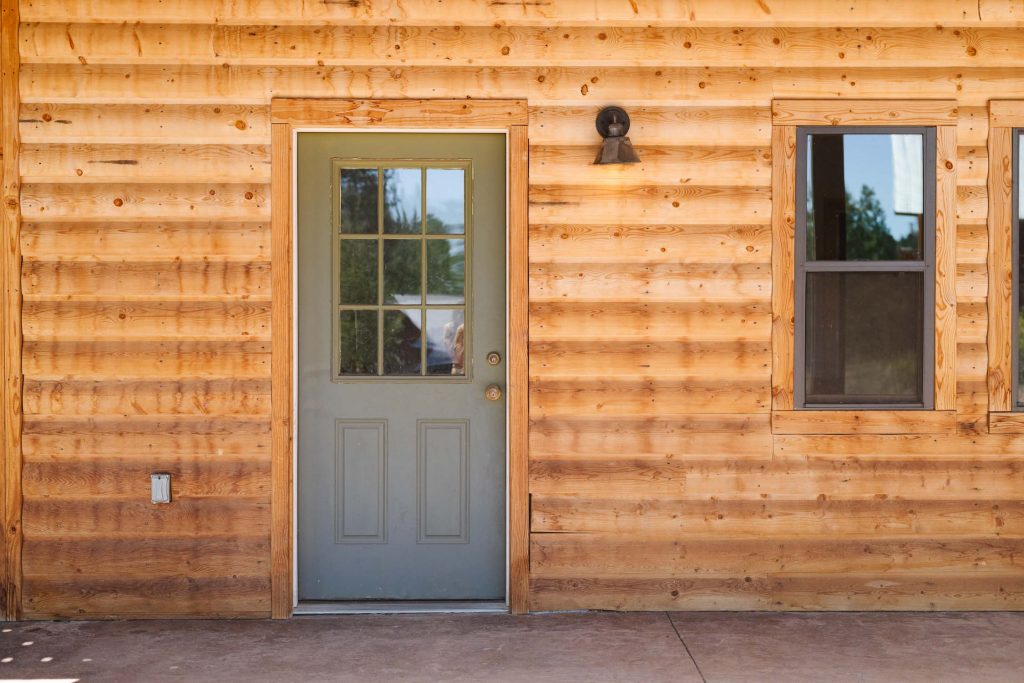
I have childhood trauma of seeing a mouse run across the floor at my family cabin, and we’ve seen evidence of them (you know what kind) at Court’s family cabin sporadically. But this project jumped to the top of the to-do list when we were casually hanging out on the patio and witnessed a full grown rodent run along the base of the wall and right under the door threshold.
Nope. That is not ok.
Upon further examination we were shocked to find that the threshold opens into the cabin like a big fat welcoming gate. As much as I hated thinking about mice, I was so glad that we could see where they were getting in!
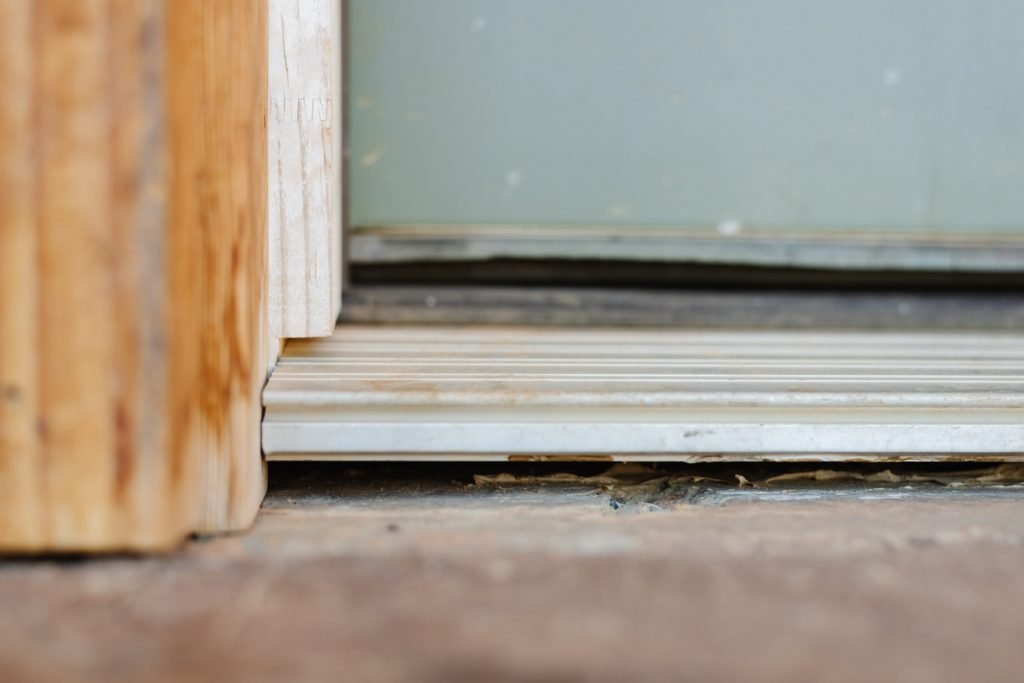
I about fell out of my chair when GREAT STUFFTM reached out about partnering on a project. I don’t know if there was ever a more serendipitous email. GREAT STUFFTM to the rescue! We took the creative liberty to update the patio space AND prevent our little unwanted guests.
GREAT STUFFTM is an insulating foam sealant, It’s an absolute necessity when it comes to any type of project that needs to be sealed. Think air leaks, pests, insulation gaps, if there is a hole, GREAT STUFFTM is your bestie. They recently launched a new Smart Dispenser that Court is level 10 excited about.
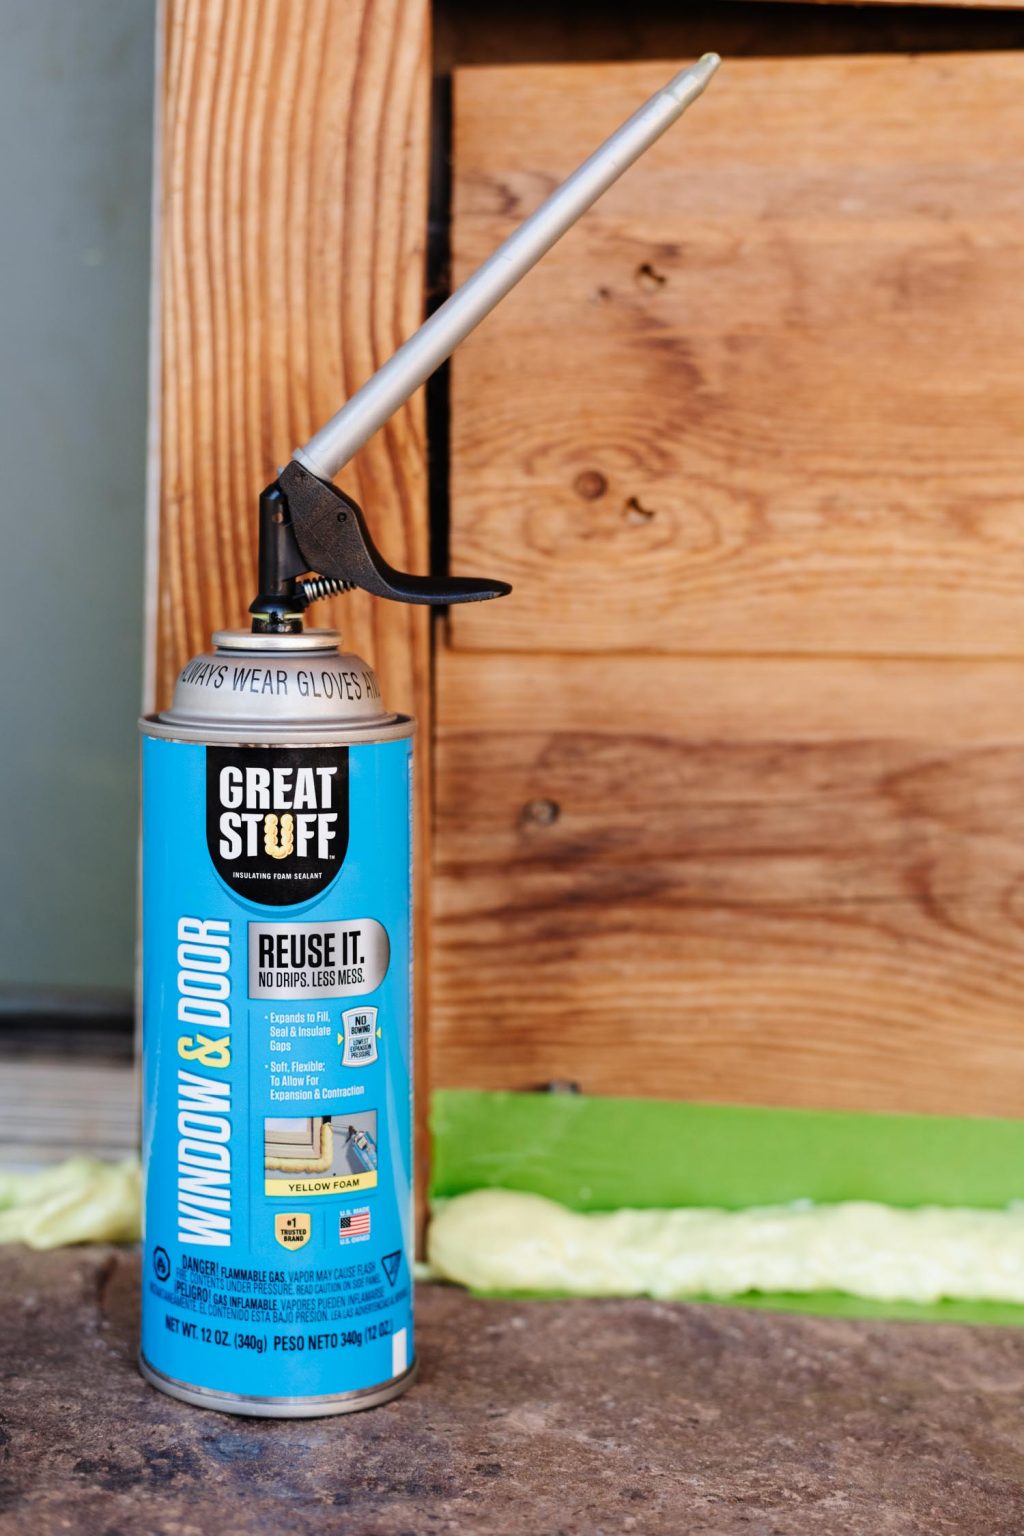
See previously, once you started using GREAT STUFFTM, you had a small window of time to complete the job before the straw sealed itself off. With their new straw design you can store and reuse GREAT STUFFTM for an actual month!! (you’ve got to watch the video at the end of this post to see Court’s thoughts on this  ) When you are buying it, make sure that you get one with a silver straw and cap, then you’ll know you’re getting the right one!
Now, I wish that I could say that this project went exactly as planned, but where is the fun in that? DIY disasters are waaaaayyyyyy funner to read about.
We thought that this quick porch update would take a day or so, boy was that cute. The entire thing went sideways when my paint color was wrong, but I’m getting ahead of myself…
We started by prepping the gaps for GREAT STUFFTM by blowing them out with a leaf blower, we were dumbfounded when we put the blower against the baseboard on the inside of the house and dust and debris went flying out of the cracks in the exterior. WHYYYYY?!
After we scraped off the caulk and blew out all of the cracks we could see how truly cavernous the space was.
We taped off the sidewalk with painters tape to make sure that the foam sealant only stuck to the space underneath the threshold and in the crack to the right of the door.
Using GREAT STUFFTM is as fun as you think it will be. Just make sure you are using protective eyewear, long sleeves, and gloves.
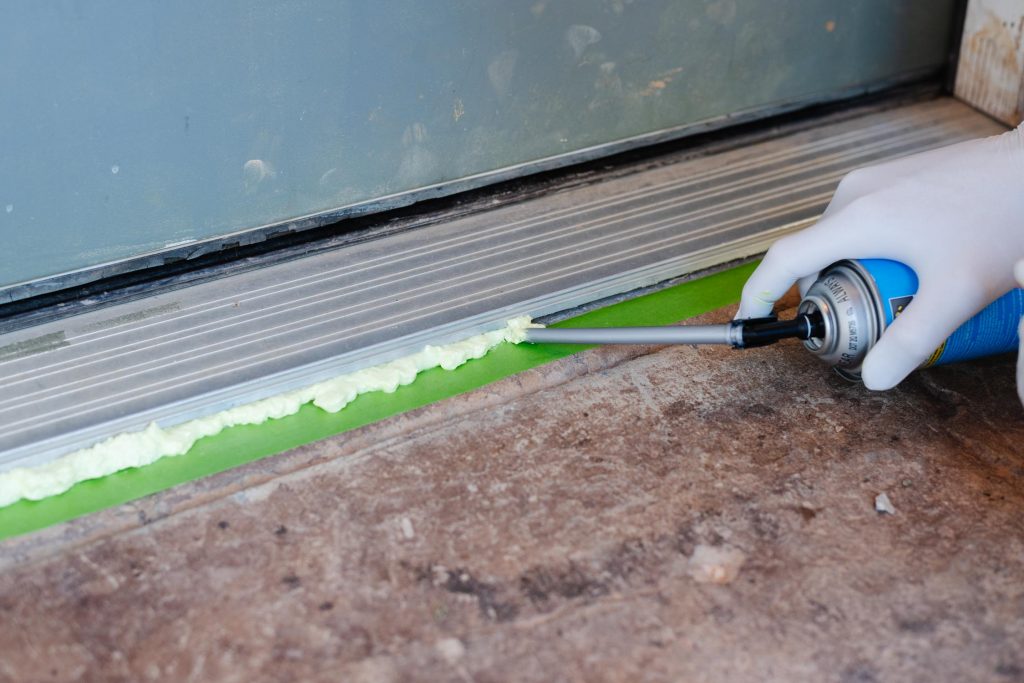
Court said that filling the cracks was (and I quote) “The best thing I’ve done all month.” We learned that it’s better to fill the space quickly without releasing the trigger. If you release it and then start again it’s possible to blow a larger air-pocket into the gap that sometimes doesn’t get filled completely. The more experience you have under your belt the less likely this is to happen.
After we filled the space under the threshold, we waited about 30 minutes before we filled the gap to the right of the door. Court wanted to see how much the foam had expanded, and test out the new Smart Dispenser.
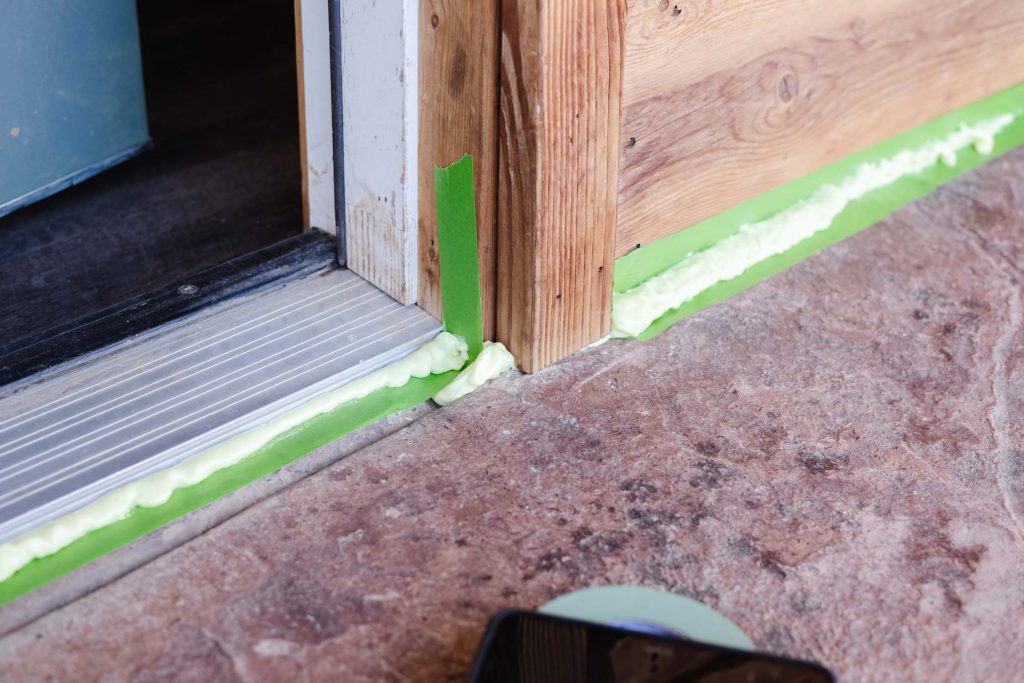
No surprise that it worked like a charm!
GREAT STUFFTM needs to cure for at least 8 hours before it can be trimmed, so while we waited I started painting the door.
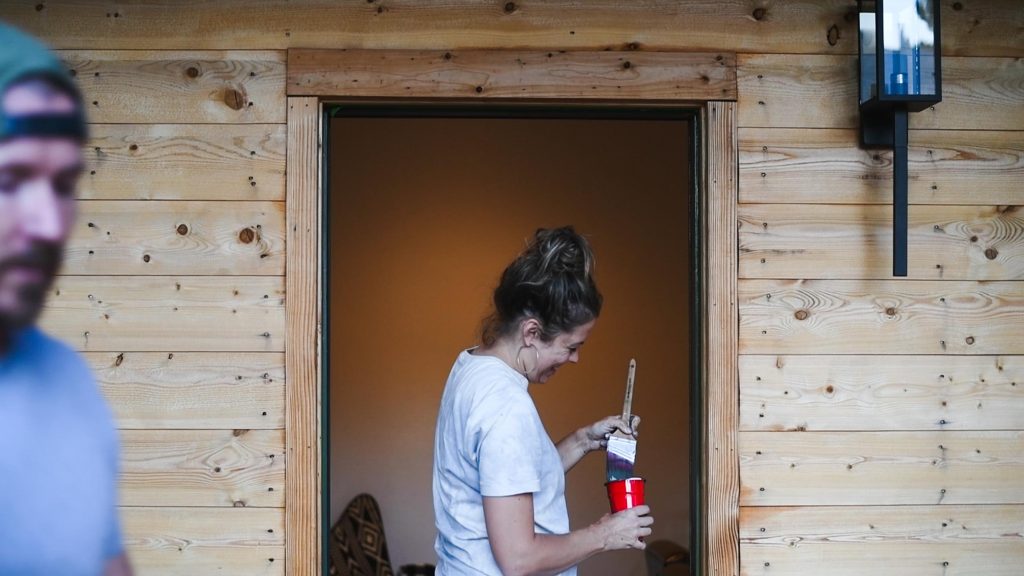
The plan was to use Ripe Olive (I used it in this bathroom makeover and have loved it ever since!) but as soon as I got it up on the door jamb I knew that it was all wrong. The orange tones in the wood made it look to blue and it reminded me of a phase I went through in middle school where I loved moose decor. Not a great look.
So I went back to the drawing board and brought home a color that is similar to pea green. It was actually not a bad color, the problem was that it was the same tone as the cabin. I needed variation.
Color #3 was the love child of color #1 and color #2. It was SUPER similar to the color already on the door. Which isn’t a bad color, but I wanted to change things up a little.
Color #4 wasn’t great either so I decided to try color #5…Mandi White.
I got about half way done with the door and hated it. At which point I was frustrated, exhausted, and NOT a happy camper. So we decided to head home and regroup. I picked out a new light at Home Depot, and grabbed an old end table to repurpose, as well as my trusty Tricorn Black paint. Now, you might be wondering why we didn’t just paint the door black, it seems like the obvious and awesome choice. Believe me when I say that would have been great if it wasn’t for the fact that the entire wraparound porch and stairs are all dark brown. It would have fought with the existing exterior, and while it would’ve looked good in a cropped photo, that isn’t what we’re going for.
Back at the cabin I started mixing colors and finally came up with the perfect shade of green. Darker than the previous color, and a little muddier, it was awesome. It also didn’t hurt that we power-washed the logs to clean off the red dirt and some of the crumbly orange sealer.
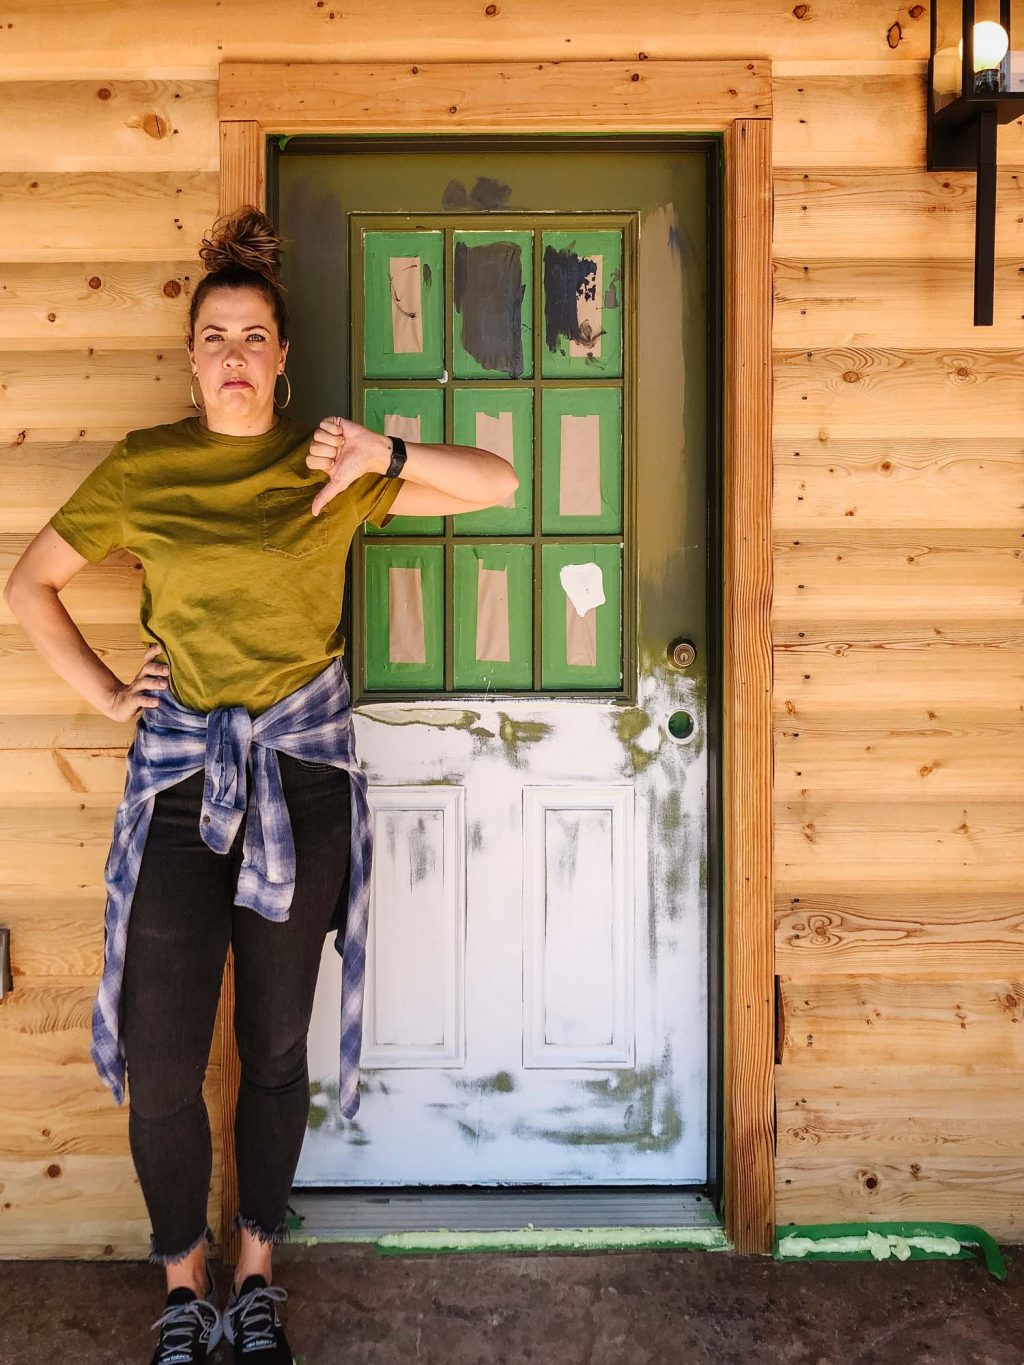
Have you ever seen a more beautiful door?! lol this is real life folks.
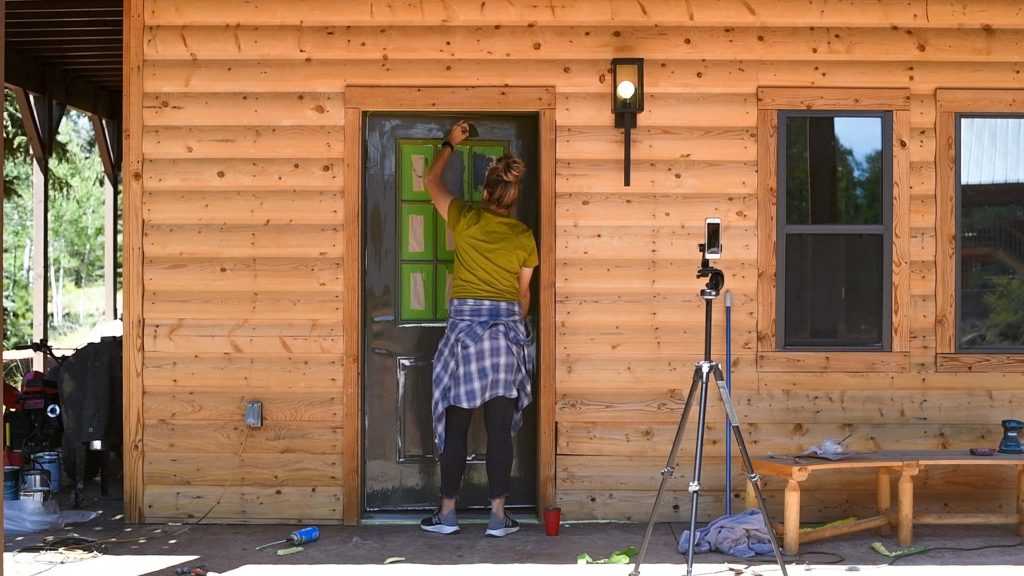
With the right color on the door (finally!) and the window trim painted Tricorn Black, I was able to turn my attention back to the GREAT STUFFTM!
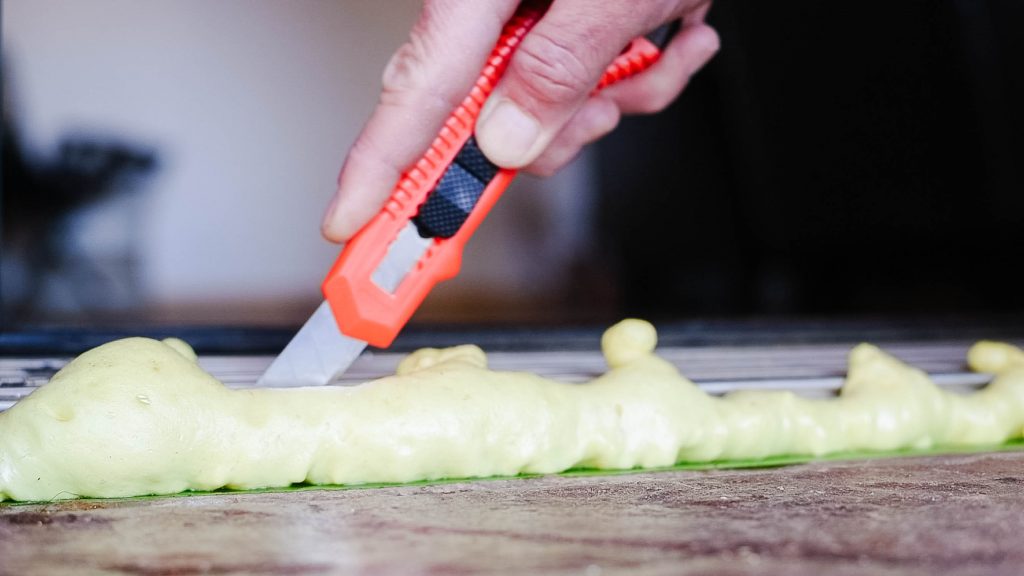
We used a razor blade to slice the excess foam off (like butta). The best part about GREAT STUFFTM is that it’s paintable! I used 2 different shades of brown that matched some of the color in the stained concrete, as well as a touch of Tricorn Black to disguise the foam, and it worked better than I could’ve ever hoped! With all of the grief that the door color was giving me, I was grateful that this part of the project was so simple!
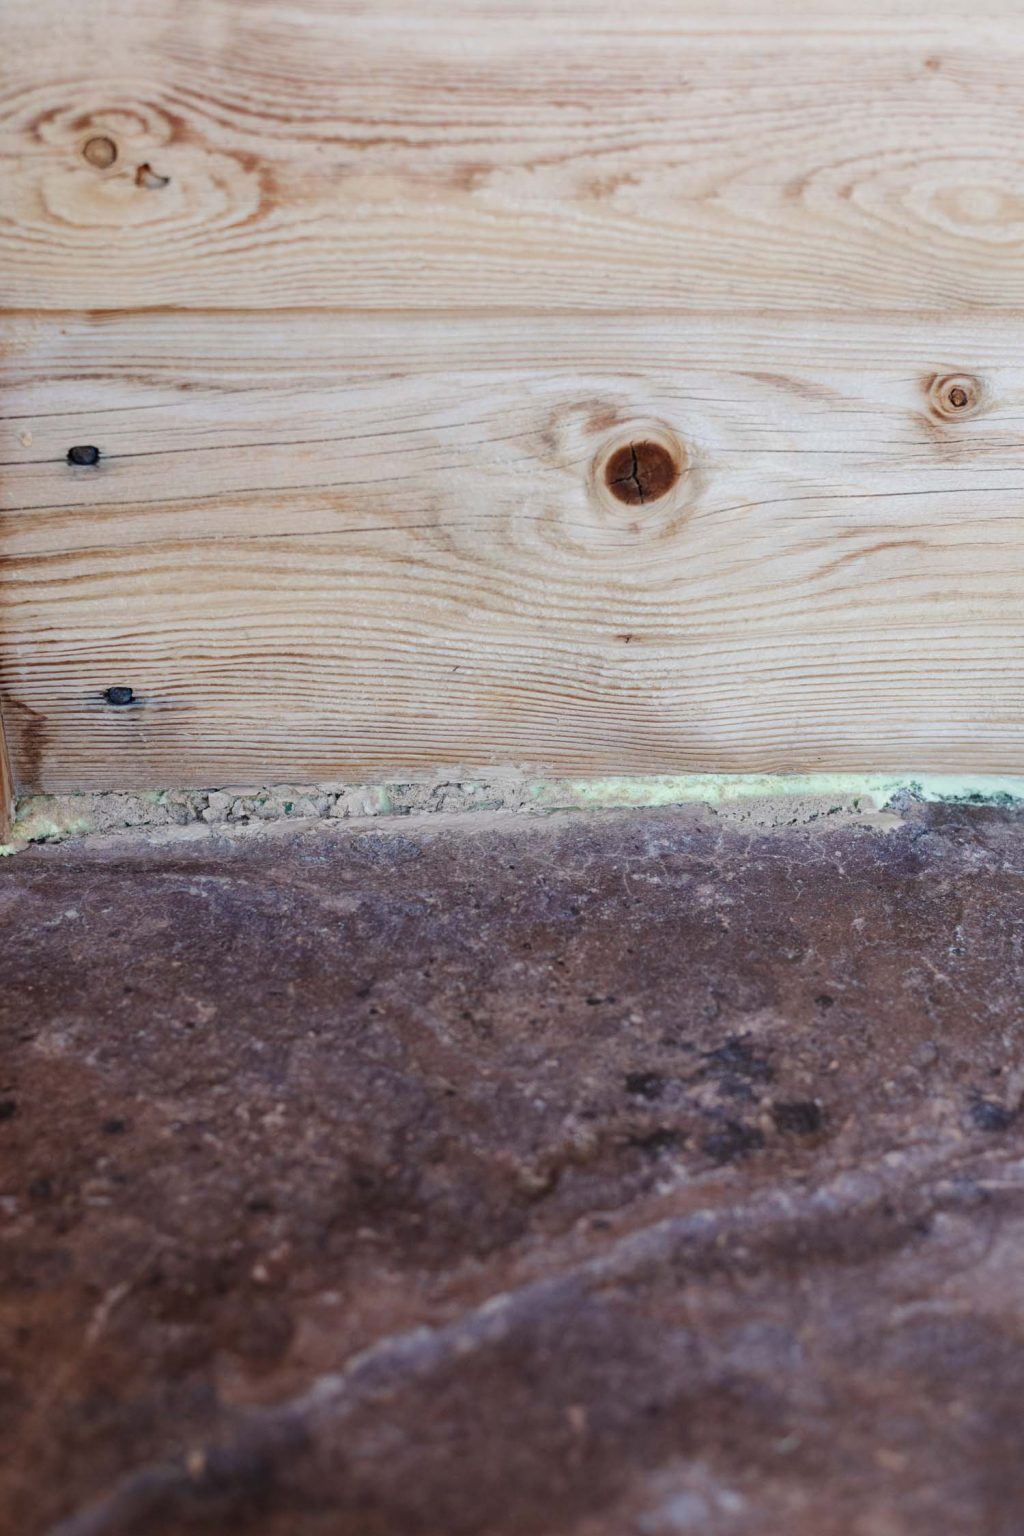
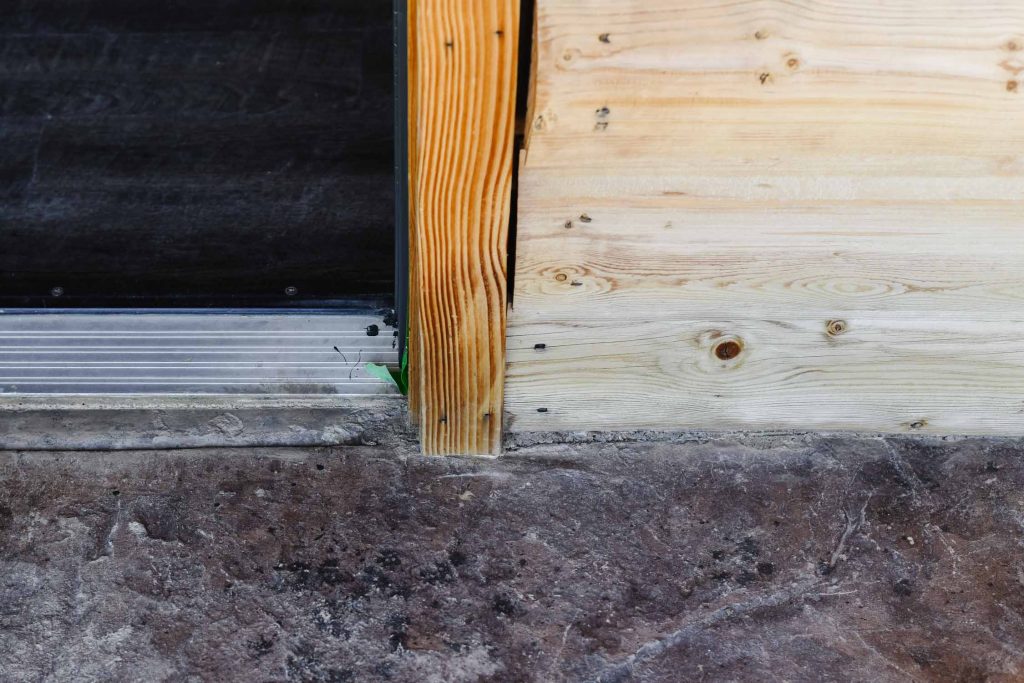
With a few decor touches, the space is done and looks awesome!!
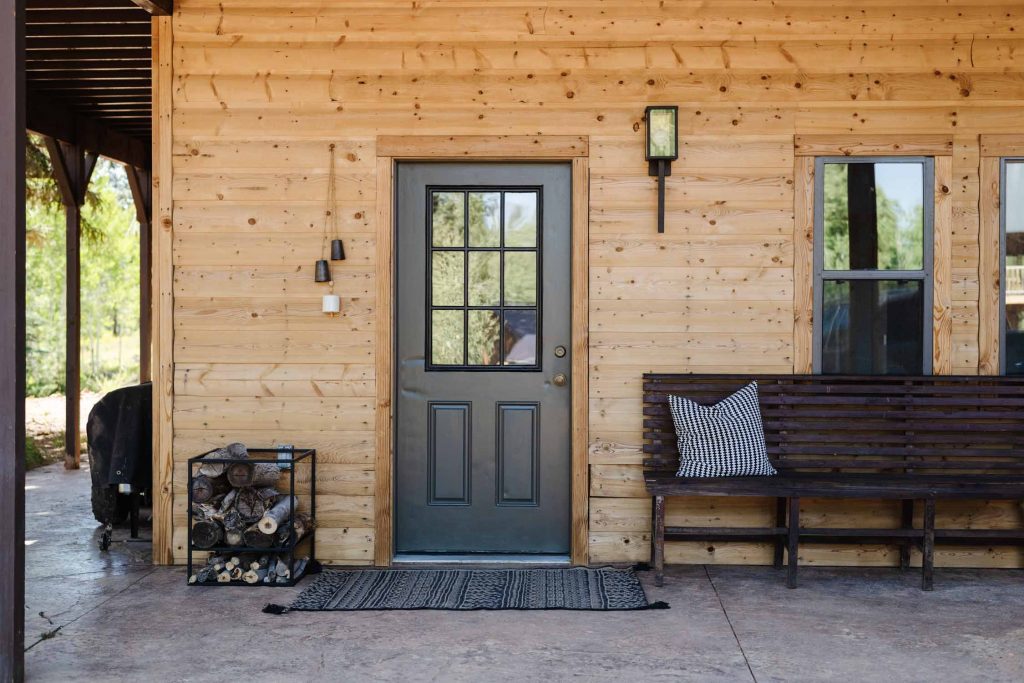
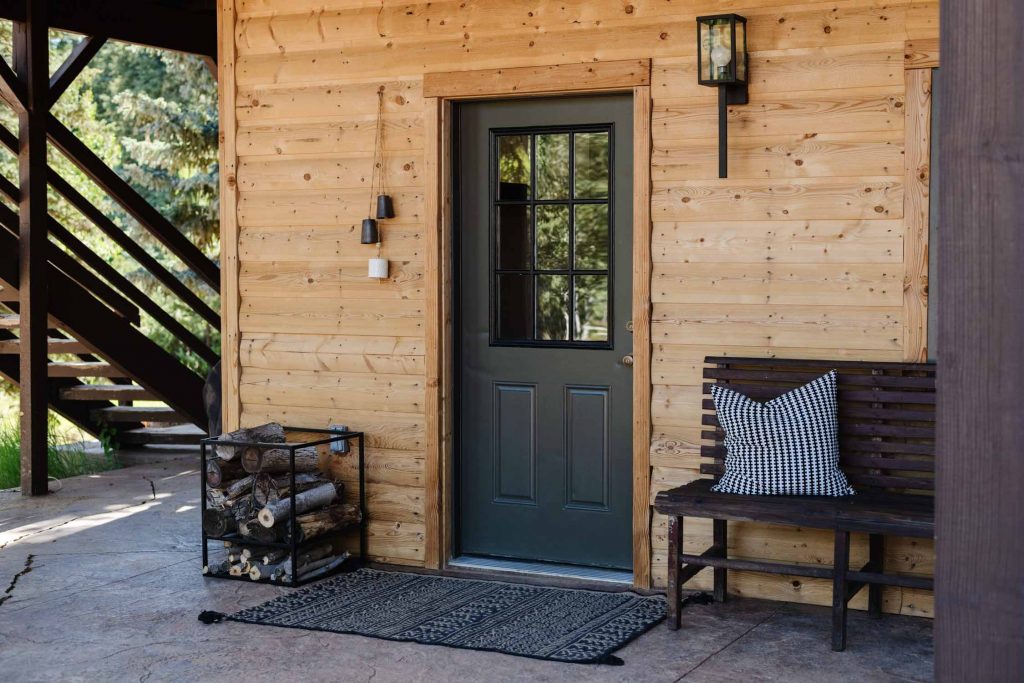
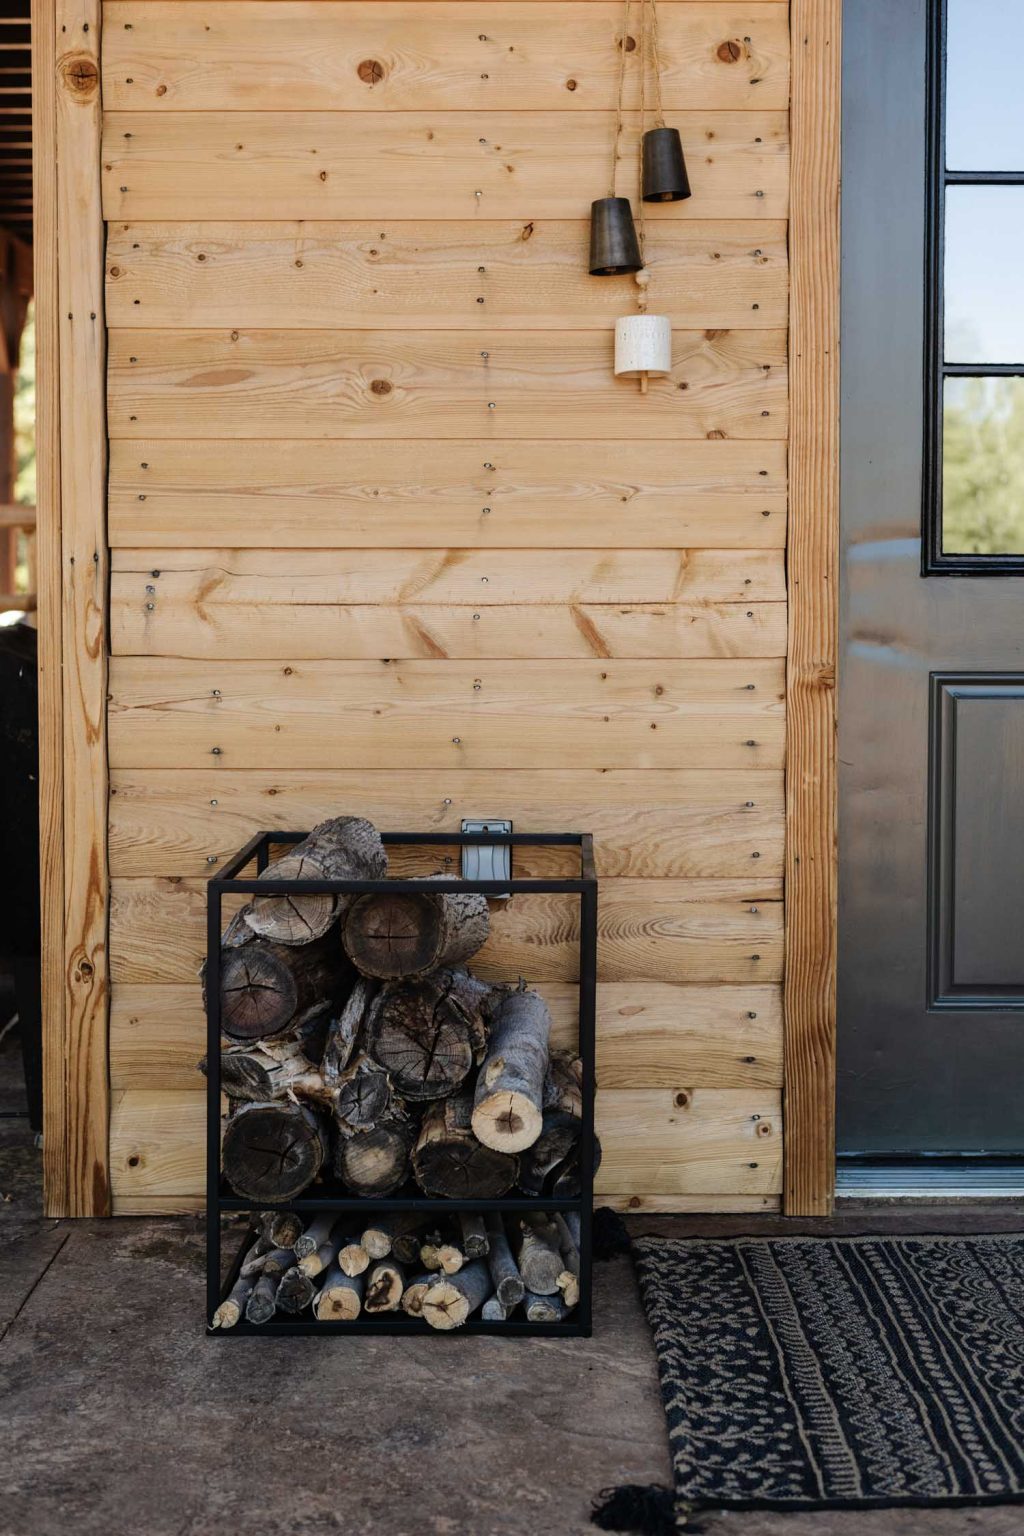
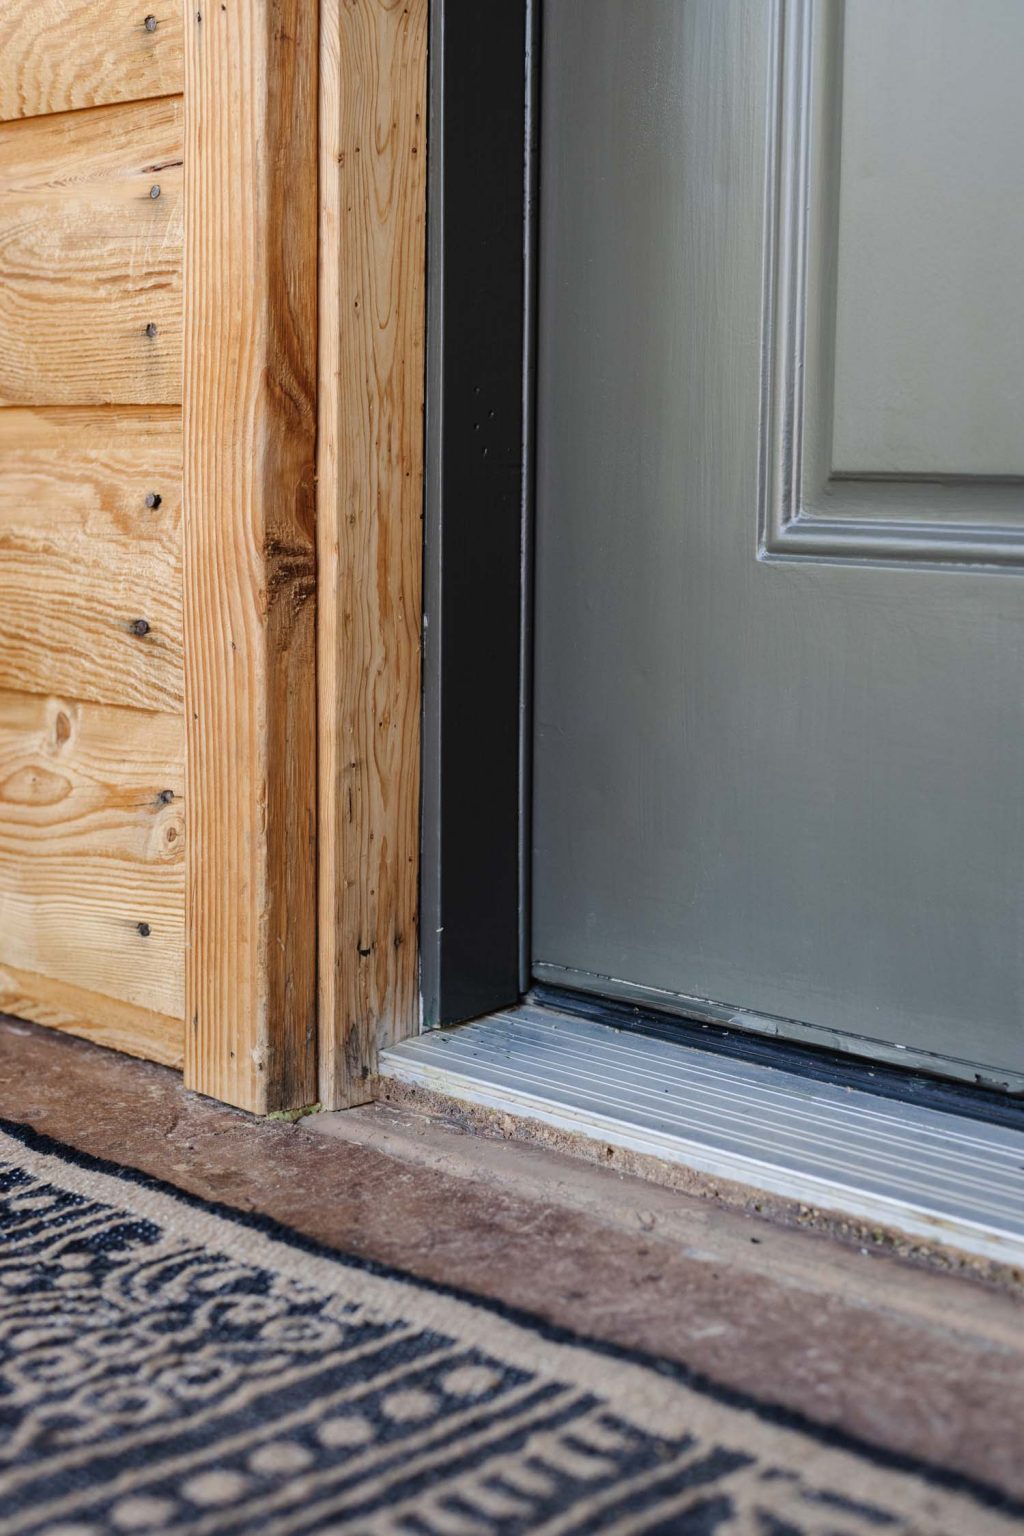
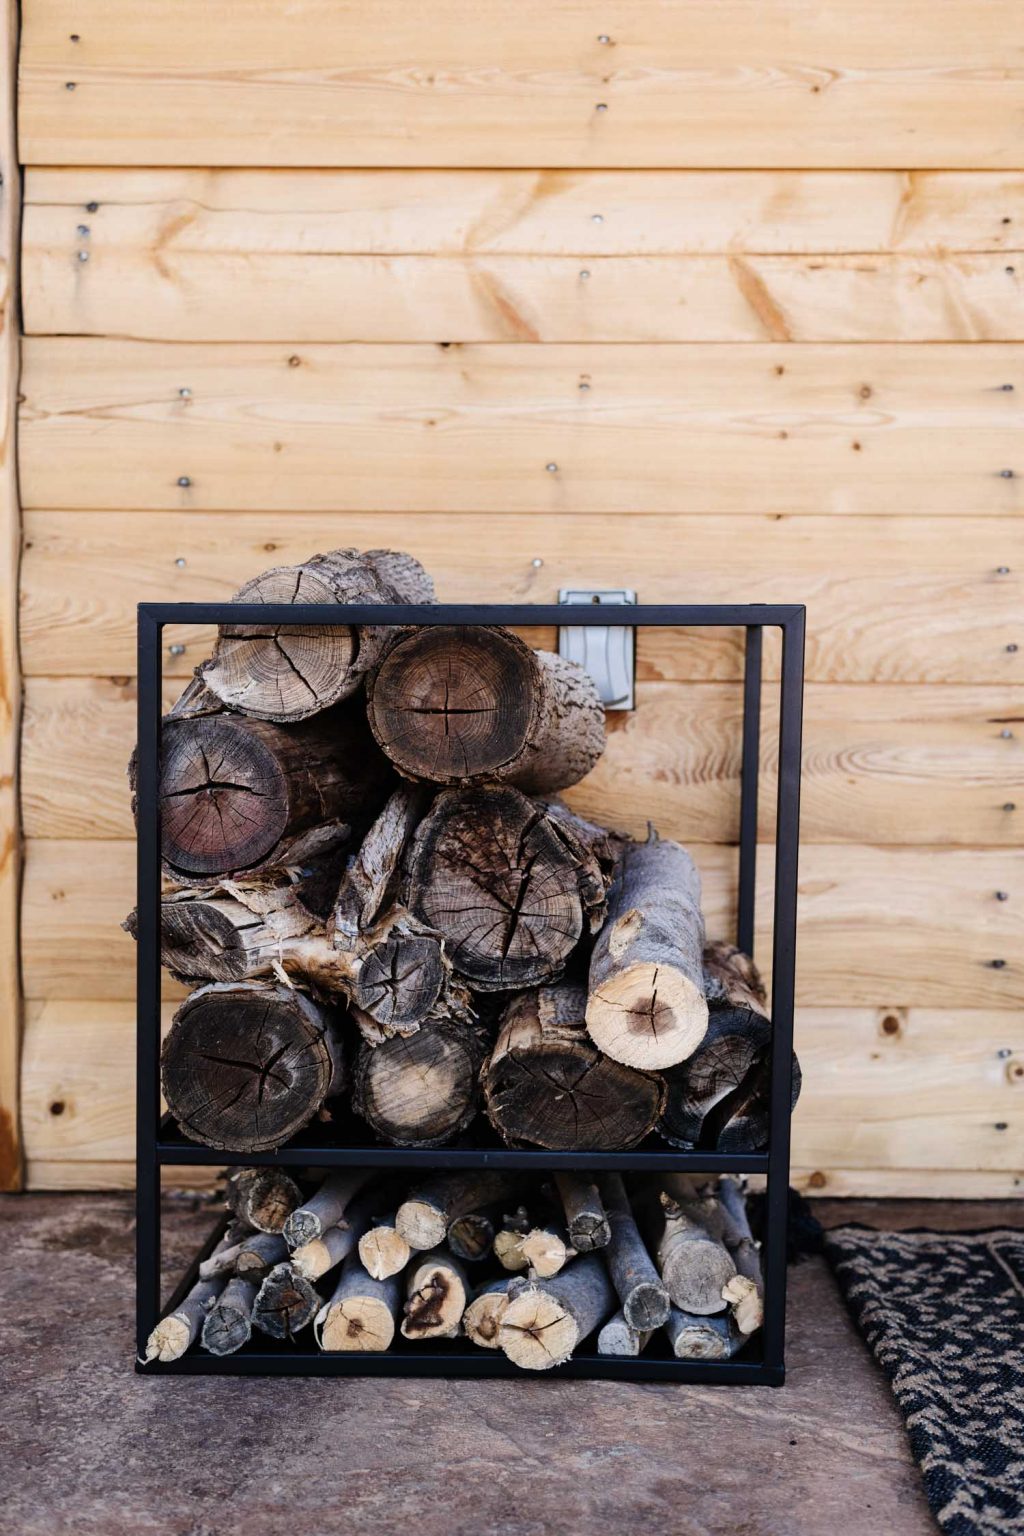
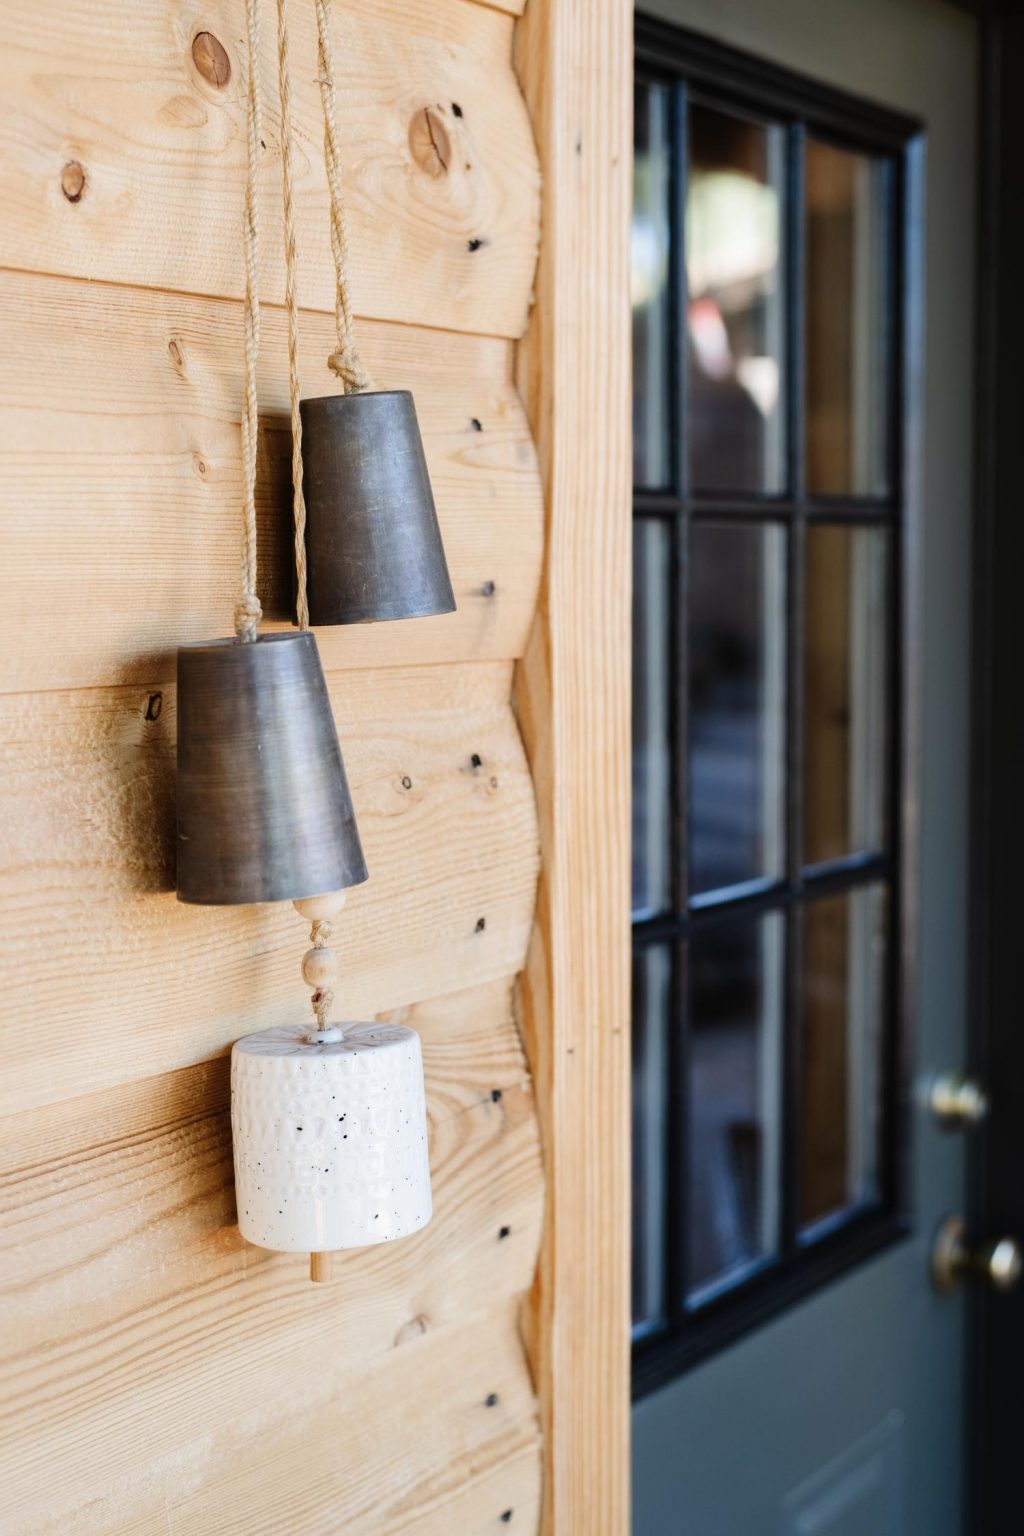
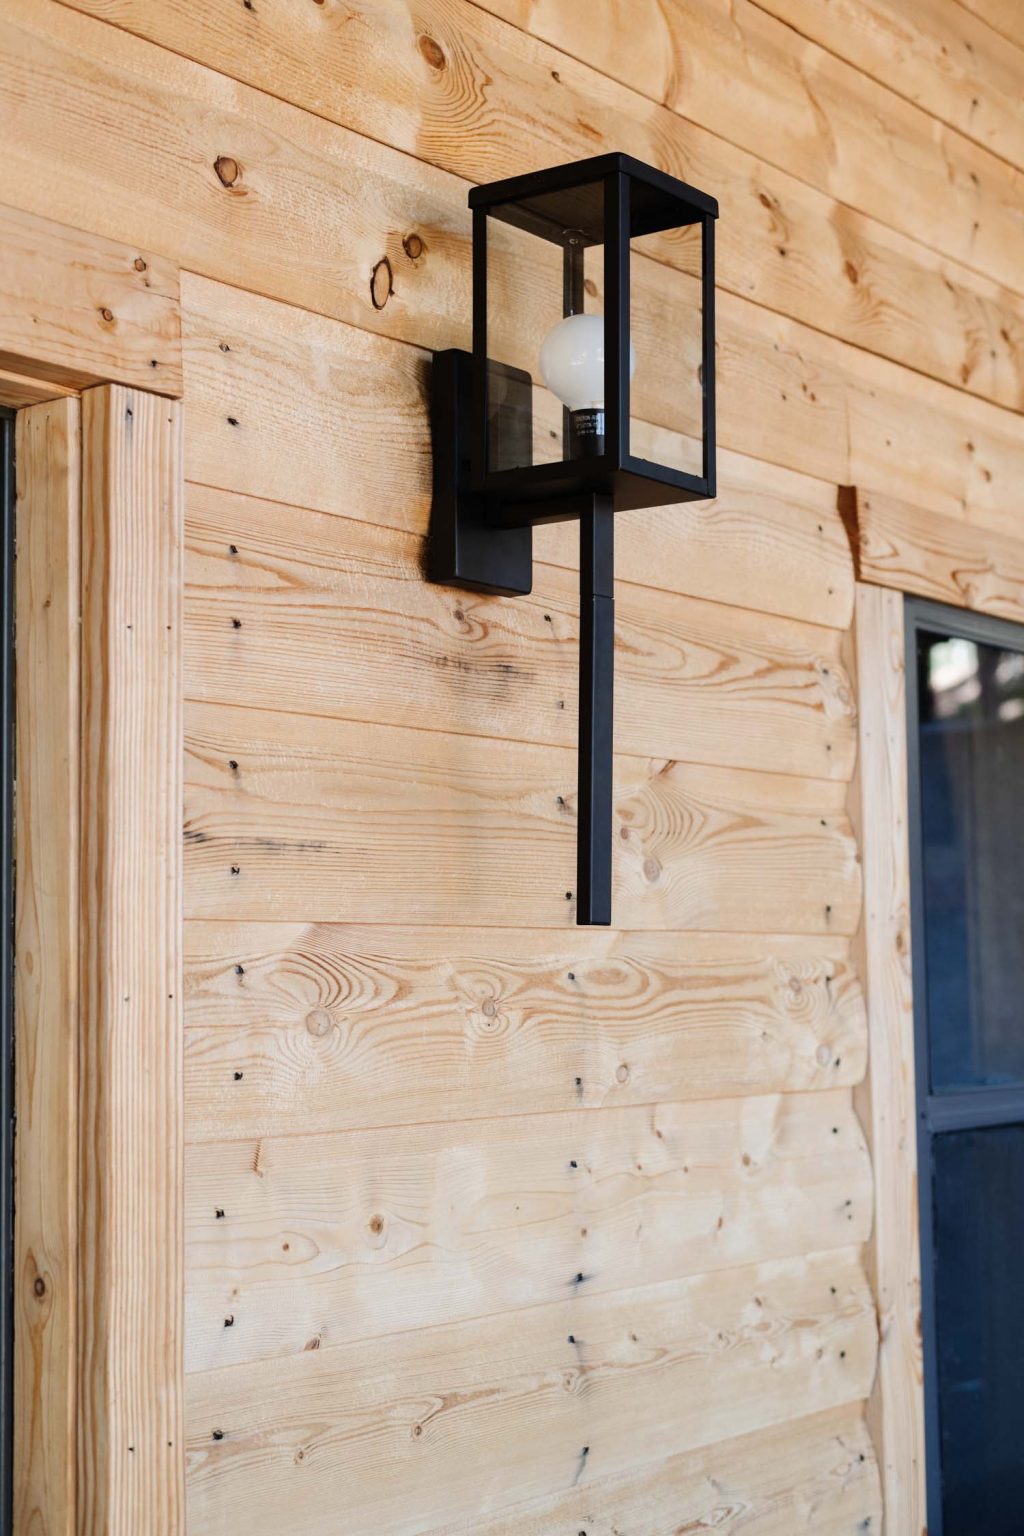
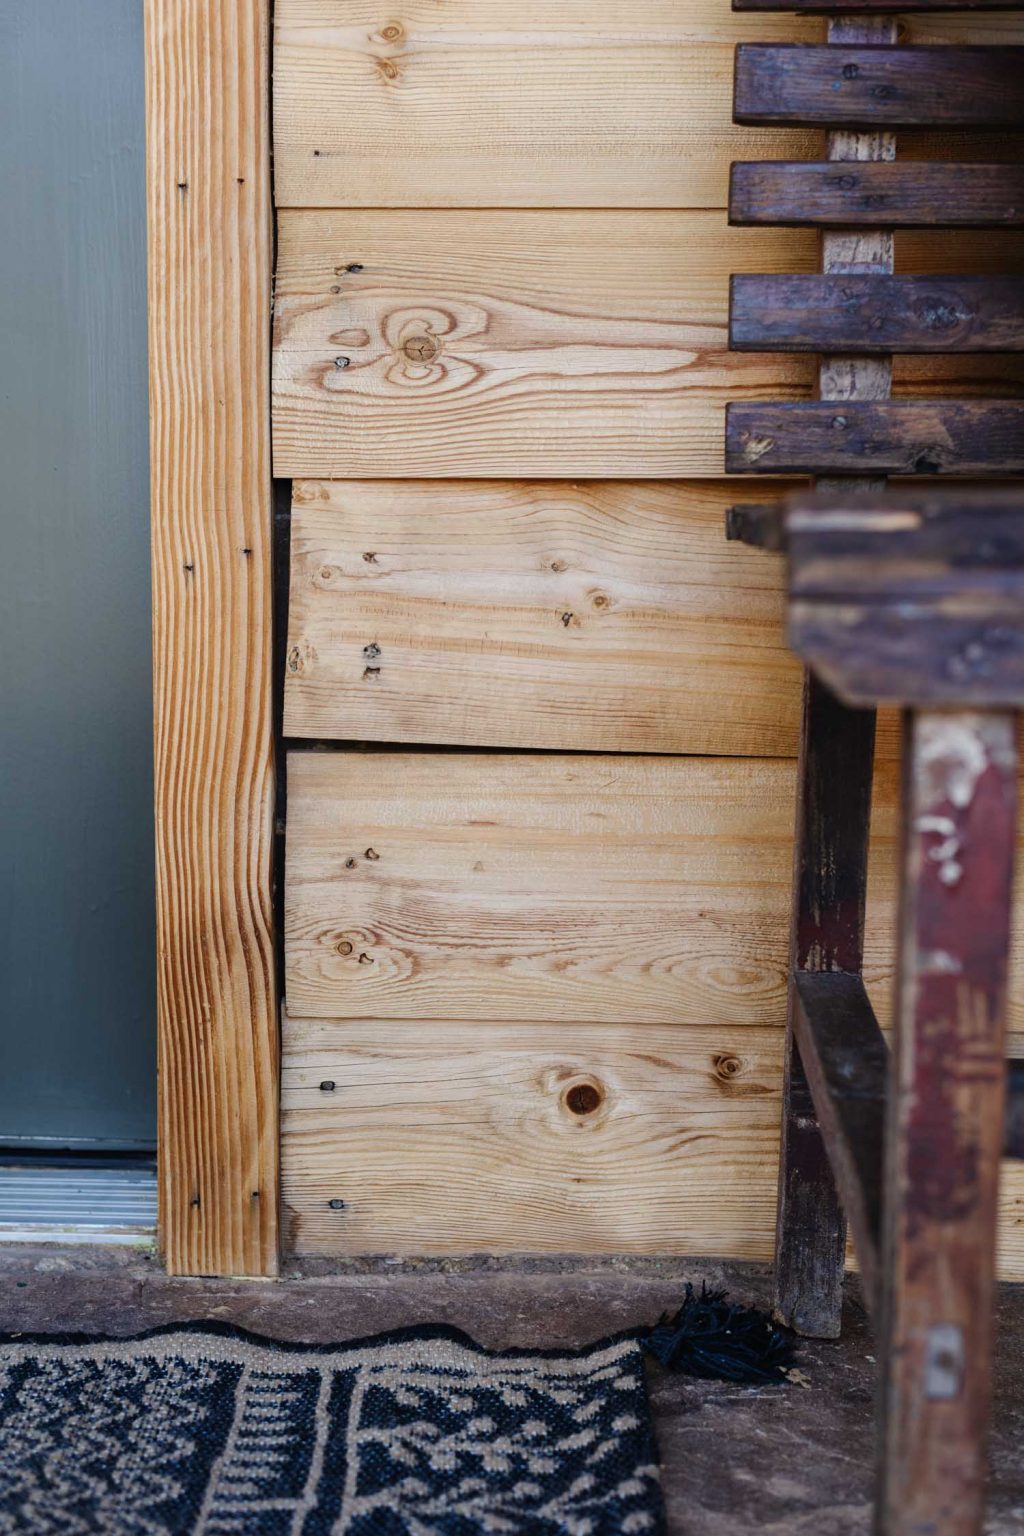
I’m not going to lie though, my favorite part is something not a soul will even notice, the Great Stuff that is protecting our cabin from pesky mice. Now I don’t know who Court is going to blame for the middle of the night missing cookies on.
You can find Great Stuff with the new dispenser on Amazon and at your local Lowes!
Watch the video below to see this whole project in real time, with Court commentary and everything.
Technically it’s possible to start and stop for highly experienced appliers. [CB1]
The post Cabin Porch Makeover appeared first on Vintage Revivals.
from Vintage Revivals https://vintagerevivals.com/cabin-porch-makeover/
from
https://summerblakeley.wordpress.com/2020/09/11/cabin-porch-makeover/
No comments:
Post a Comment