With the arrival of spring just around the corner, it’s time to learn how you can properly prepare your seeds for the best outcome possible! Seed starting is most commonly used by flower and vegetable farmers to get the best variety of plants while saving time and money. By allowing the seeds to germinate inside before transferring them to your outside garden, there is a greater chance of a successful outcome. Read more to learn how to get started!
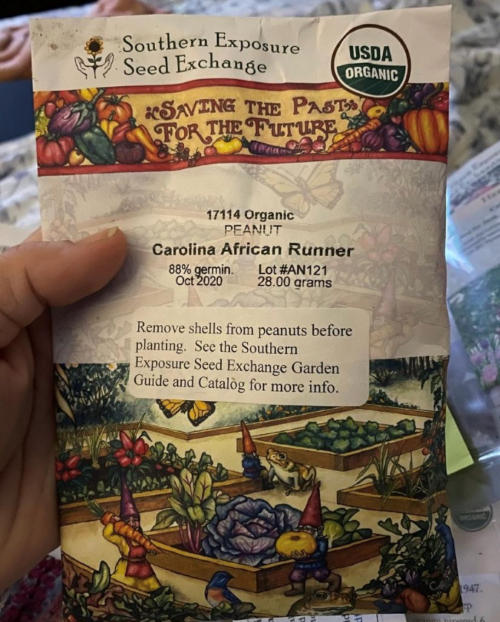
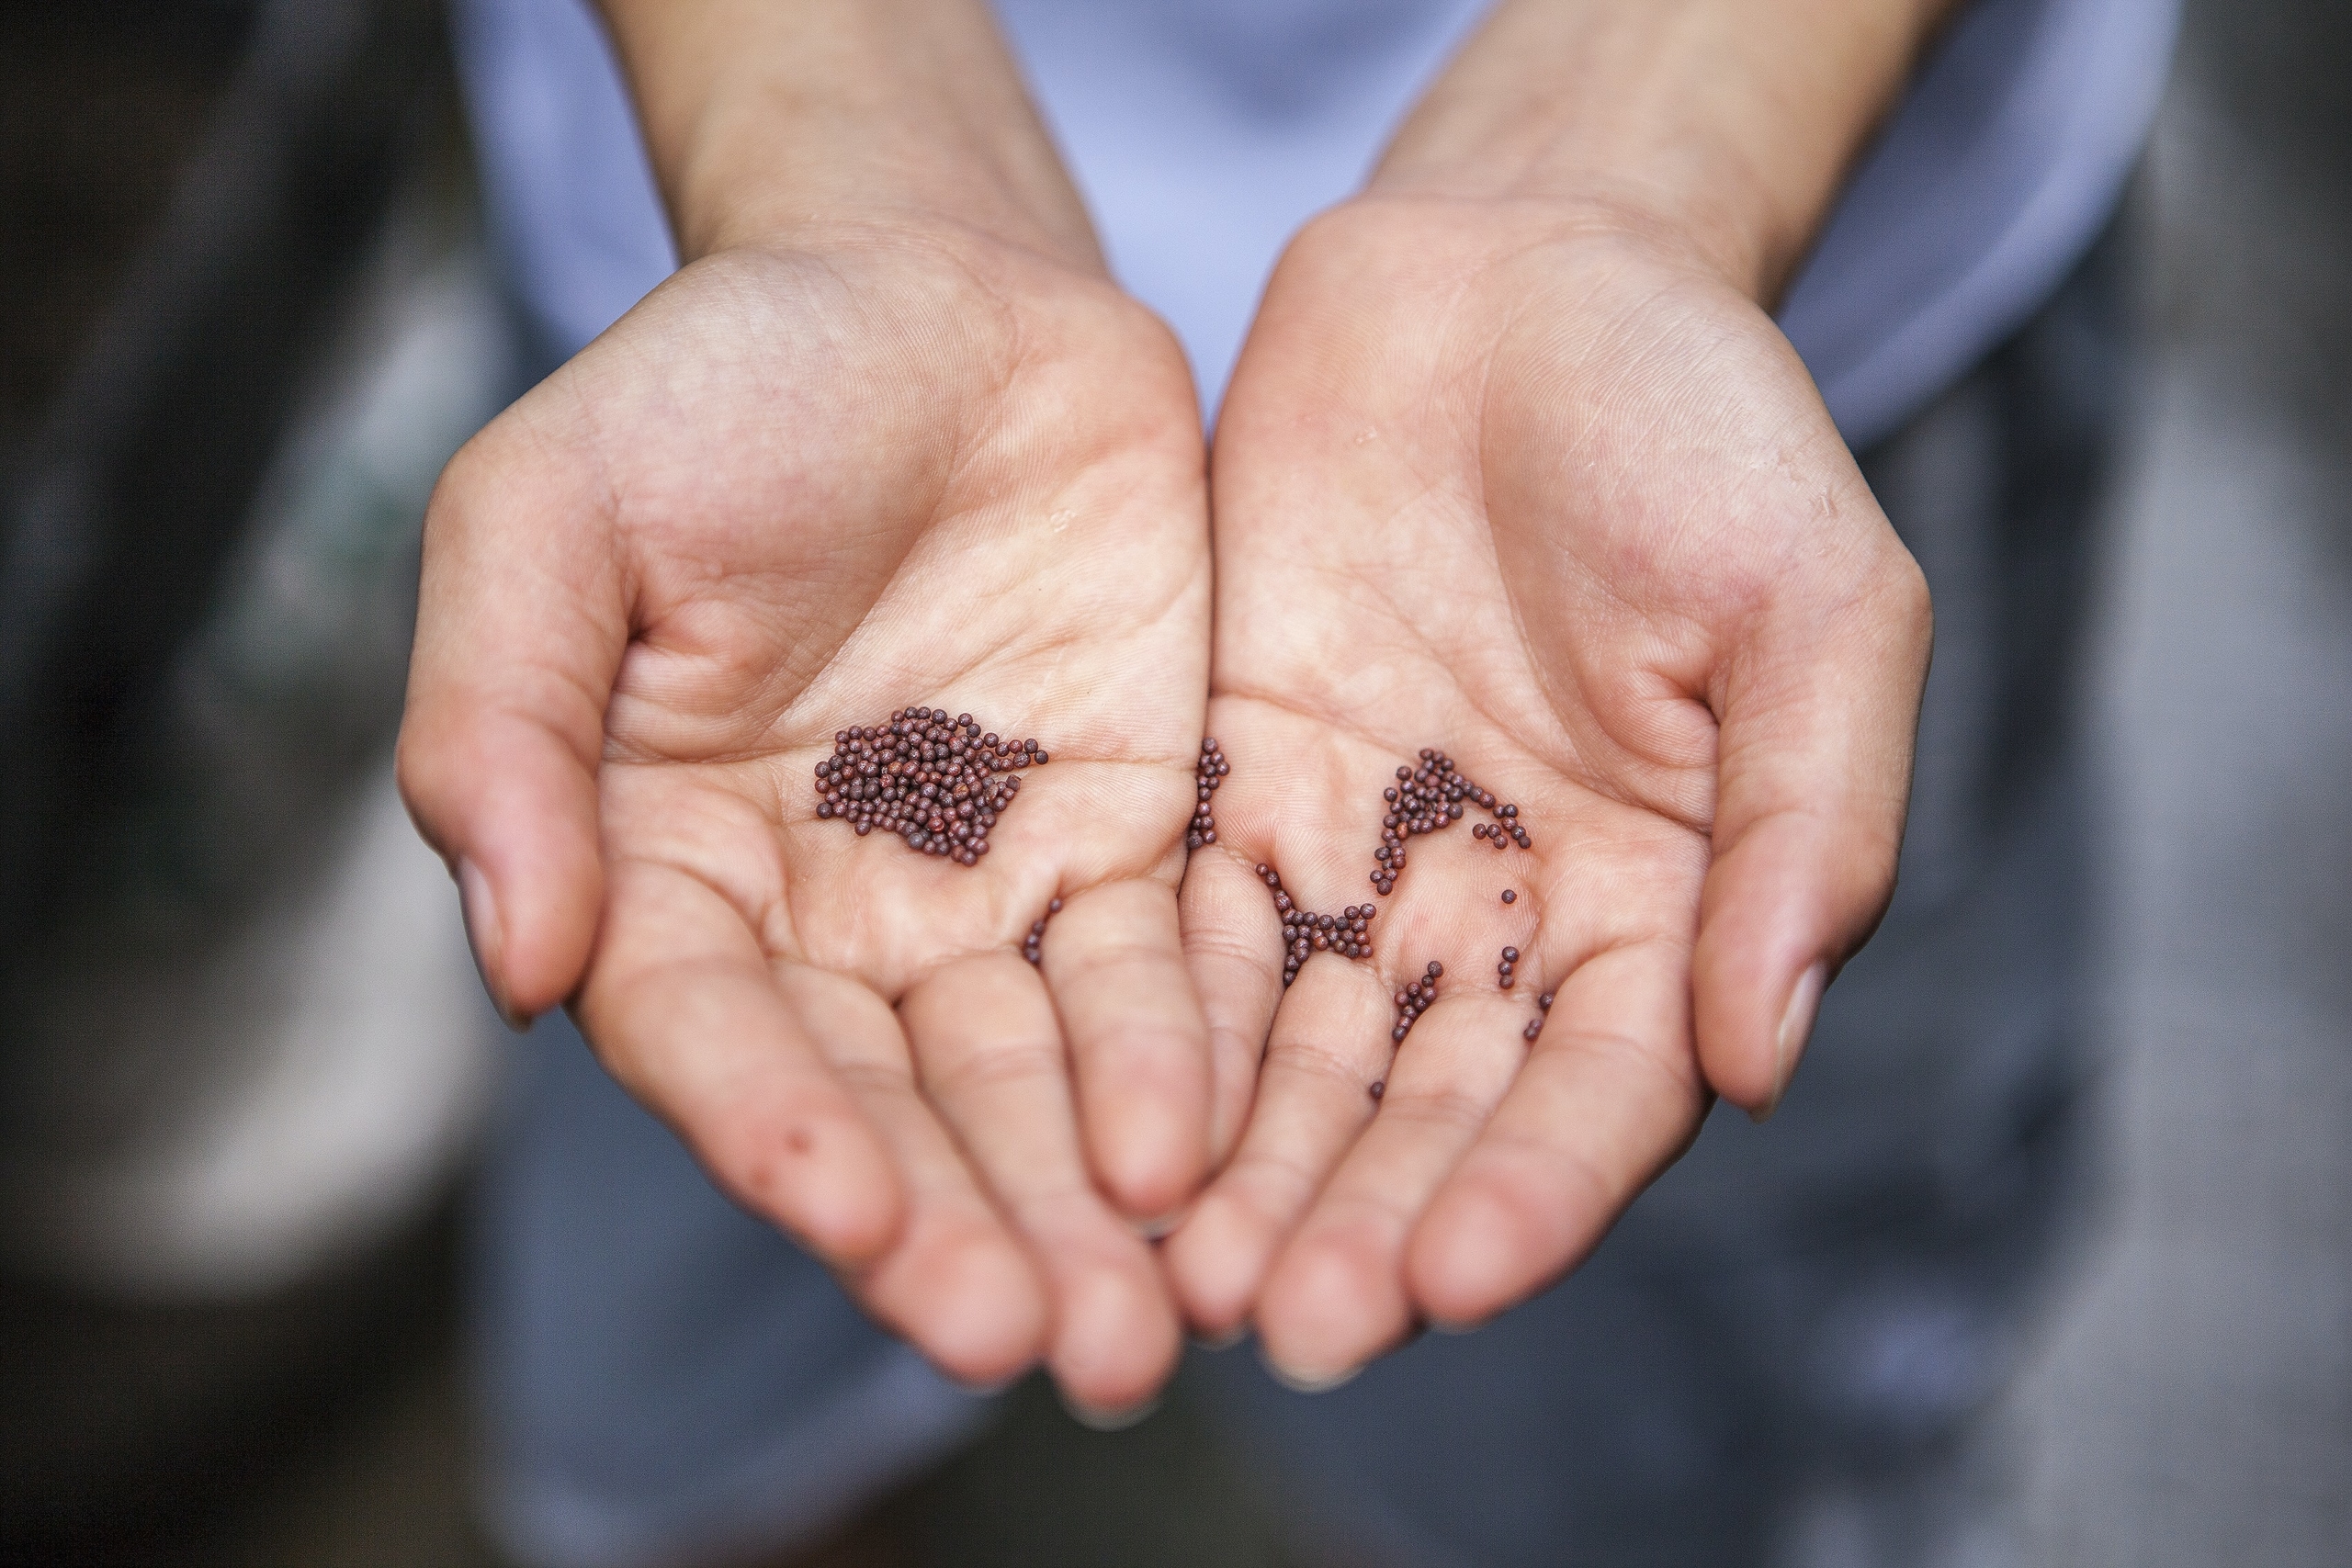
Photo via @rebeccamaterasso on Instagram
1. Read the Packet
Seed starting allows you to get a head start on your warm weather gardening. When you purchase your desired seeds, the packet will instruct you when you can start your plants indoors and when you must move them outside. If you’re still unsure about specifics, you can double check with Epic Gardening’s guide to seed starting methods. Make sure to only start a project that is achievable within your space!
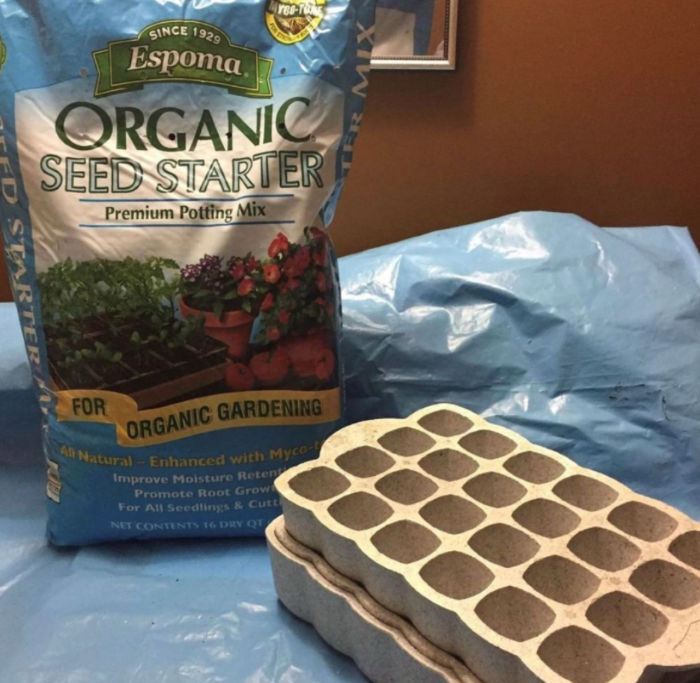
Photo via @jazzybutterflygarden on Instagram
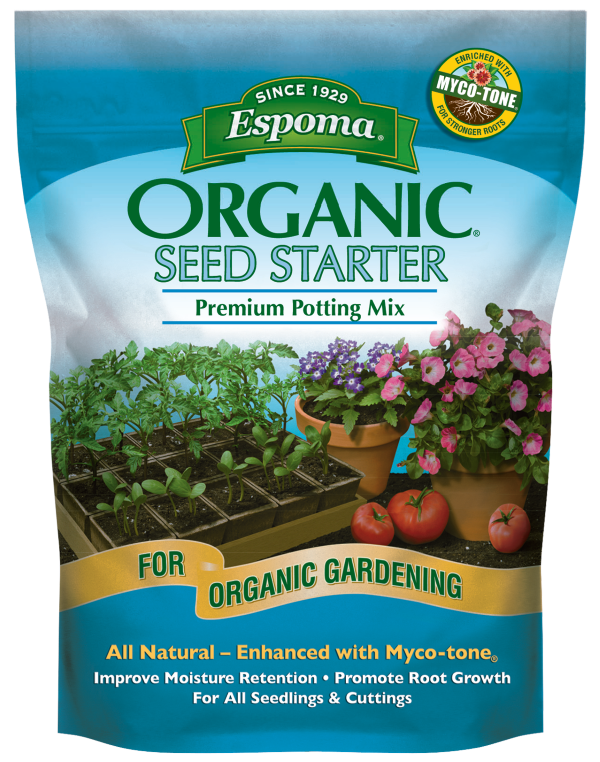
2. Gather Your Supplies
You can develop a seed starter in any type of container that has drainage (some people even use egg shells!), but there are also kits that can be purchased to help you start. Once you have your seed starter tray, you’re going to need soil. We recommend our Organic Seed Starter Potting Mix.
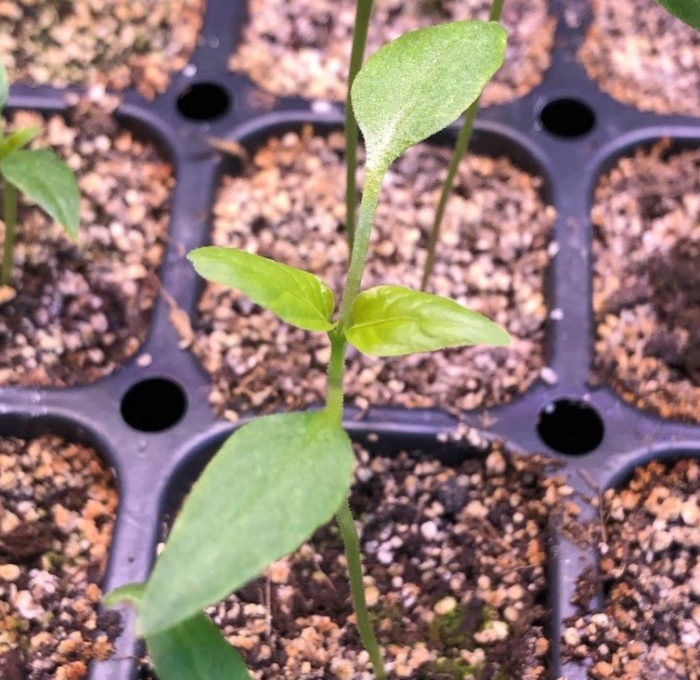
Photo via @jeradtb on Instagram
3. Plant Your Seeds
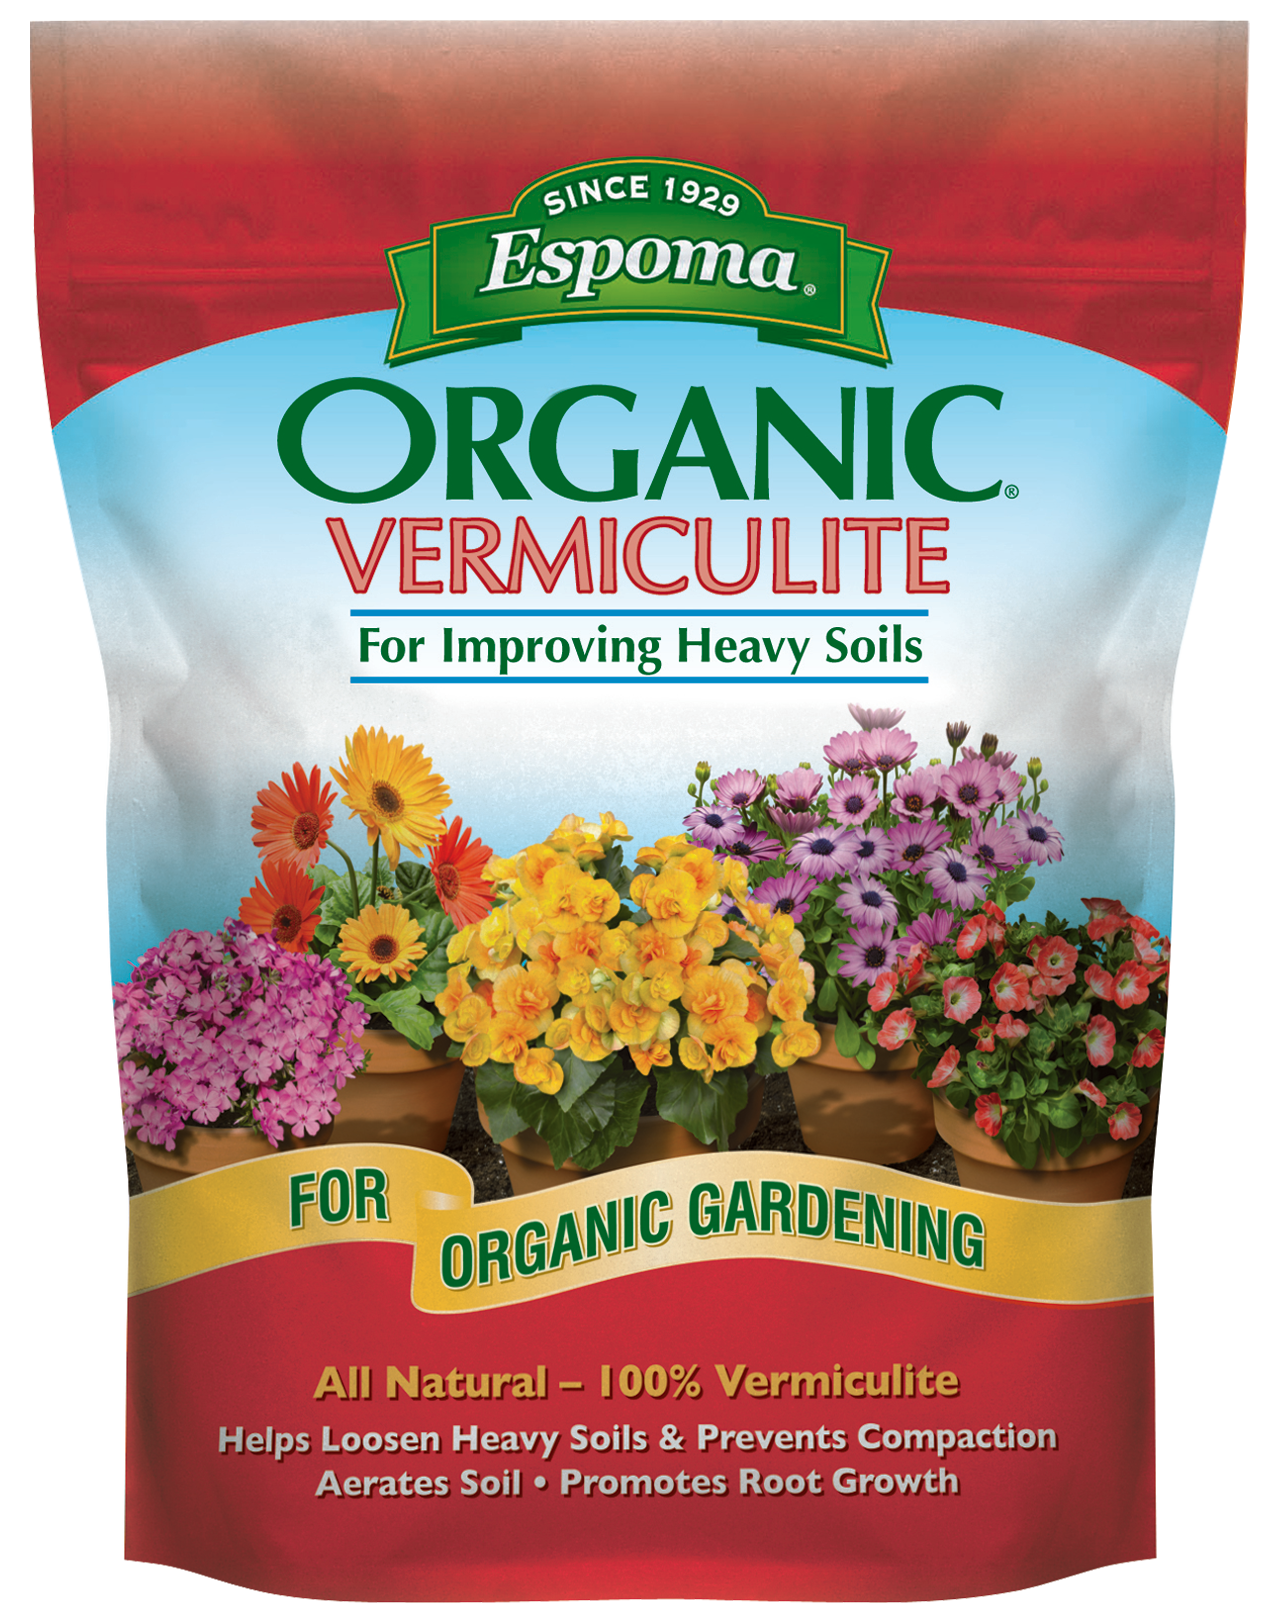
Once the starter soil is in the container, the seeds will be pressed down into the soil or placed on top to be able to germinate (the seed packet should indicate how far under the soil the seed needs to be placed). You want to make sure that your seeds aren’t too compact in the tray, so be sure to add Vermiculite to help with loosening heavy soil for better root growth. If you’re a visual learner, check out this step-by-step video!
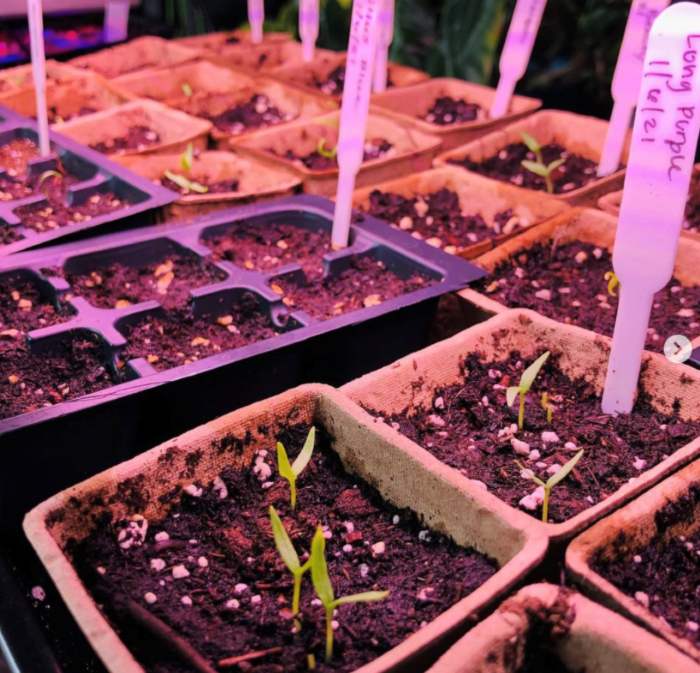
Photo via @sowinginsuburbia on Instagram
4. Label Your Seeds
You want to make sure that all of the seeds get labeled during the starter process so that you can identify them when it’s time to move them outside. Once the plants develop, it can be difficult to tell them apart while you transfer them. When you’re ready to move them, be sure to add our Bio-tone Starter Plus to the soil to help your new plants stay strong during the transfer process.
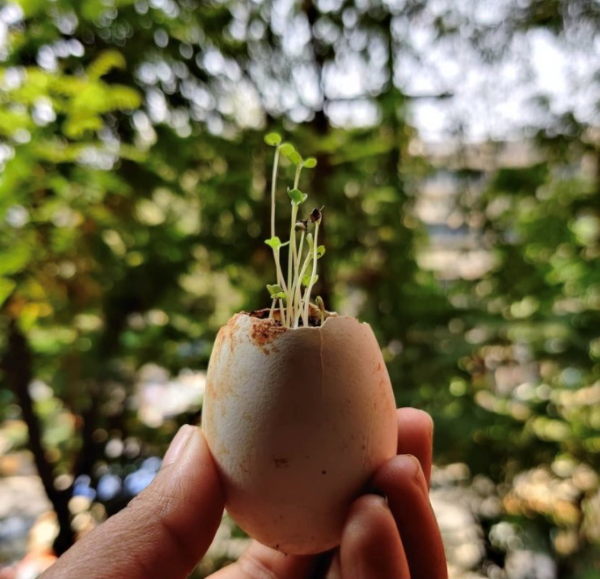
Photo via @living.life.zerowaste on Instagram
5. Double Check Everything
Ensure you know which types of seeds can be started indoors and when the correct time will be to relocate them outdoors. It’s important to always read the instructions as different seeds may require different care. For example, vegetable seeds have different care than flower seeds! Consulting The Old Farmer’s Almanac can help you figure out what’s best for your seeds if you’re still unsure.
Featured Products:
The post Seed Starter Tips for a Successful Spring Harvest first appeared on Espoma.
from Espoma https://www.espoma.com/gardening/spring-gardening/seed-starter-tips-for-a-successful-spring-harvest/
from
https://summerblakeley.wordpress.com/2021/02/23/seed-starter-tips-for-a-successful-spring-harvest/
No comments:
Post a Comment